10 Luxury U-Shaped Kitchen Design Ideas with LED Lighting | Modern High-Gloss Kitchen Inspiration
A U-shaped kitchen offers more counter and cabinet space than most other layouts, but that extra space can look flat without the right finishes and lighting. Three walls of plain cabinets can start to feel repetitive.
High-gloss surfaces and LED lighting solve that problem. Gloss reflects light and adds depth, while LED strips create layers of light that flat overhead lighting can’t match on its own.
This guide covers 10 specific ways to bring both elements into a U-shaped layout.
1. Choose High-Gloss Cabinet Finishes for a Reflective Luxury Look
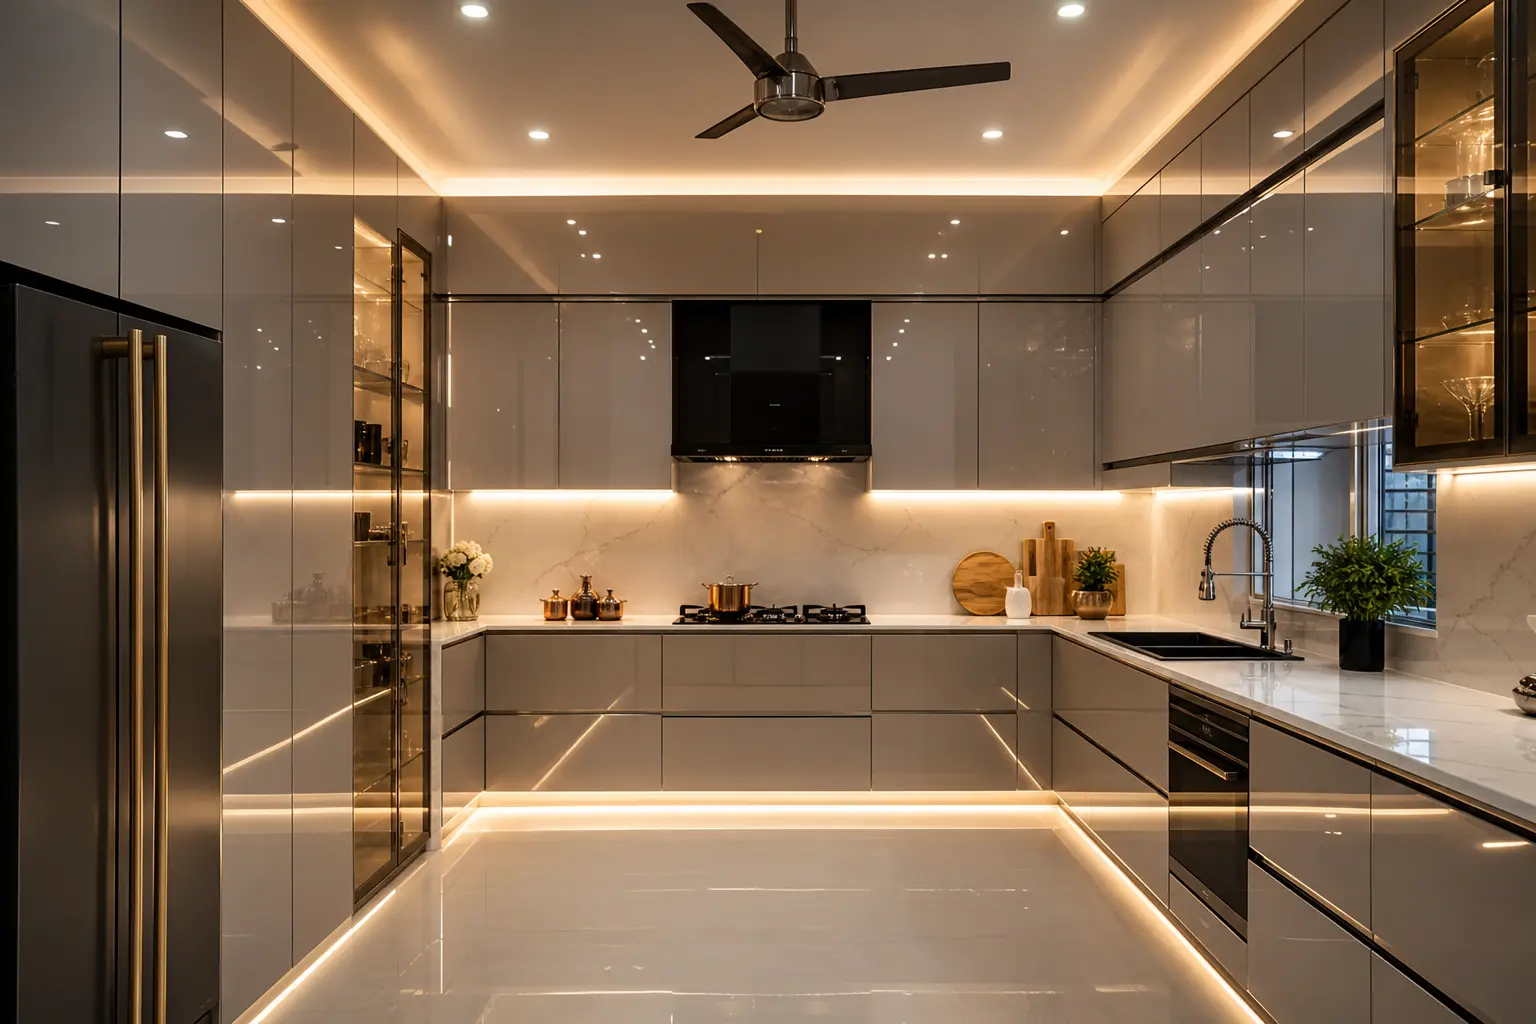
High-gloss lacquer or acrylic cabinet fronts reflect light in a way matte finishes can’t, which makes a kitchen feel brighter and more expansive. White, light gray, and soft taupe gloss finishes tend to work best across a full U-shape.
Gloss does show fingerprints and smudges more easily than matte, so it’s worth considering how much daily use the kitchen gets. A soft close hinge system also matters more with gloss cabinets, since any slamming shows wear faster.
Pairing gloss upper and lower cabinets with a matte countertop keeps the reflective effect from feeling overwhelming.
2. Add LED Strips Under the Cabinets for Task and Ambient Light
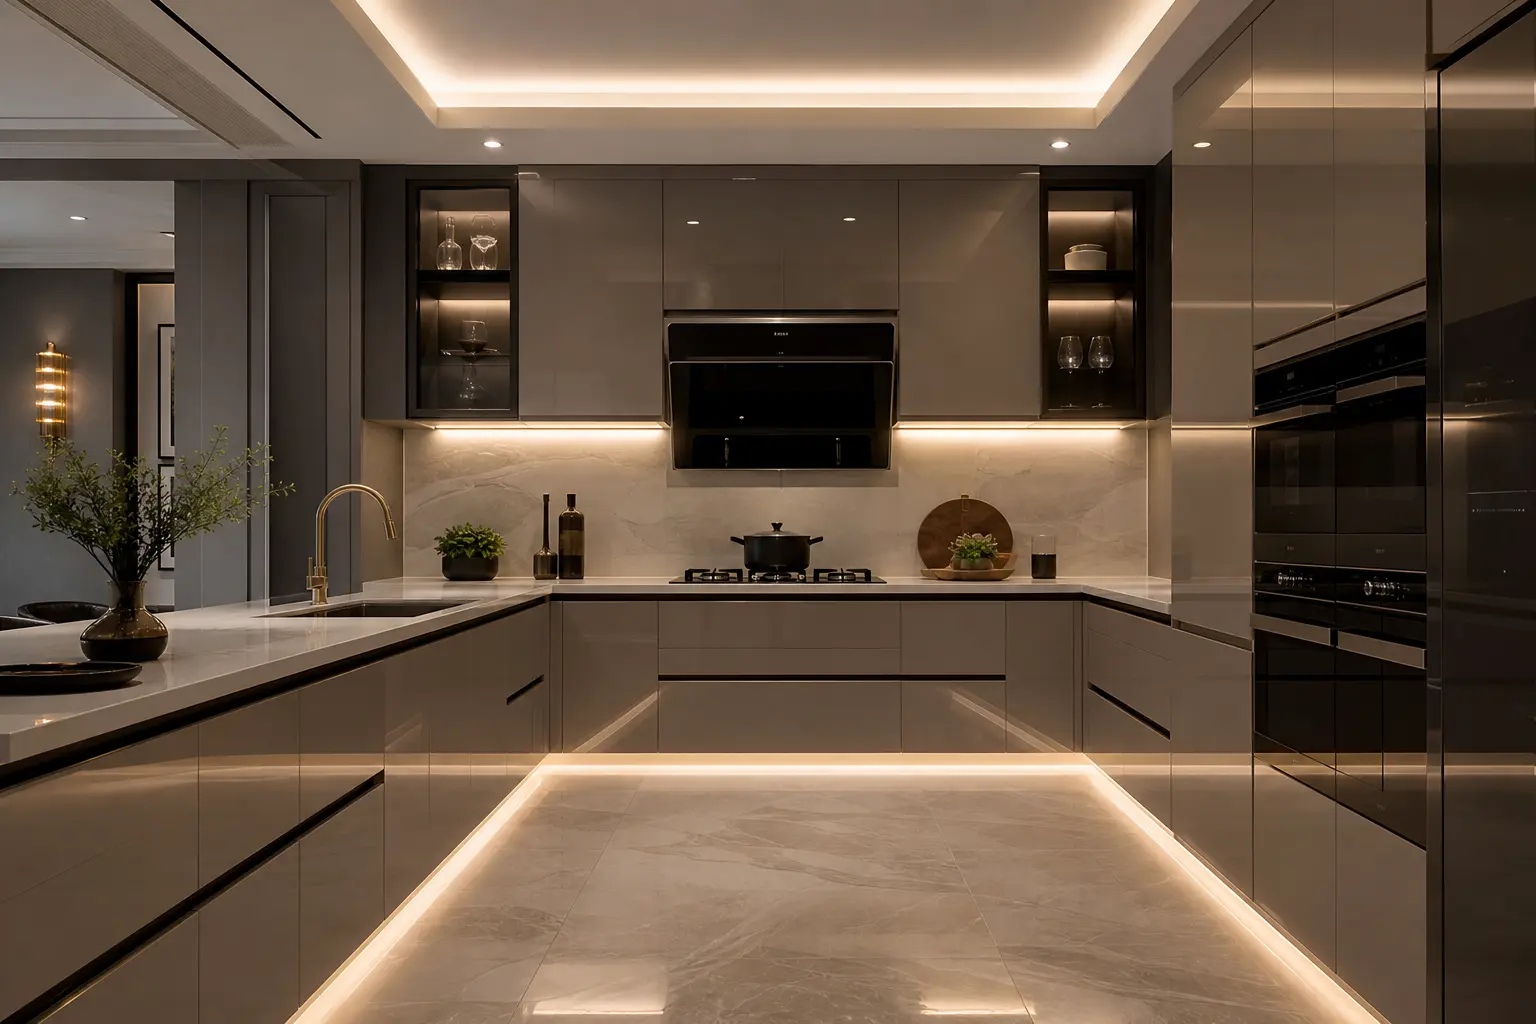
Under cabinet LED strips light the countertop directly, which helps with food prep and also adds a warm glow along the backsplash. This is one of the most functional upgrades on this list, not just a decorative one.
Warm white LEDs around 2700K to 3000K keep the light feeling residential rather than commercial. Strips with a dimmer let you shift from bright task lighting during cooking to a softer glow in the evening.
Choose strips with a diffuser cover rather than exposed LED chips, since the diffuser spreads the light more evenly and hides individual bulb points.
Placement for Even Coverage
Run the strip along the full length of the cabinet rather than just the center to avoid dark gaps at either end.
3. Use a Single Wall of the U for a Statement Backsplash
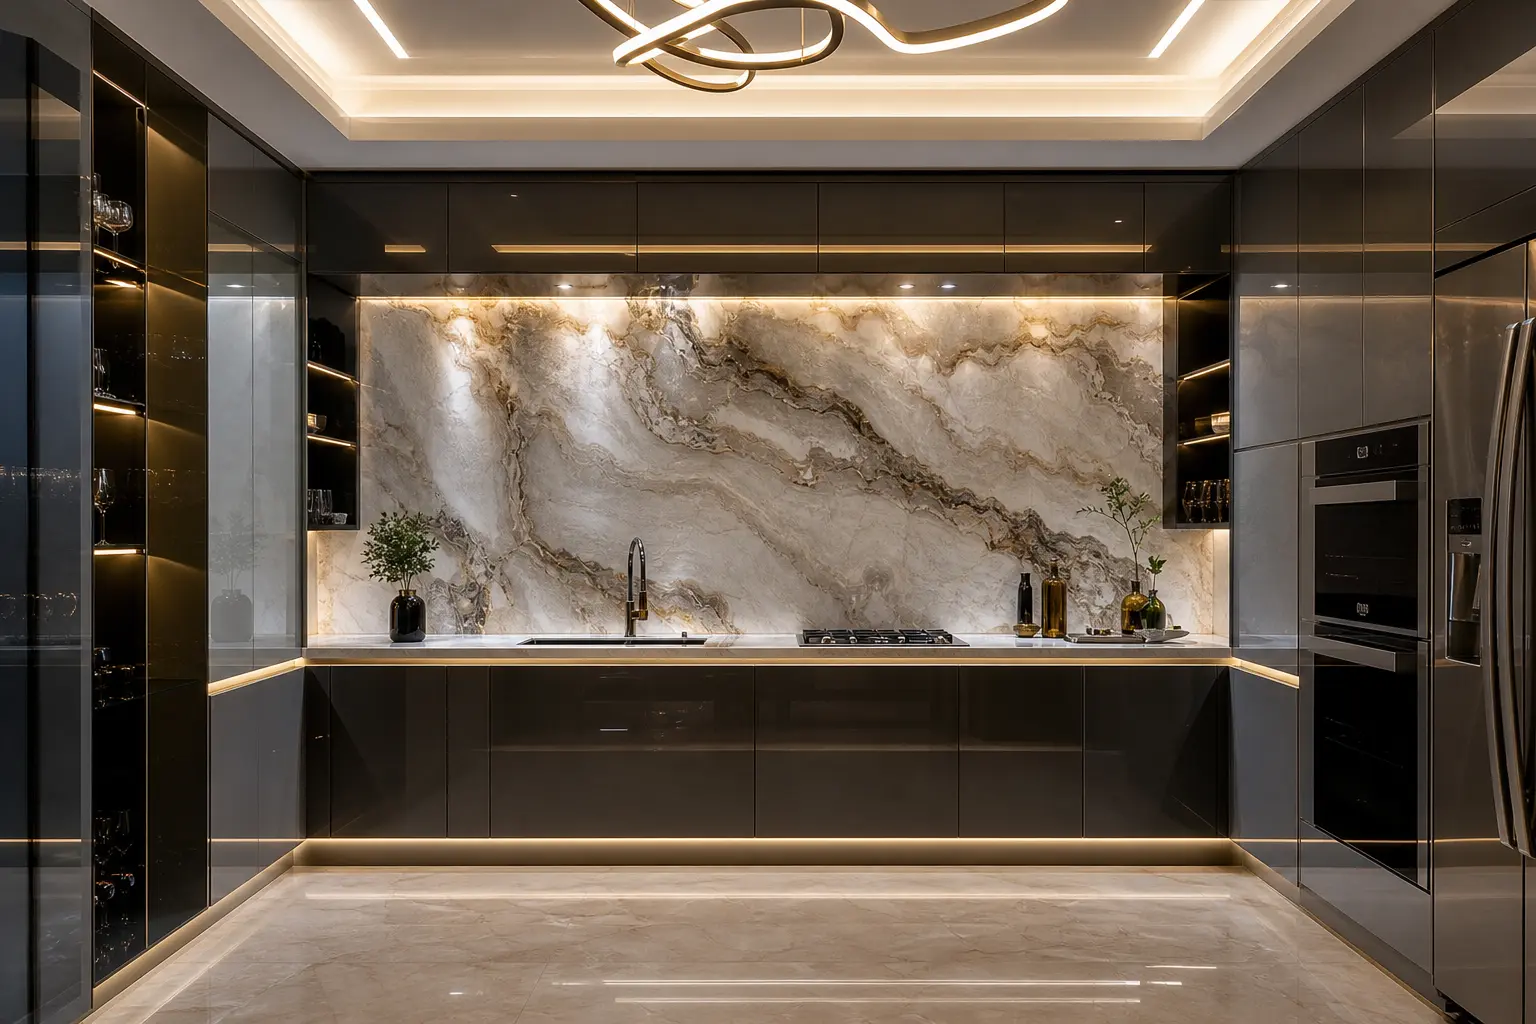
With three walls of cabinetry, a U-shaped kitchen has more backsplash area than most layouts. Instead of matching tile across all three walls, choose one wall, usually behind the stove, for a statement material.
Large format marble look porcelain slabs, subtle stone veining, or a bold geometric tile all work as a single focal wall. Keep the other two walls simpler so the statement wall actually reads as a highlight.
This approach also tends to cost less than covering the entire kitchen in an expensive material.
4. Add Toe Kick LED Lighting for a Floating Cabinet Effect
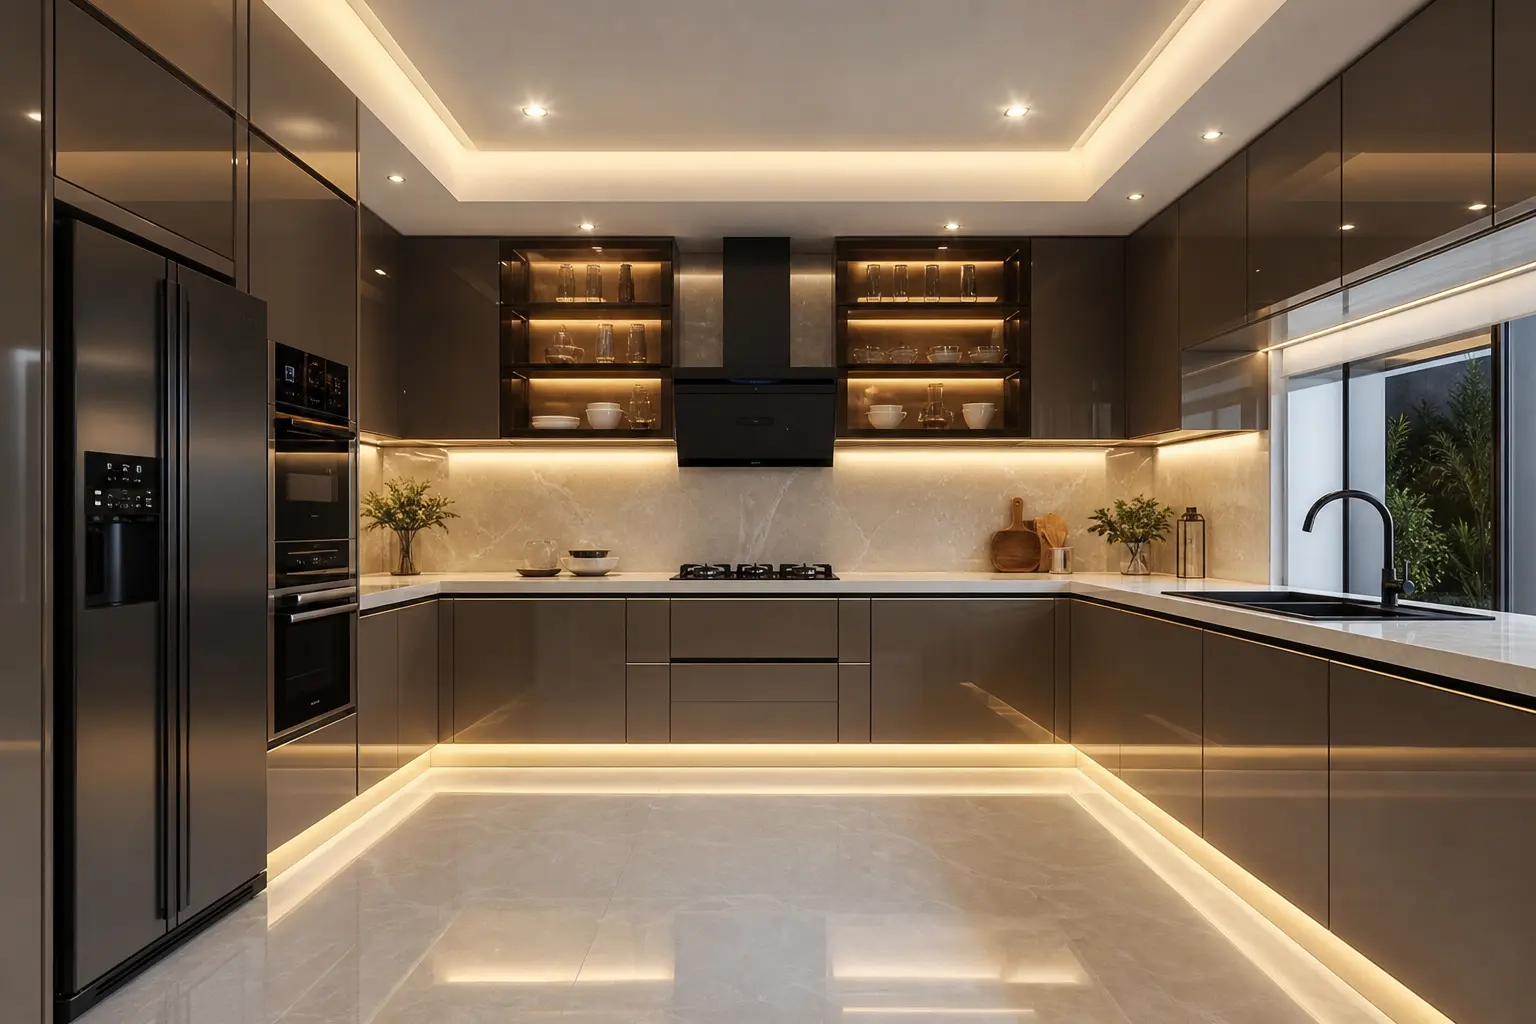
LED strips installed in the toe kick, the recessed space at the base of lower cabinets, create a subtle glow that makes the cabinets appear to float above the floor. This detail reads as high end because it’s rarely done in standard kitchen builds.
Keep toe kick lighting on a separate switch or dimmer from the under cabinet strips so you can control each layer independently. This lighting works particularly well at night as a low level guide light without needing to turn on brighter overhead fixtures.
5. Choose a Waterfall Countertop on the Peninsula End
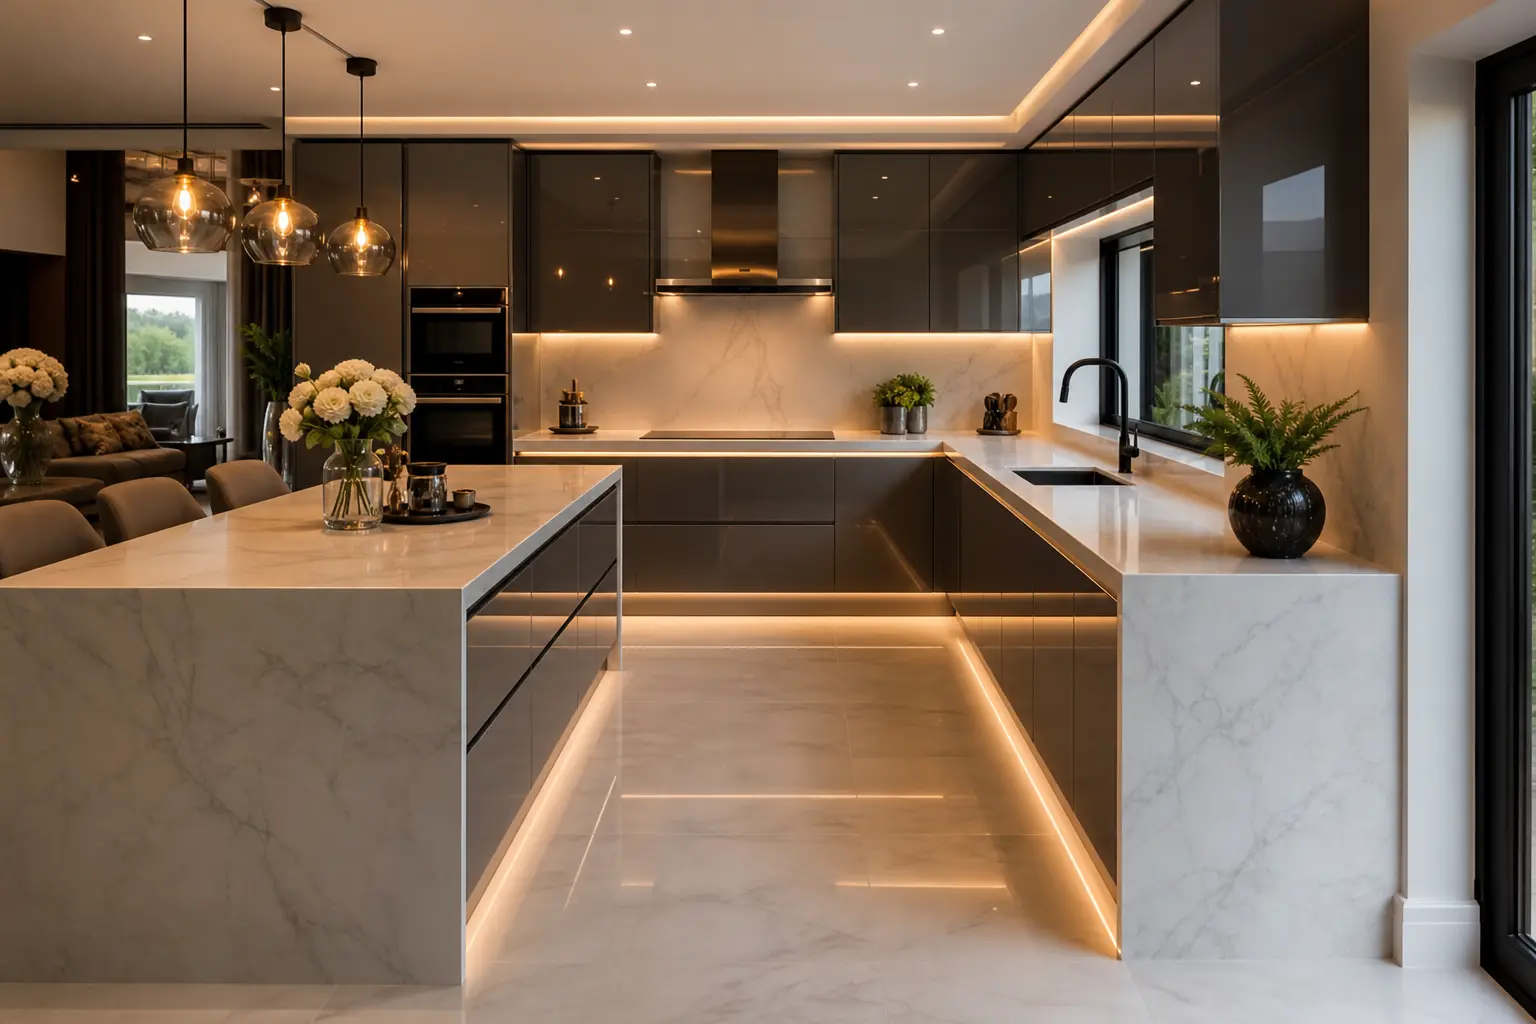
If your U-shaped kitchen has a peninsula or open end, a waterfall countertop there creates a strong visual anchor. The unbroken stone or quartz surface running down the side reads as custom, similar to an island waterfall edge.
A dark quartz or stone waterfall against gloss white cabinets creates clear contrast that makes both elements stand out. This combination pairs particularly well with the LED lighting layers already built into the cabinetry above.
6. Balance Gloss With a Matte Island or Accent Section
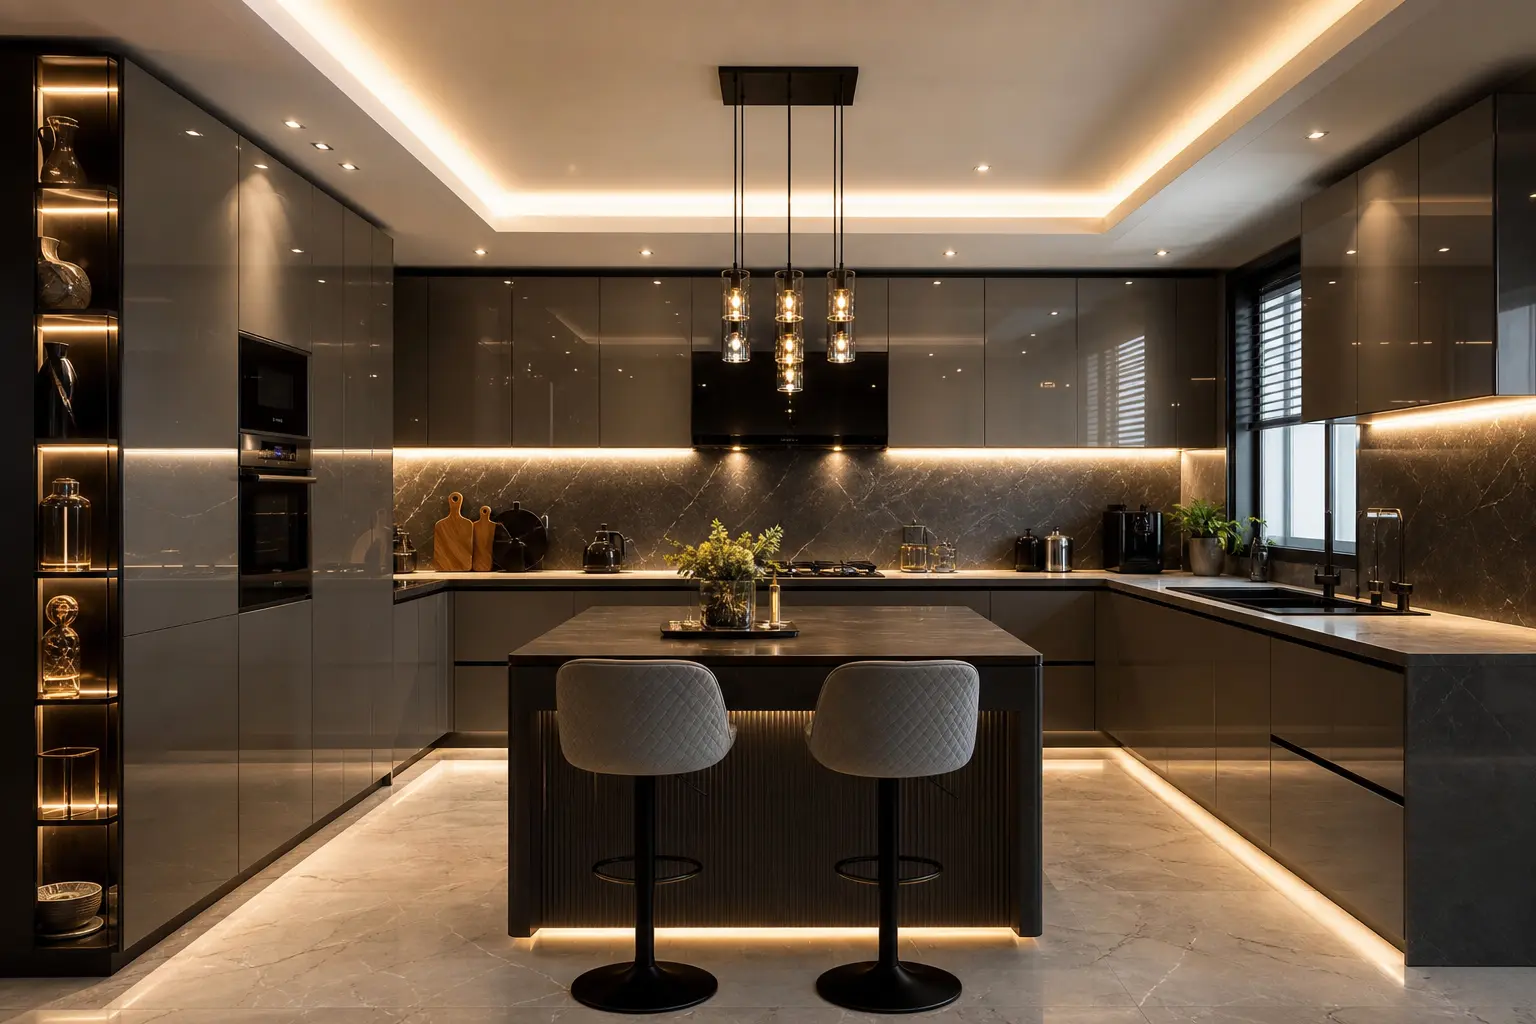
A full kitchen in high gloss can start to feel like a showroom rather than a home. Introducing one matte element, an island base, an accent wall, or open shelving, adds contrast and keeps the space feeling grounded.
Matte black, deep green, or warm wood tones all work well against gloss white or light gray cabinetry. This contrast also makes the gloss surfaces stand out more by comparison instead of blending into a uniform sea of shine.
7. Maximize Corner Storage With Pull Out Systems
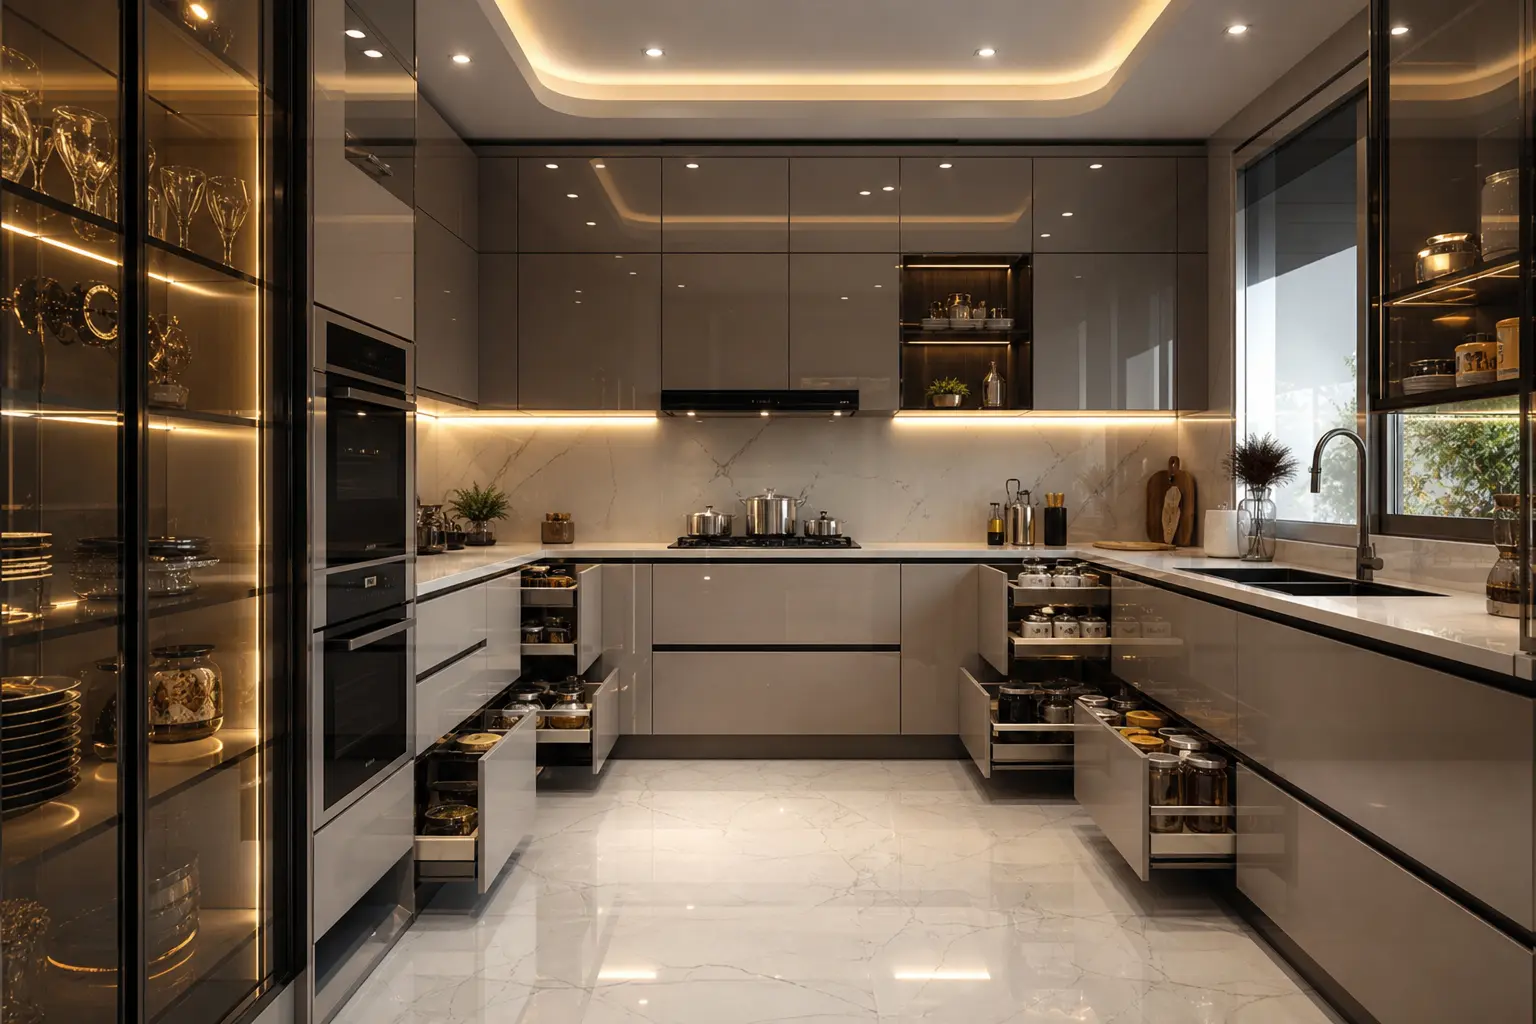
U-shaped kitchens typically have two corners where storage can become awkward without the right hardware. Pull out corner systems, sometimes called magic corners, make that space fully usable instead of wasted.
Lazy Susans work for lighter use, while pull out shelving systems handle heavier cookware more efficiently. Planning corner storage early in the design process avoids expensive retrofits later.
8. Add Recessed Ceiling Lighting to Complement the LED Accents
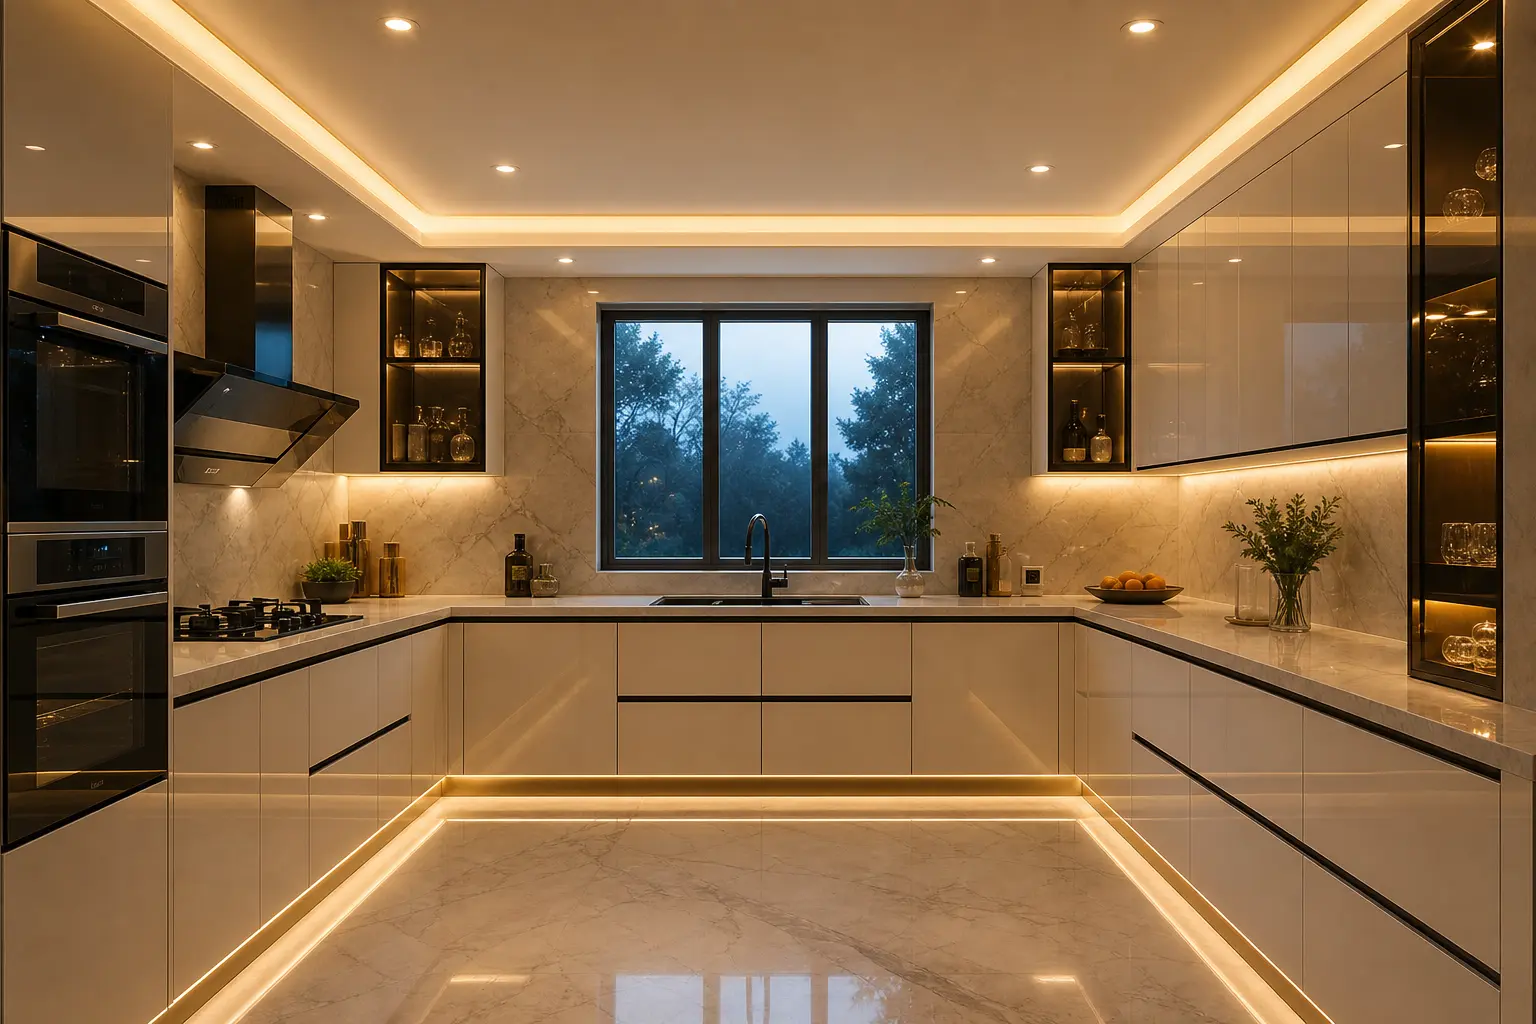
Recessed ceiling lights provide general room lighting that works alongside, not instead of, the under cabinet and toe kick LED strips. Layering multiple light sources is what creates a luxury feel rather than relying on one bright overhead source.
Space recessed lights evenly across the ceiling, roughly four to six feet apart depending on ceiling height and room size. A dimmer on the recessed lights lets the room shift from full brightness during cooking to a softer ambient mode alongside the LED accents.
9. Keep Hardware Minimal for a Seamless High-Gloss Look
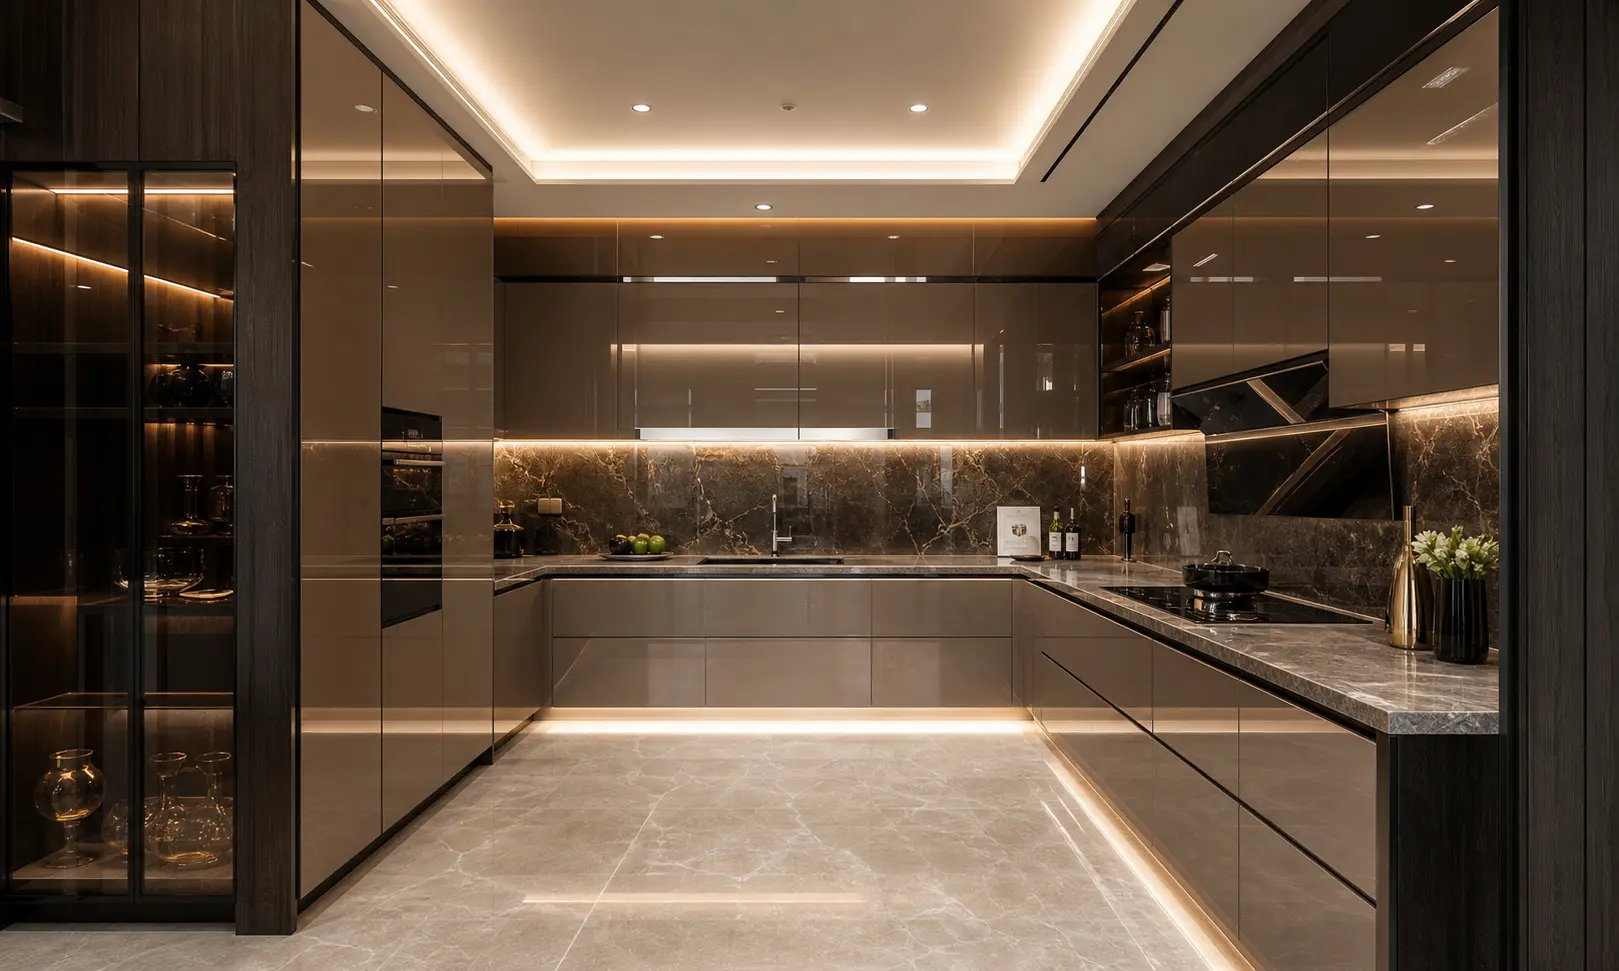
Push to open cabinets or slim integrated handles keep the gloss surfaces looking uninterrupted. Bulky or ornate hardware tends to clash with the clean lines that make a high-gloss kitchen feel modern.
If you do want visible hardware, a thin matte black or brushed brass bar pull adds a small contrast point without disrupting the overall minimal look. Consistency matters more than the specific style chosen, every cabinet should use the same hardware approach.
10. Use the Third Wall for Full Height Storage
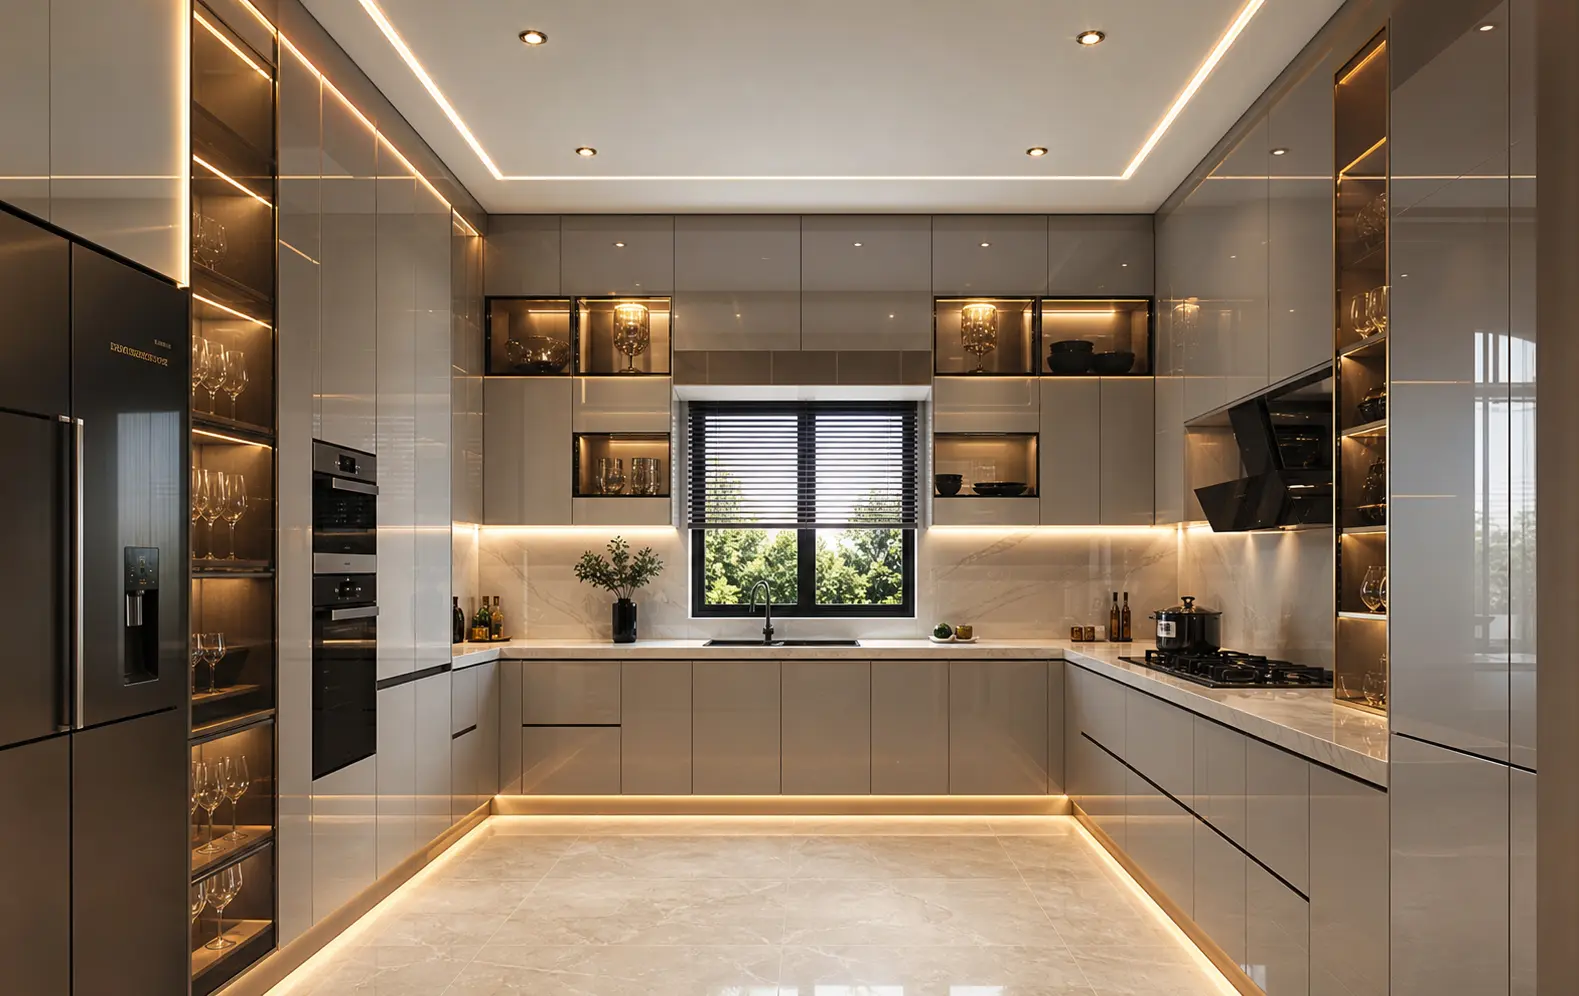
The wall opposite the stove in a U-shaped layout is often the best spot for full height pantry cabinets. Floor to ceiling storage here keeps small appliances and pantry items out of sight, which supports the clean look gloss finishes are meant to create.
Built in appliance garages within this wall keep countertops clear across the entire kitchen. A tall pantry cabinet with pull out shelving also makes better use of vertical space than standard lower cabinets alone.
Mistakes to Avoid
- Using cool white LED strips that make the kitchen feel clinical instead of warm
- Skipping a diffuser cover on LED strips, leaving individual bulb points visible
- Matching busy tile across all three walls instead of choosing one statement wall
- Overusing gloss finishes everywhere without any matte contrast to ground the space
- Ignoring corner storage planning until after cabinets are already installed
- Mixing multiple hardware styles across different cabinet sections
FAQ
Is high-gloss cabinetry hard to maintain? High-gloss surfaces show fingerprints and water spots more easily than matte finishes, so they typically need more frequent wiping down. A microfiber cloth and gentle cleaner usually keep them looking clear without streaking.
How much does LED strip lighting typically cost to install? Costs vary based on the length of strips needed, the quality of the LEDs, and whether you hire an electrician for hardwired installation versus using plug in options. Plug in kits tend to be the more budget friendly starting point.
Can a U-shaped kitchen still feel open with three walls of cabinets? Yes, especially with an open end or peninsula rather than a fully enclosed fourth wall. Light gloss finishes and layered LED lighting both help the space feel larger than the layout alone might suggest.
What’s the best LED color temperature for kitchen task lighting? Warm white in the 2700K to 3000K range tends to feel the most residential and flattering for both food prep and general ambiance. Cooler temperatures above 4000K can feel more clinical in a home kitchen.
Do I need an electrician to install toe kick or under cabinet LEDs? Plug in LED strip kits generally don’t require an electrician. Hardwired systems connected to a dedicated switch or dimmer typically do need professional installation for safety and code compliance.
Conclusion
A luxury U-shaped kitchen comes down to layering light and choosing finishes that reflect it well. High-gloss cabinets and LED strips work together, one wouldn’t have the same impact without the other.
Start with under cabinet and toe kick lighting since those upgrades are relatively affordable and make an immediate difference. Build toward gloss cabinet finishes and a waterfall countertop as the budget allows.