10 Modern Wood Slat TV Wall Design Ideas with LED Lighting | Luxury Living Room Inspiration
You’ve seen wood slat walls all over your feed, warm LED light glowing behind neat rows of wood, and a TV that somehow looks intentional instead of just mounted. Then you try to plan your own and get stuck on spacing, wood tone, and where the lighting actually goes. These wood slat TV wall design ideas walk through exactly that, so you can build a real luxury living room feature instead of guessing and hoping it looks right.
1. Choose the Right Wood Slat Spacing for Your Wall
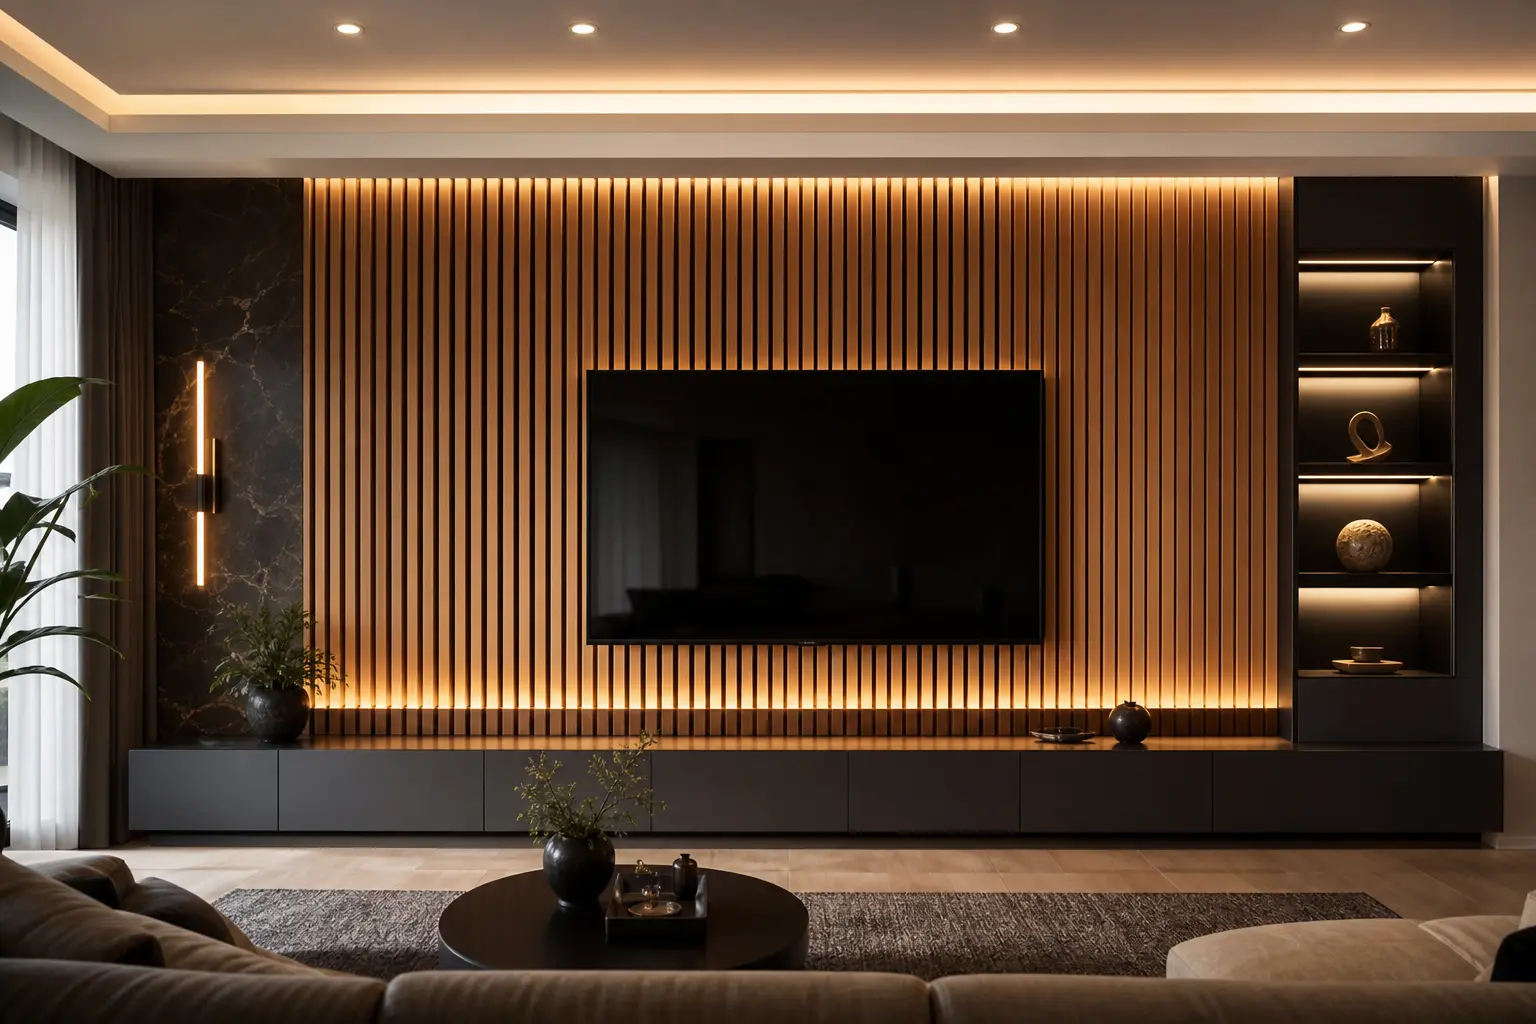
Slat spacing changes the entire feel of the wall. Narrow gaps, around half an inch, create a tighter, more formal pattern. Wider gaps, closer to an inch or more, feel more relaxed and casual, and also show more of the backdrop material behind the slats.
For a wall with LED lighting behind it, slightly wider spacing lets more light through, which creates a softer, more visible glow. Very tight spacing can end up hiding most of the light source, so the effect ends up subtler than expected.
A Simple Way to Test Spacing First
Before committing to a full wall, mock up a small section with painter’s tape or scrap wood strips at two or three spacing options. Standing back and viewing it from the sofa, not up close, gives a much better sense of how the spacing will actually read in the finished room.
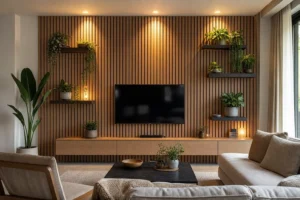
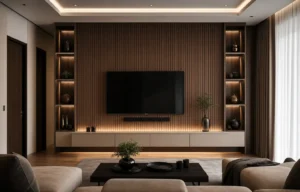
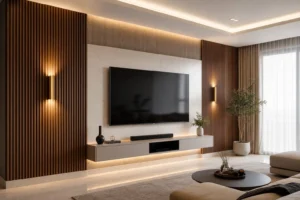
2. Pick a Wood Tone That Matches Your Living Room’s Palette
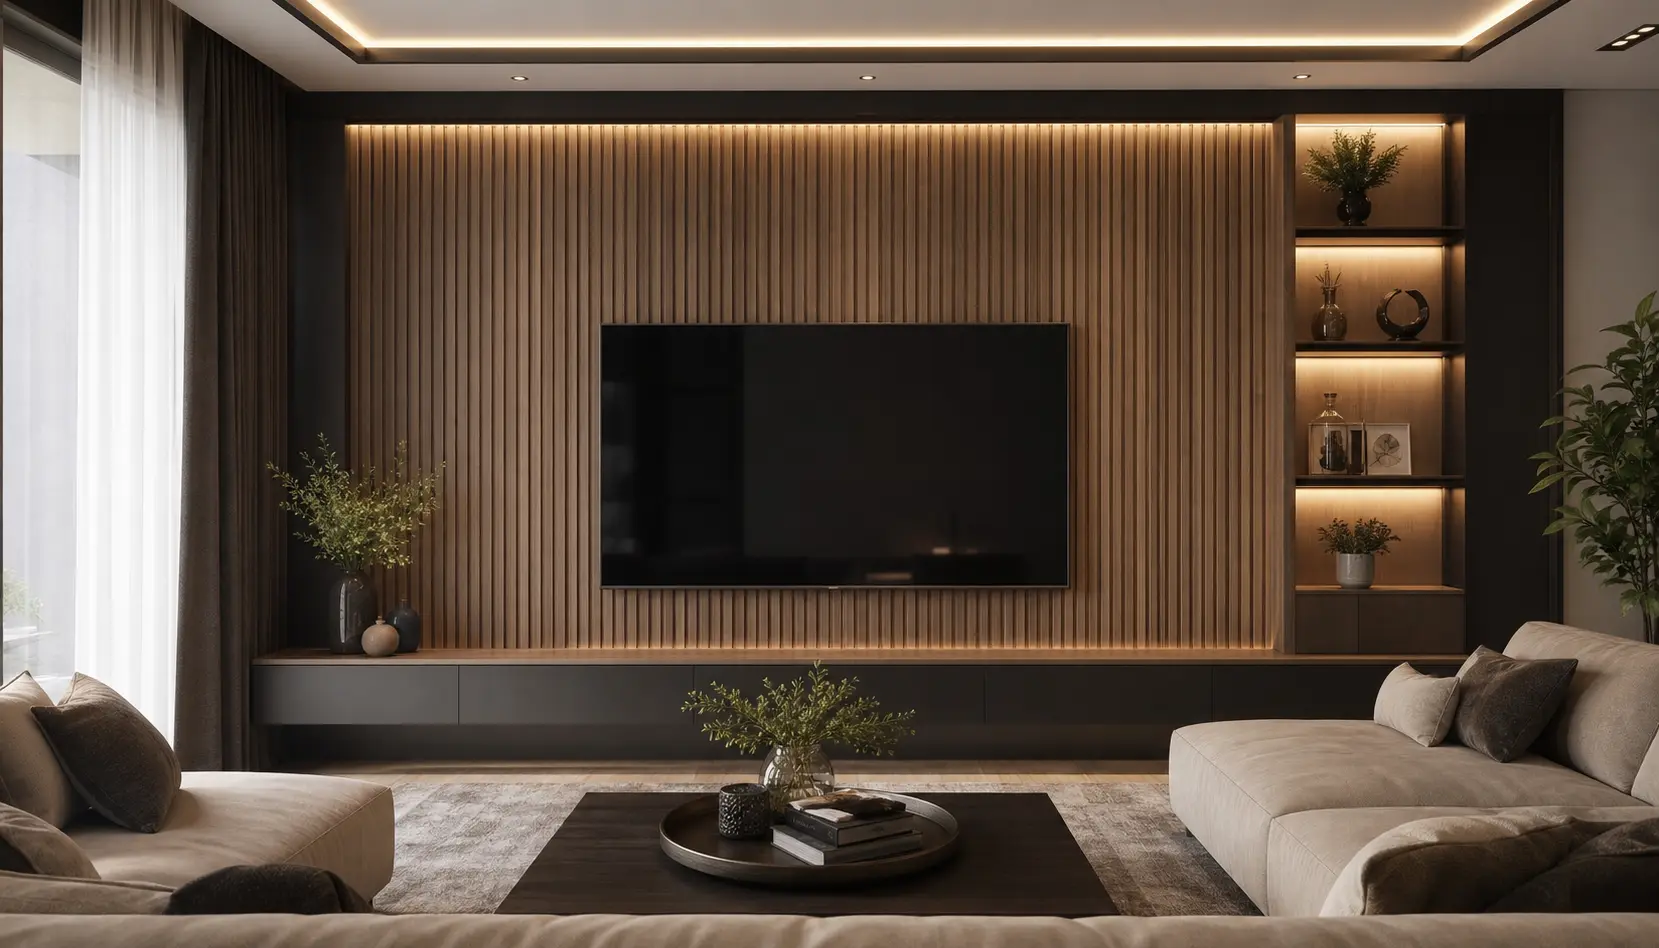
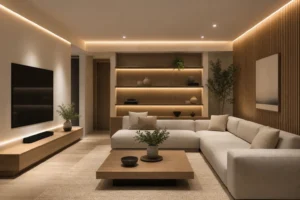
Warm tones like oak, walnut, or cedar tend to feel cozy and traditional, while a lighter ash or whitewashed slat can feel more modern and airy. The right choice depends heavily on your existing flooring and furniture, not just personal preference in isolation.
As a general rule, matching the slat wood tone closely to your flooring creates a seamless, grounded look, while a contrasting tone, like dark walnut slats against light oak floors, creates more of a deliberate design statement.
3. Add LED Lighting Behind the Slats for a Soft Glow
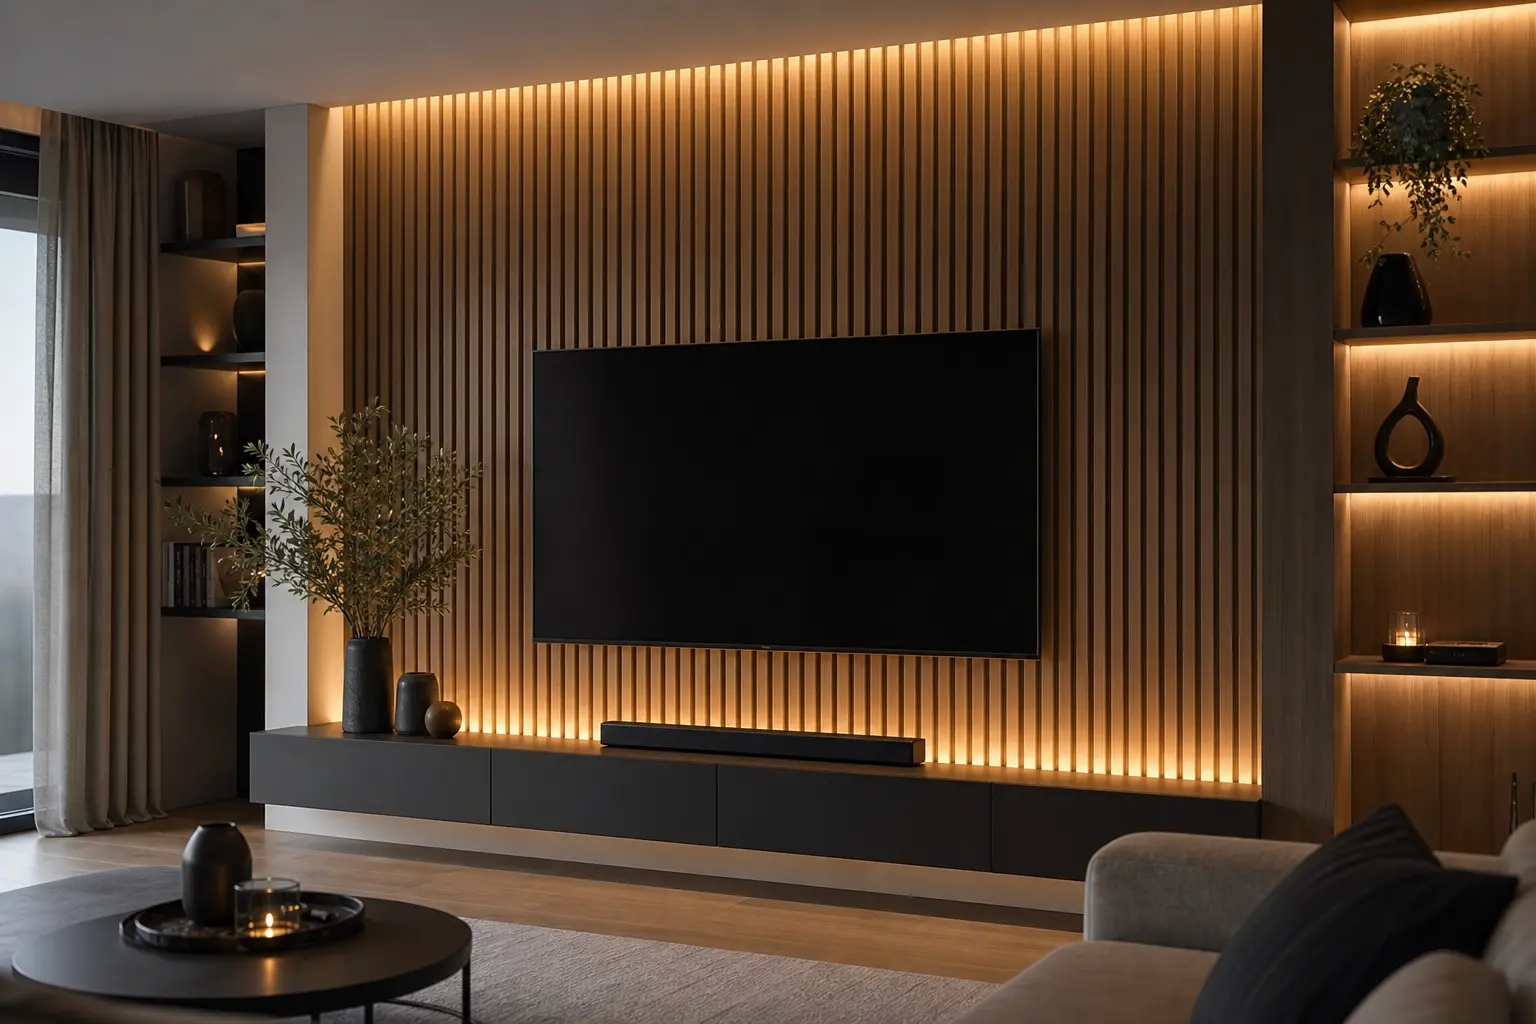
This is the detail that separates a flat wood accent wall from a genuinely luxury looking feature. A warm LED strip, in the 2700K to 3000K range, mounted directly behind the slats, casts soft light through the gaps and onto the wall behind, creating a subtle backlit effect.
Cool white LED strips tend to feel more clinical against warm wood tones, so sticking to warm white keeps the whole wall feeling cohesive rather than mismatched.
4. Decide Where the TV Should Sit Within the Slat Panel
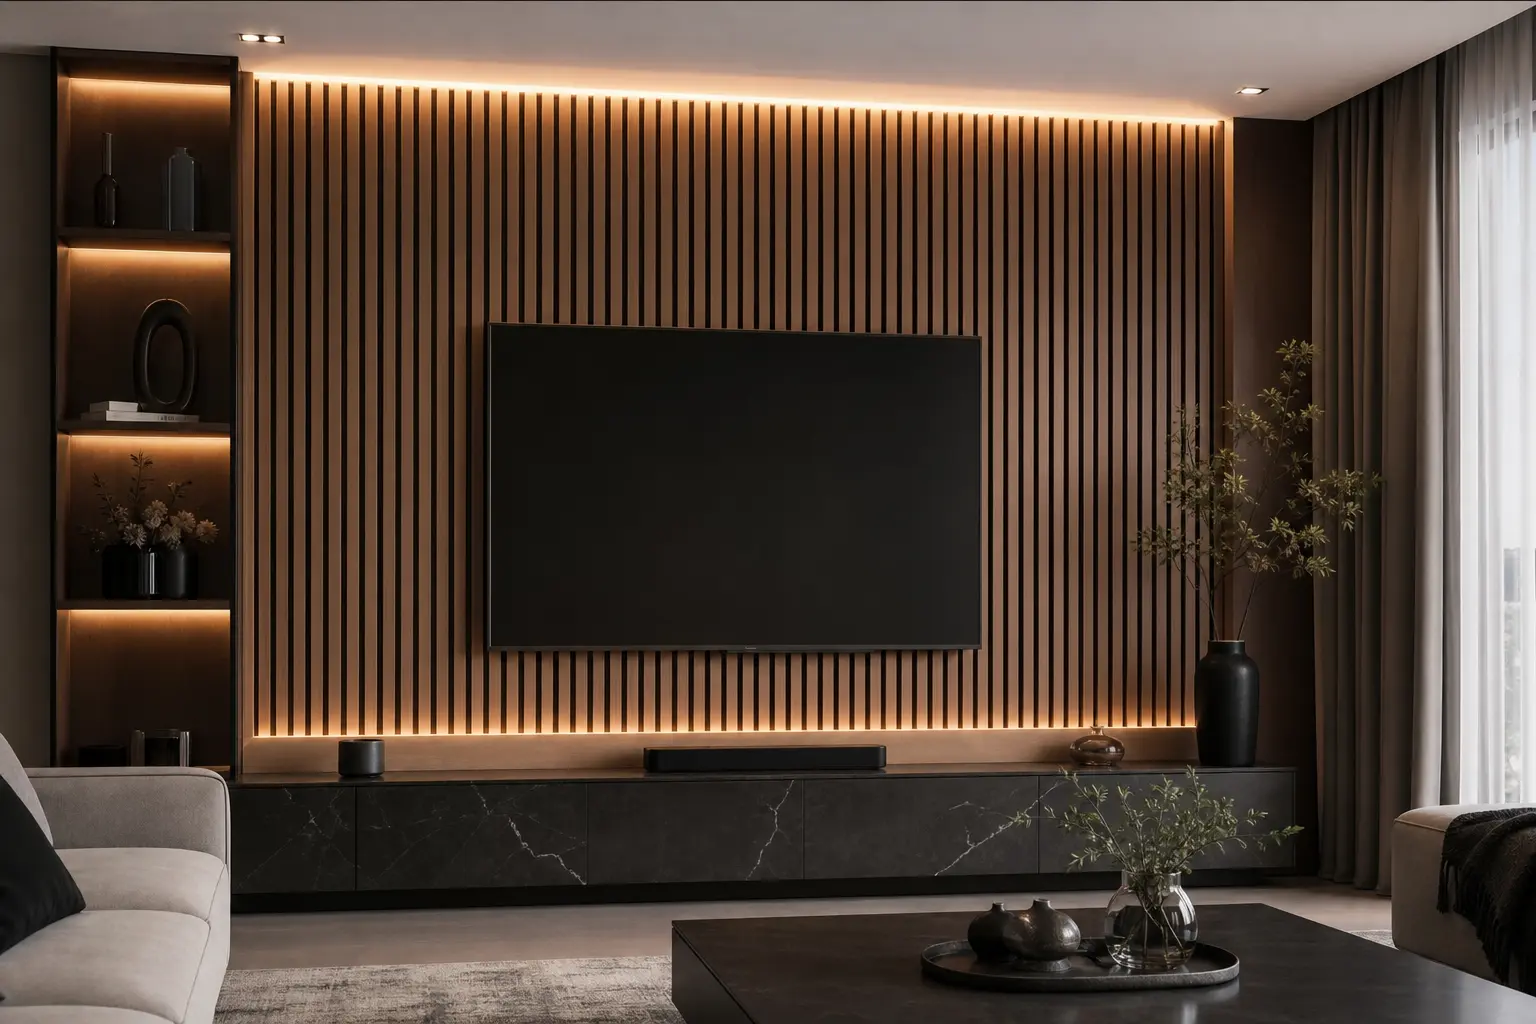
Most wood slat TV walls either run the slats continuously behind the screen or leave a clean gap where the TV sits flush against the wall. Running slats behind the TV can look seamless, but it also makes future TV size changes harder, since the panel is built around one specific size.
Leaving a slightly recessed or flat section for the TV, surrounded by slats, is a more flexible option and still reads as intentional rather than like an afterthought cutout.
5. Choose Between a Full Wall or Partial Slat Paneling
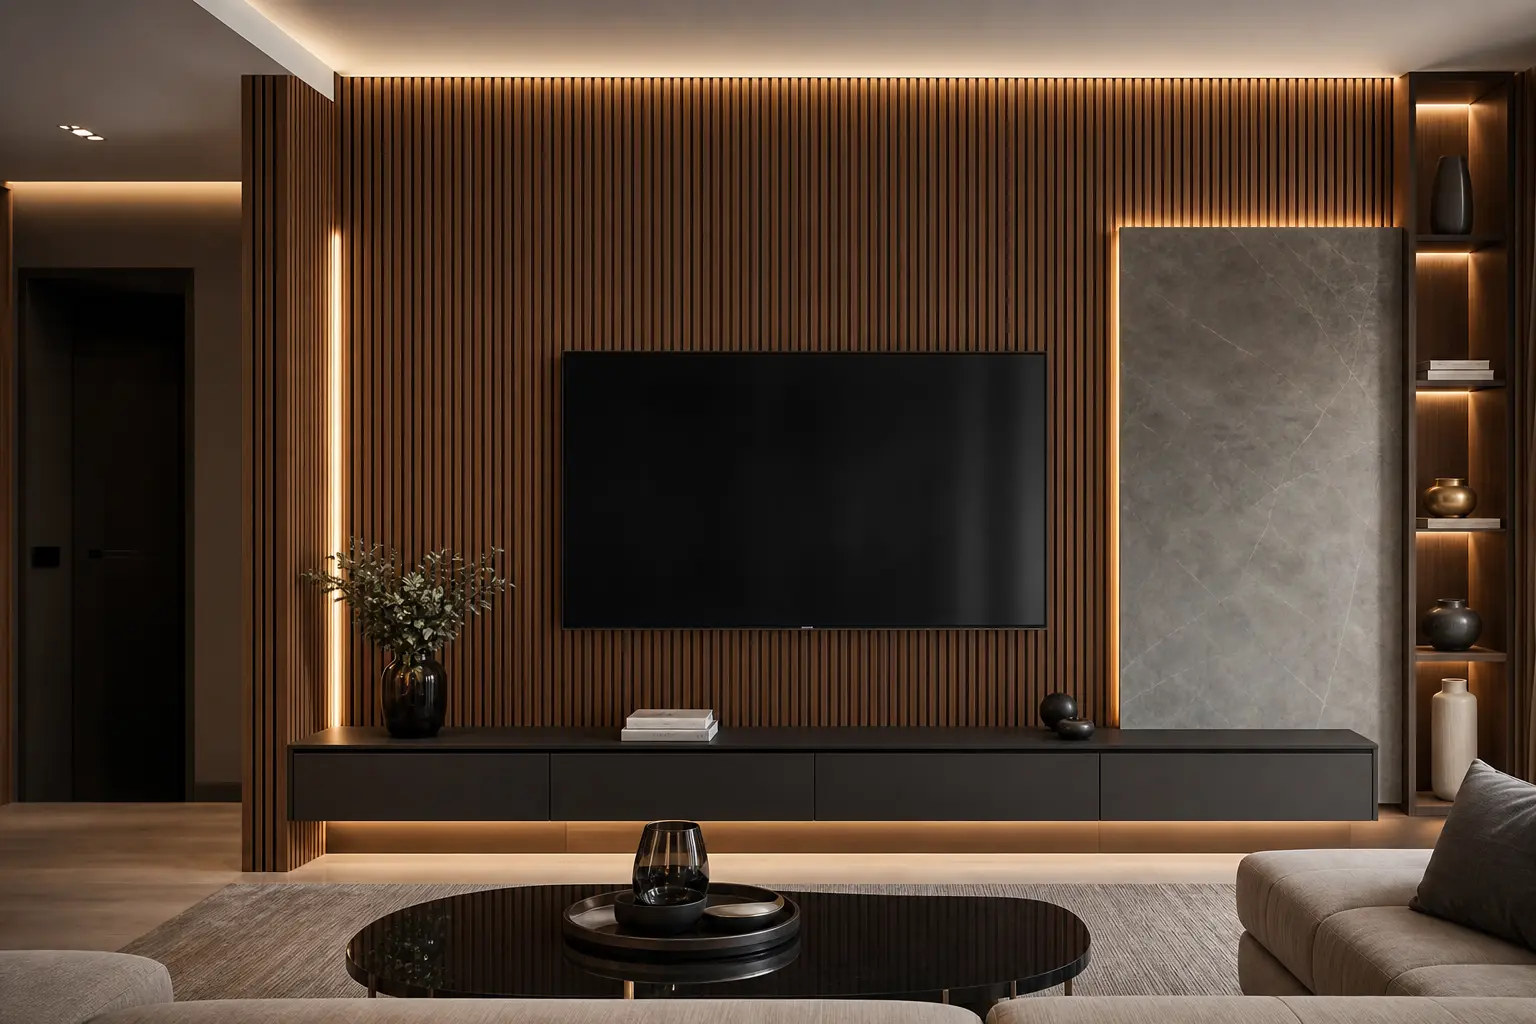
A full wall of slats, floor to ceiling, makes a strong, dramatic statement, but it’s also a bigger material investment and a longer installation. Partial paneling, covering just the section behind the TV and console, gives much of the same visual impact at a lower cost.
For a first time slat wall project, partial paneling is often the more practical starting point, especially in a rented space where a full wall installation may not be possible.
6. Add a Floating Media Console Below the Slat Wall
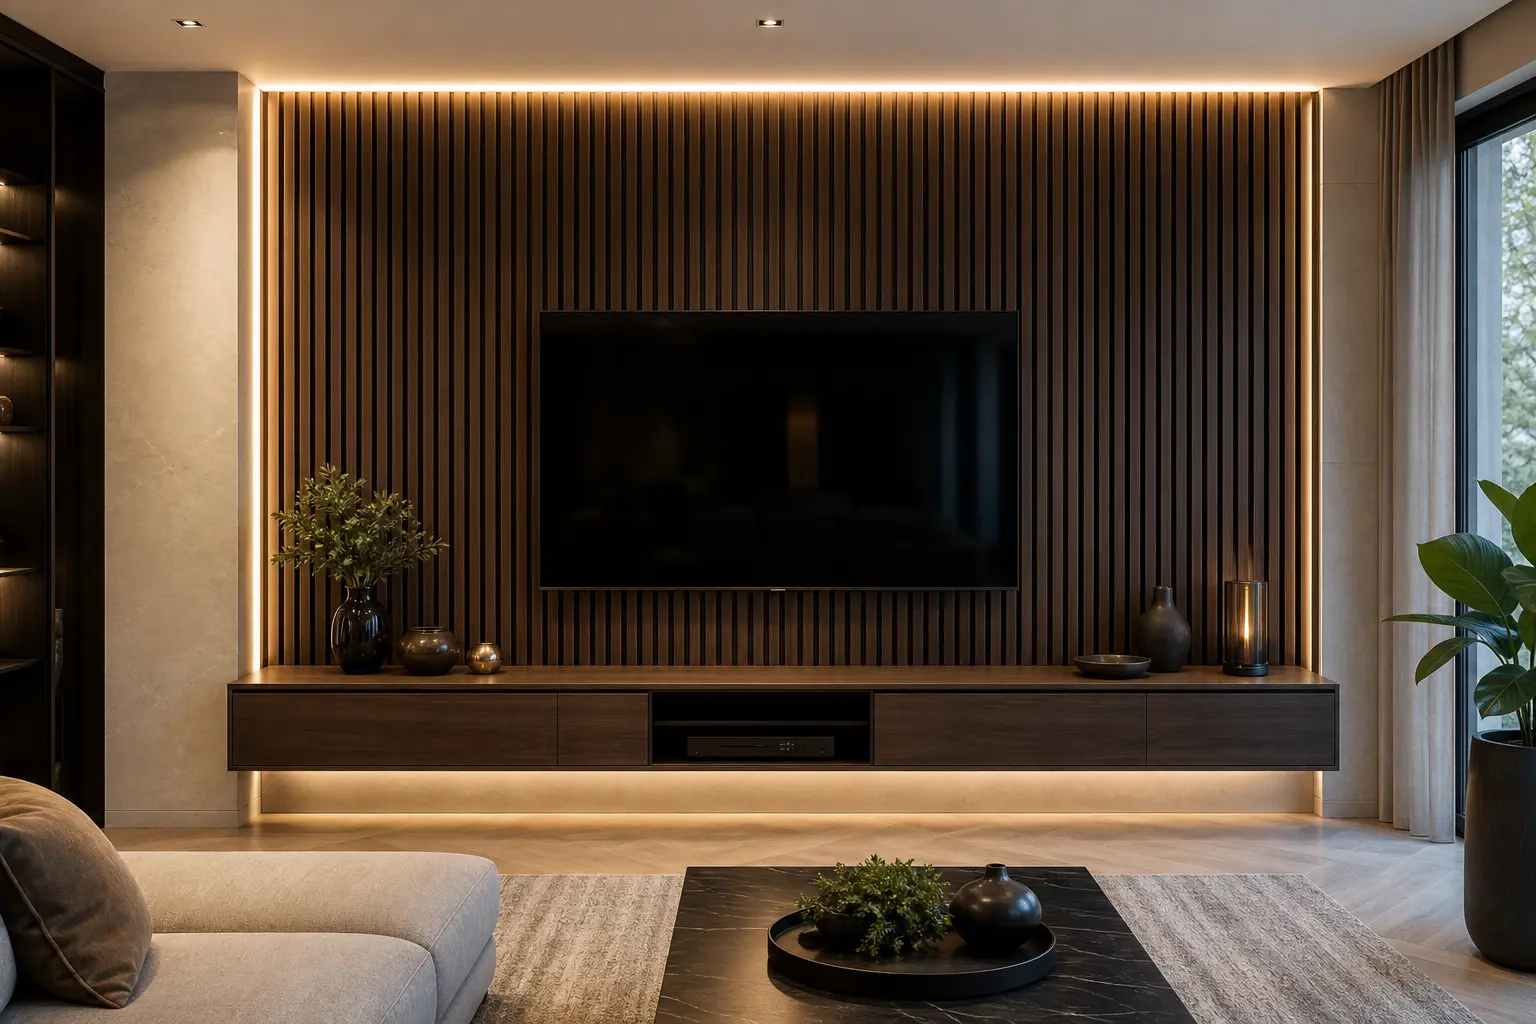
A floating console, mounted directly to the wall or resting on slim hidden brackets, continues the light, modern feel that a slat wall establishes. It also makes cleaning the floor beneath much easier, which matters more than people expect once dust starts collecting.
Matching the console’s wood tone closely to the slats, or intentionally contrasting it with a matte black or white finish, are both valid choices. What matters most is picking one approach and staying consistent.
7. Layer Warm LED Strips Along the Edges for Depth
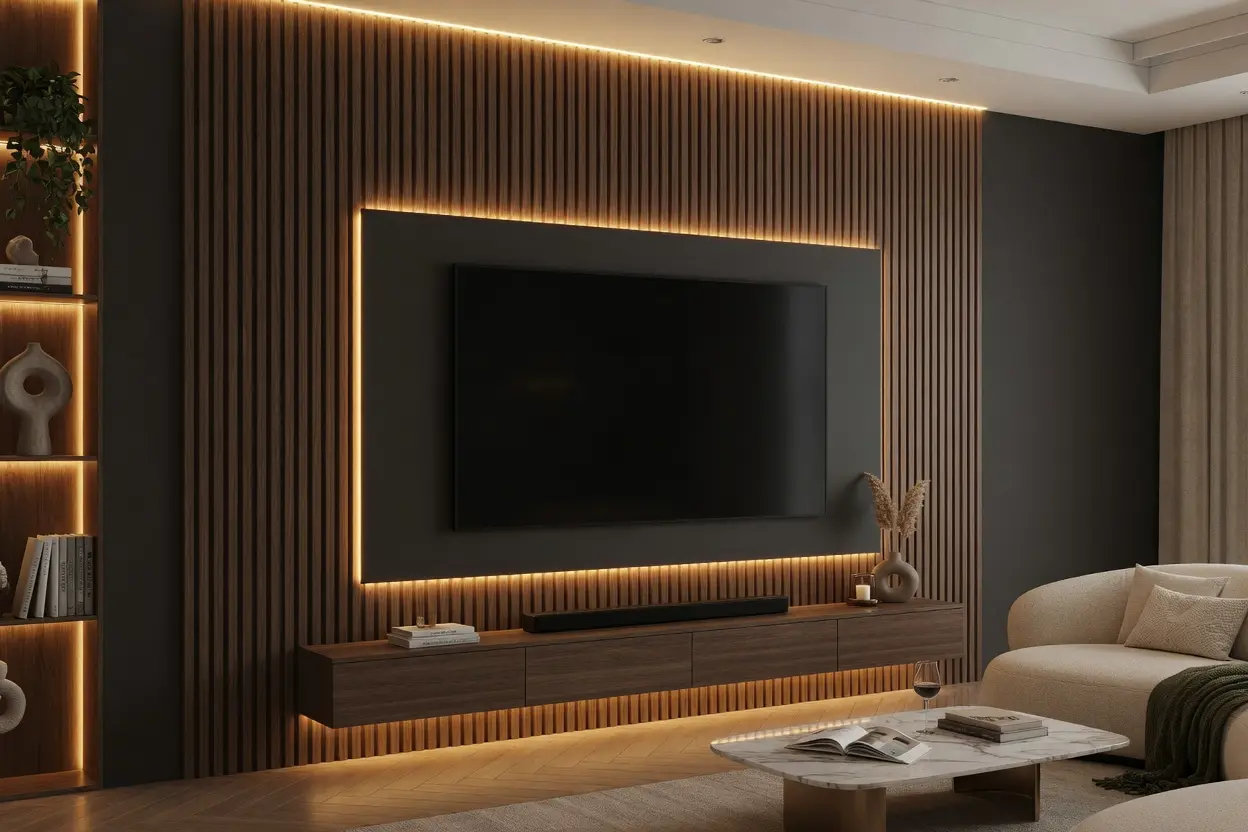
Beyond backlighting behind the slats themselves, adding a warm LED strip along the top edge of the panel, or beneath a floating console, creates additional depth and layers of light. This kind of layered lighting is what makes a slat wall photograph well at night, not just during the day.
Keep all LED strips on the same warm color temperature throughout the wall. Mixing warm and cool strips in the same space tends to look unplanned rather than intentional.
8. Balance Slat Texture With Simple Surrounding Decor
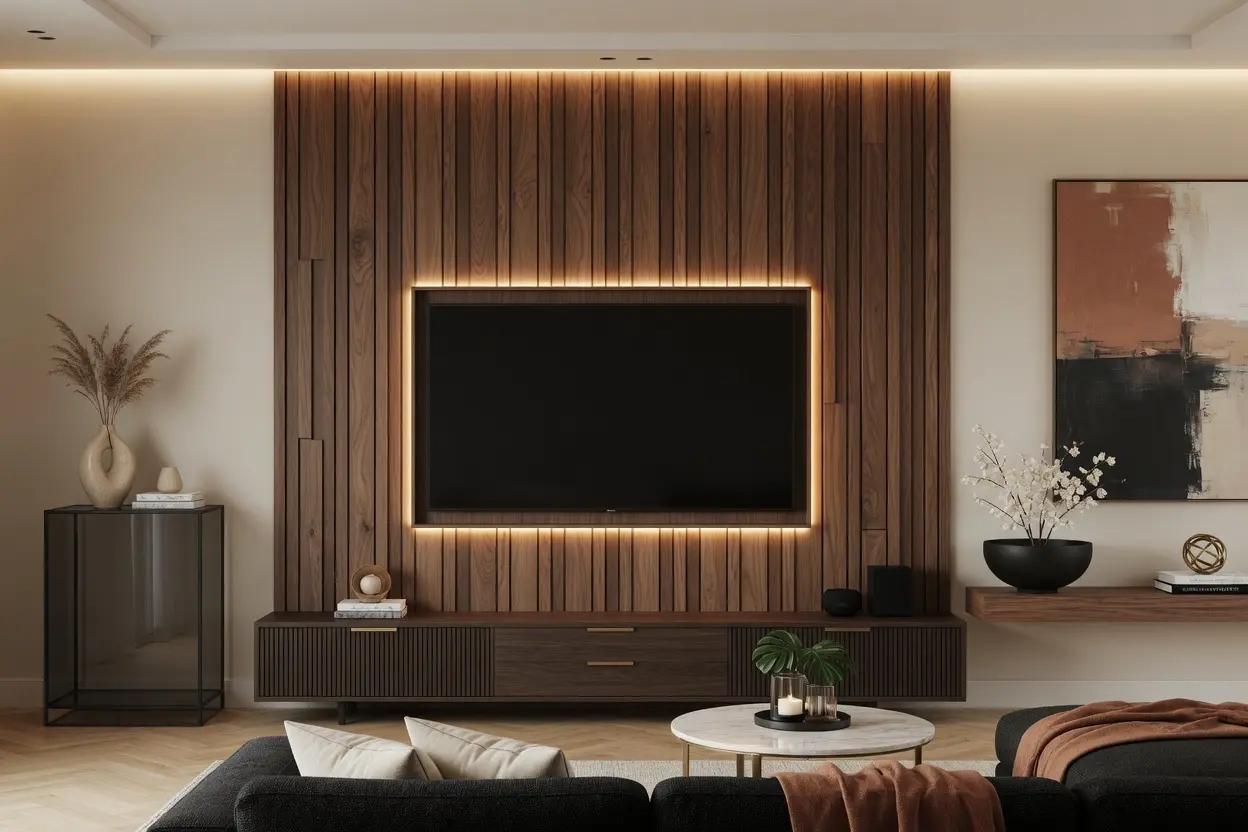
A wood slat wall is already a strong visual feature, so busy patterned decor nearby can compete with it rather than complement it. Simple, solid colored furniture and minimal wall art on adjacent walls let the slat panel remain the clear focal point of the room.
A few plants or a single piece of art with warm, muted tones tend to work better here than a gallery wall or heavily patterned textiles.
9. Consider Slat Paneling That Wraps a Corner or Ceiling Line
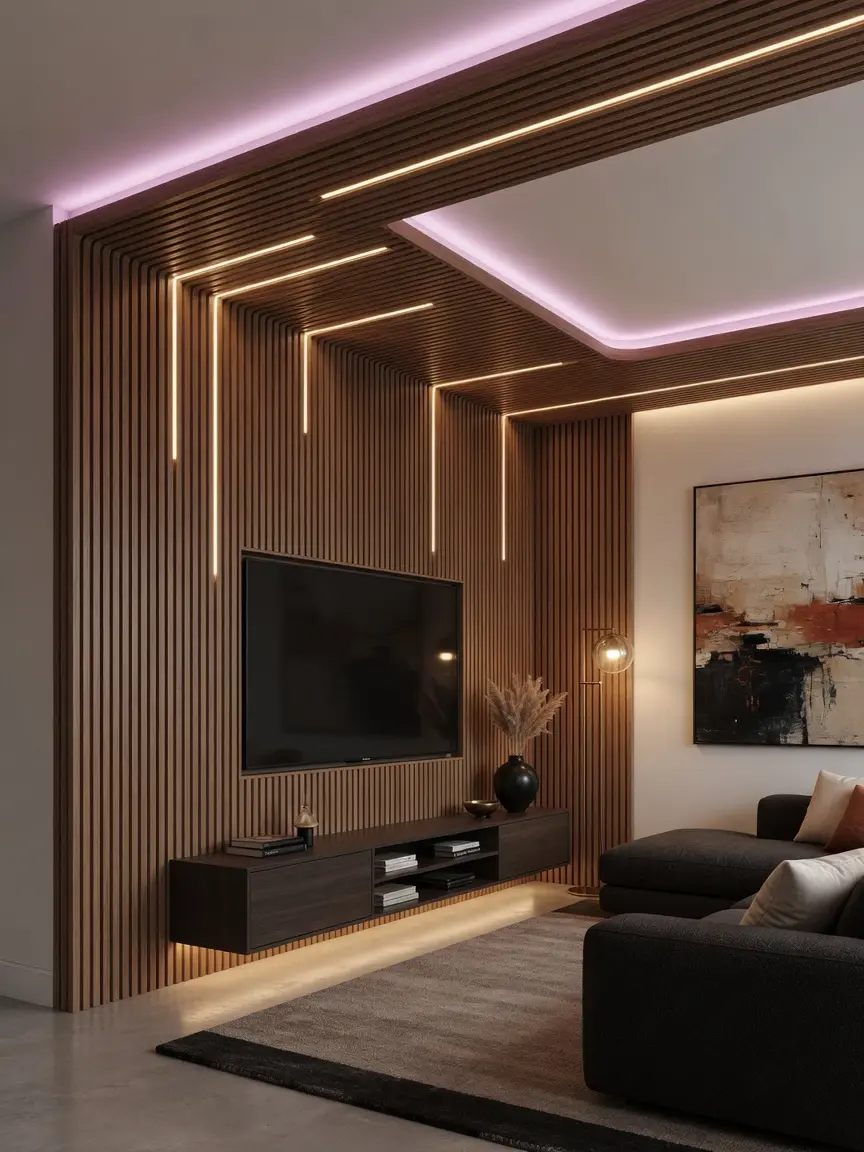
For a more architectural look, some wood slat walls extend around a corner or continue up onto a portion of the ceiling. This treatment adds a sense of intentional design and can make a room feel more custom built, though it does require more material and more precise installation.
This option works especially well in rooms with higher ceilings, where a flat slat wall alone might otherwise leave a large amount of empty space above the panel.
10. Maintain a Wood Slat Wall for Long Term Durability
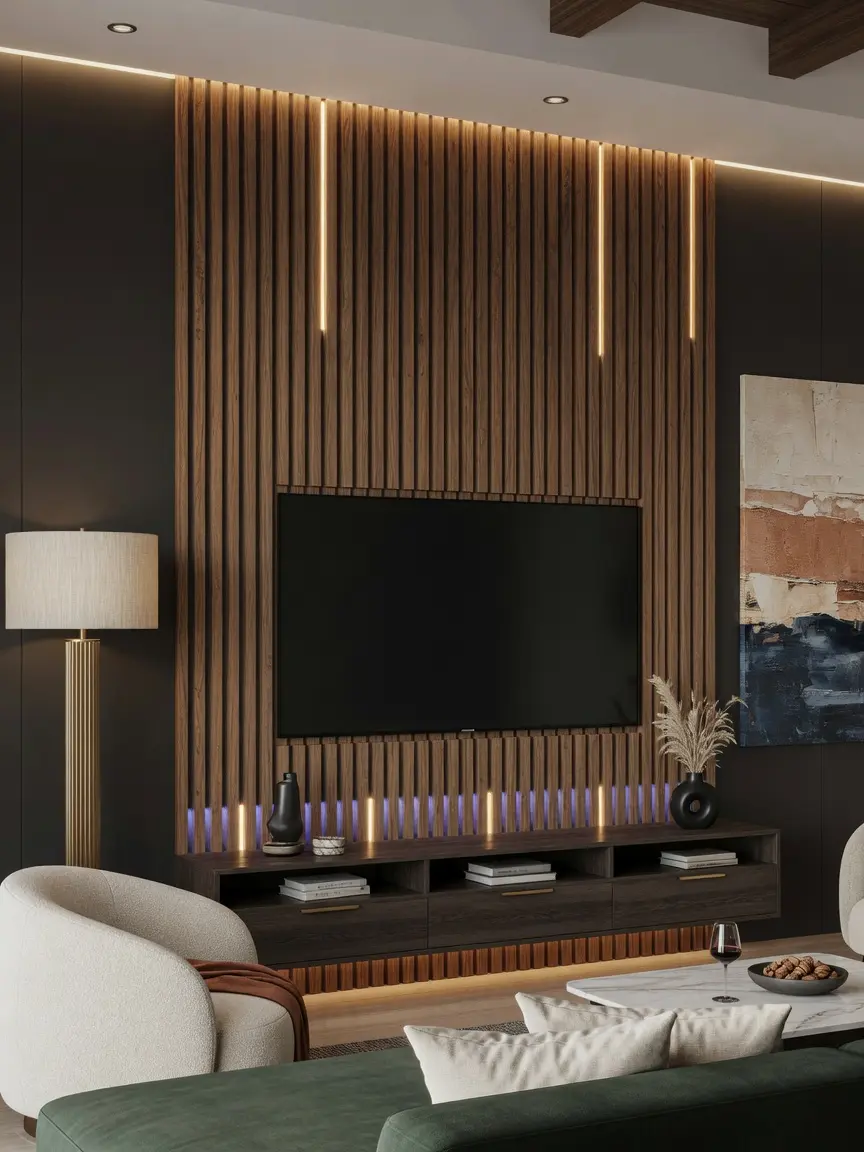
Real wood slats can shift slightly with humidity changes, so leaving small expansion gaps during installation helps prevent warping over time. Dusting slats regularly, using a soft brush attachment, keeps the gaps between them from collecting visible buildup.
If the wall is near a heat source or in direct sun for long periods, checking the wood periodically for fading or drying helps catch any issues before they become a bigger repair.
Mistakes to Avoid
- Choosing slat spacing too tight for the LED lighting you’re planning to add behind it
- Mixing warm and cool LED color temperatures on the same wall
- Skipping expansion gaps during installation, which can lead to warping over time
- Adding busy patterned decor nearby that competes with the slat texture
- Committing to a full wall installation before testing spacing and wood tone on a small section
Frequently Asked Questions
What slat spacing works best for LED backlighting? Wider spacing, around three quarters of an inch to an inch, generally lets more light through and creates a more visible glow than very tight spacing.
Do wood slat walls need real wood, or can I use a veneer panel? Both work. Real wood offers more texture and durability, while veneer panels are often lighter and easier to install, though they may not hold up as well to long term humidity changes.
Is a full wall of slats necessary for the look to work? No. Partial paneling behind the TV and console area gives much of the same visual effect at a lower material cost and shorter installation time.
What color temperature LED strip should I use behind the slats? Stick to warm white, generally in the 2700K to 3000K range, so the light complements the warm wood tone rather than making it look cool or clinical.
How do I prevent a wood slat wall from warping over time? Leave small expansion gaps during installation and avoid placing the wall in an area with constant direct sun or a nearby heat source without periodic checks.
Conclusion
A wood slat TV wall with warm LED lighting is one of the most effective ways to turn a plain living room wall into a genuine design feature. Start small, with a partial panel and a simple warm LED strip, test the spacing before committing to a full wall, and build up from there as your budget and confidence grow.