10 Modern Bedroom False Ceiling Design Ideas with Luxury LED Lighting
You lie in bed at night and stare up at the same flat, featureless ceiling every home seems to have, lit by one central fixture that’s either too bright or completely off with nothing in between. Modern bedroom false ceiling design with luxury LED lighting fixes that by turning the ceiling into a layered, warmly lit feature instead of dead space overhead. It’s one of the more dramatic bedroom upgrades available, and it changes how the whole room feels without touching the floor plan at all.
1. Understand What a False Ceiling Actually Adds to a Bedroom
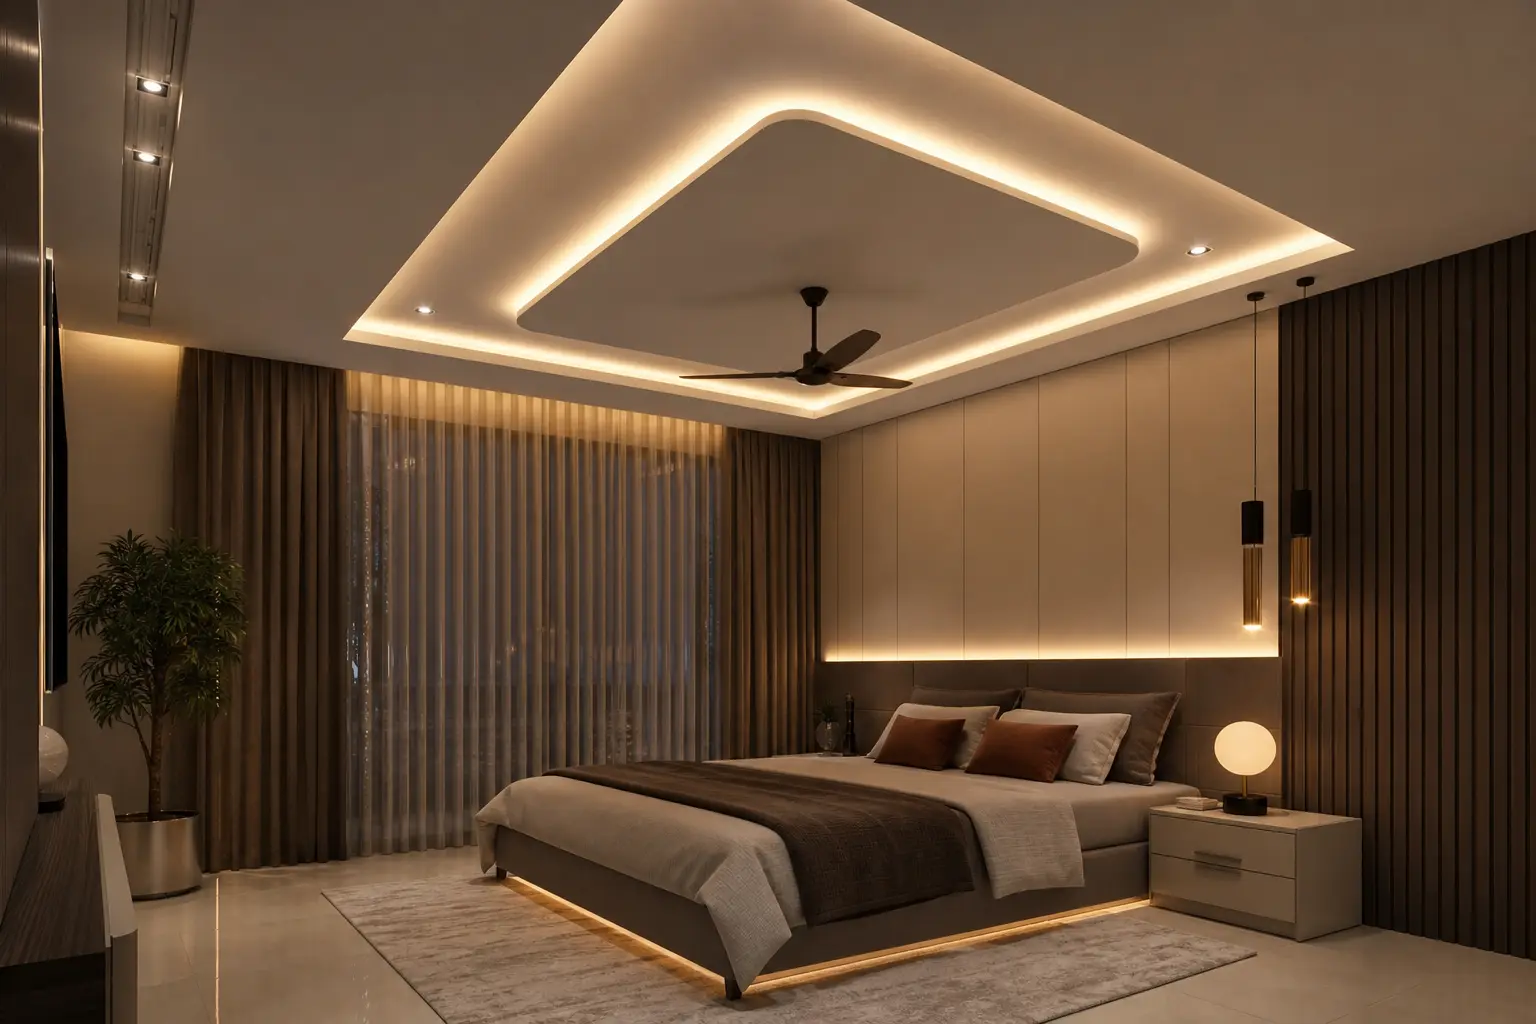
A false ceiling, sometimes called a dropped or suspended ceiling, adds a secondary layer below the structural ceiling, creating a tray, step, or recessed section that gives the room genuine architectural depth. Unlike a flat ceiling with a single fixture, a false ceiling design lets light sources hide within the structure itself, producing a soft, indirect glow rather than a single harsh point of light. This depth is part of why false ceilings read as more luxurious even before any lighting gets added.
Beyond the visual impact, a false ceiling can also help conceal wiring, ductwork, or uneven structural elements that would otherwise be visible on a flat ceiling. This practical benefit matters in older homes or renovated spaces where the original ceiling isn’t perfectly finished. The design and function work together, since hiding imperfections and adding lighting depth often happen in the same construction step.
2. Choose Between a Full and a Partial False Ceiling Tray
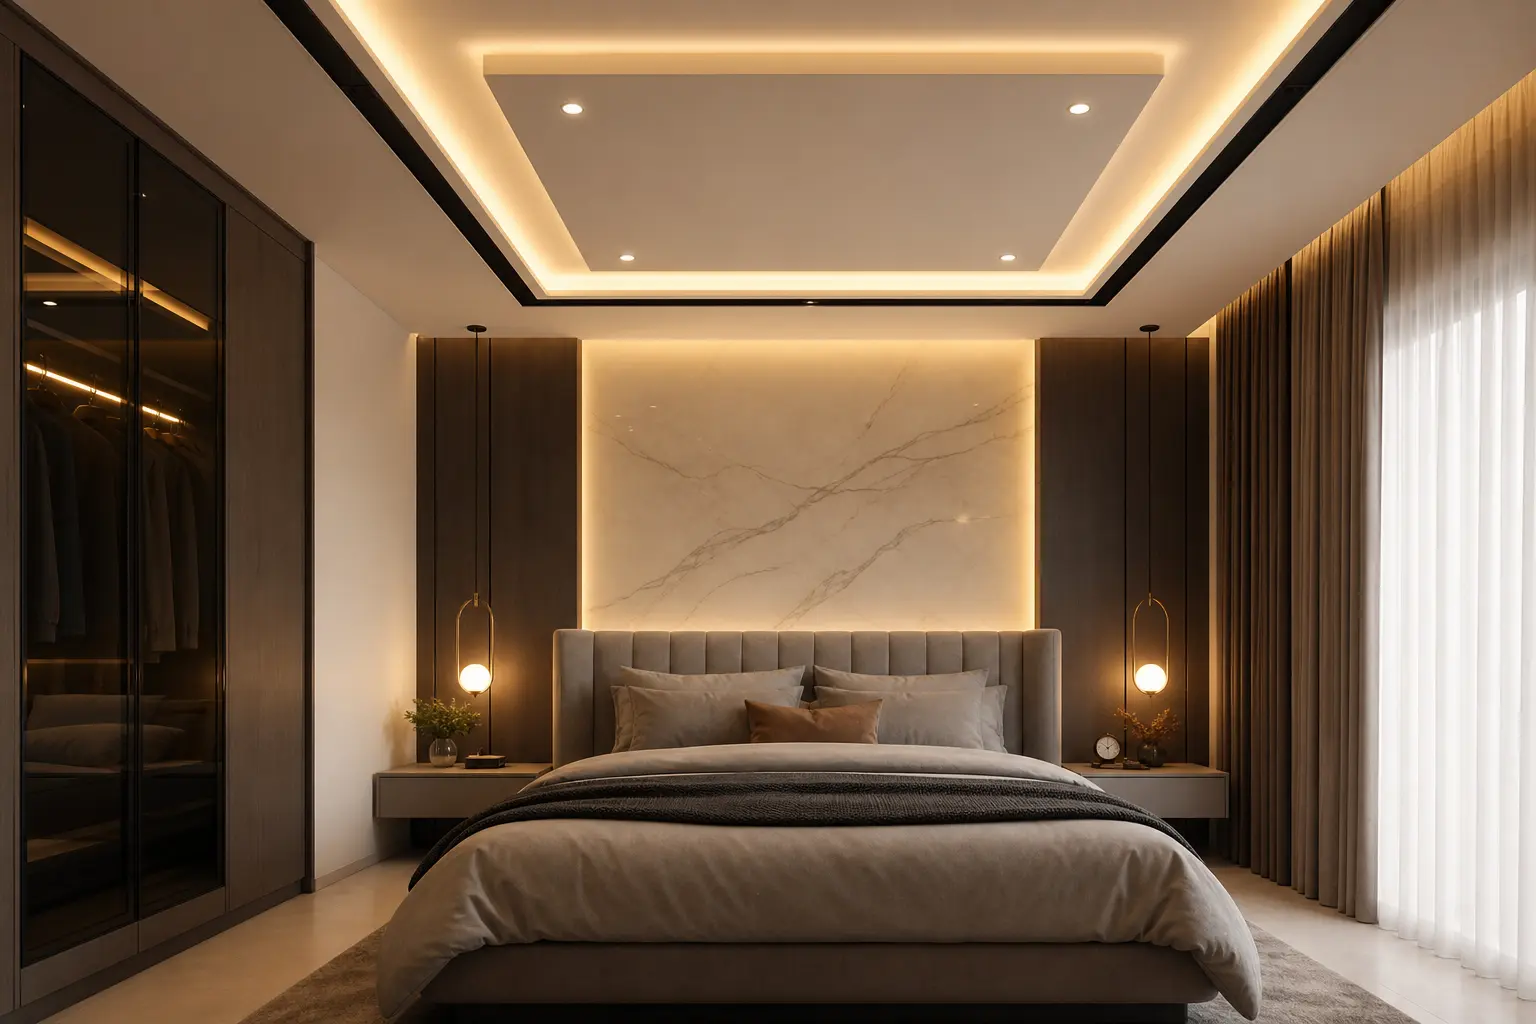
A full false ceiling covers the entire room at a lower height than the original structural ceiling, typically dropping 4 to 8 inches, and works best in rooms with at least 9 foot ceilings to start. A partial or perimeter tray only drops the ceiling around the edges of the room, leaving the central section at its original height, which suits rooms with more standard 8 foot ceilings where losing height across the whole room would feel cramped. Partial trays also cost less in materials and labor than a full ceiling treatment.


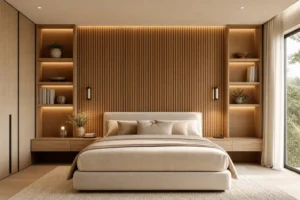
Choosing Based on Room Proportions
A partial tray generally suits a bedroom better than a full drop, since it preserves more of the room’s overall height while still creating the recessed edge needed for cove lighting. Reserve a full false ceiling for larger primary bedrooms with generous ceiling height to spare. Measure your actual ceiling height and subtract the planned drop before committing, since a false ceiling installed without this check can end up feeling unexpectedly low.
3. Add LED Cove Lighting Around the Tray’s Perimeter
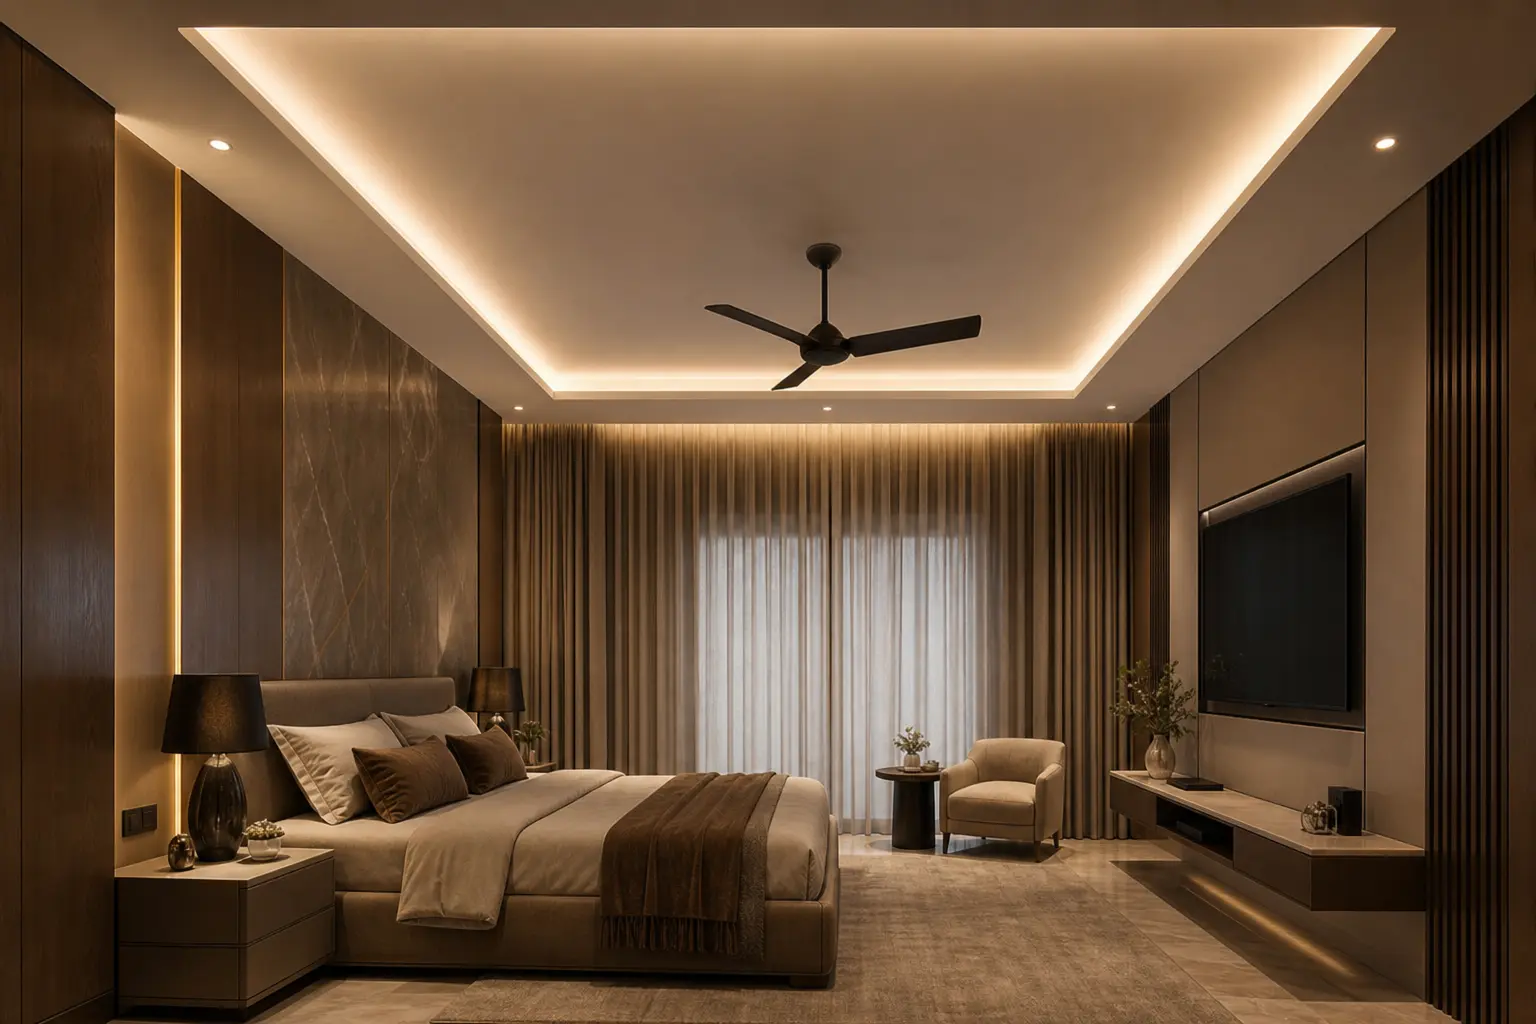
Cove lighting hides an LED strip within the false ceiling’s recessed edge, aimed so light bounces off the structural ceiling above rather than shining directly down into the room. This indirect approach is what gives a false ceiling its soft, glowing quality rather than the harsh pools of light a standard recessed can fixture produces. Most residential cove installations use a strip rated 300 to 500 lumens per foot, dimmable for flexibility across different times of day.
Position the LED strip behind a small lip or ledge within the tray so the bare strip itself stays completely hidden from a normal sightline lying in bed. Only the resulting glow should be visible, not the individual light source. This hidden placement is a key detail that separates a well executed cove installation from one that looks unfinished or overly exposed.
4. Pick a Warm Light Temperature for a Restful Bedroom
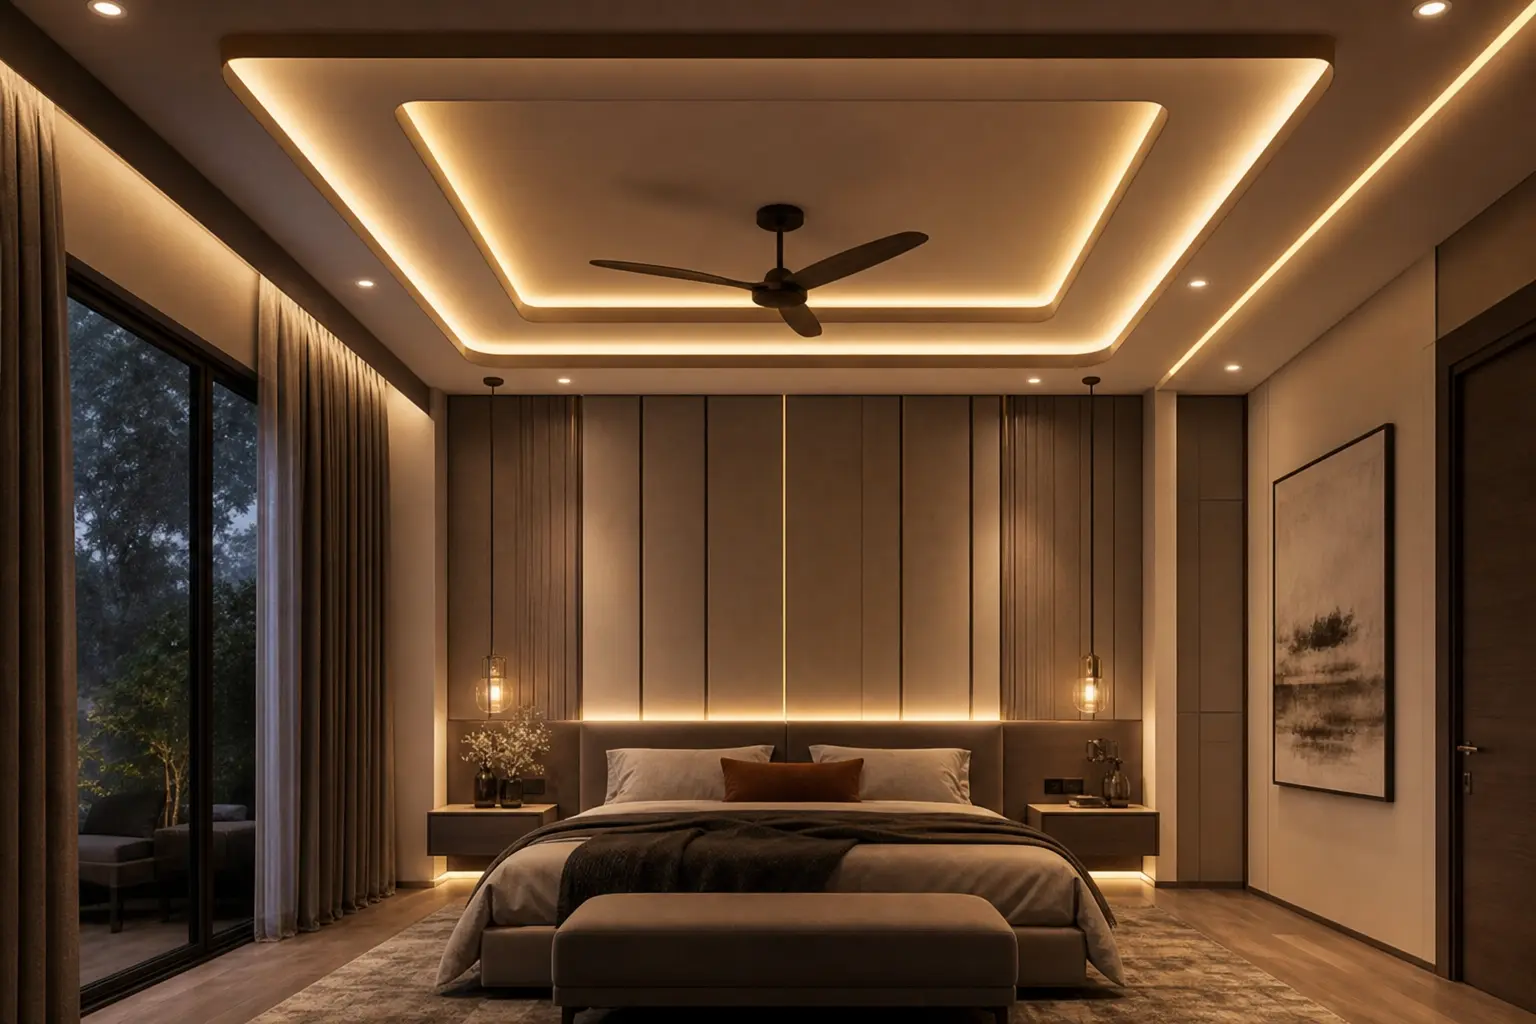
A bedroom benefits from warmer light than almost any other room in the home, since the space needs to support winding down at the end of the day rather than staying alert and task focused. Aim for 2700K to 3000K for the cove lighting specifically, since anything cooler starts to feel more clinical than restful. This warmth matters even more in a false ceiling design, since the indirect bounce lighting amplifies whatever temperature the strip is set to across the whole ceiling surface.
If the bedroom also needs brighter task lighting for dressing or reading, keep that as a separate zone on its own switch rather than relying on the cove lighting to serve both purposes. A single all purpose lighting zone rarely satisfies both the bright, functional need and the soft, restful one. Splitting these into distinct zones from the start avoids compromising on either.
5. Combine Cove Lighting With a Central Pendant or Fixture
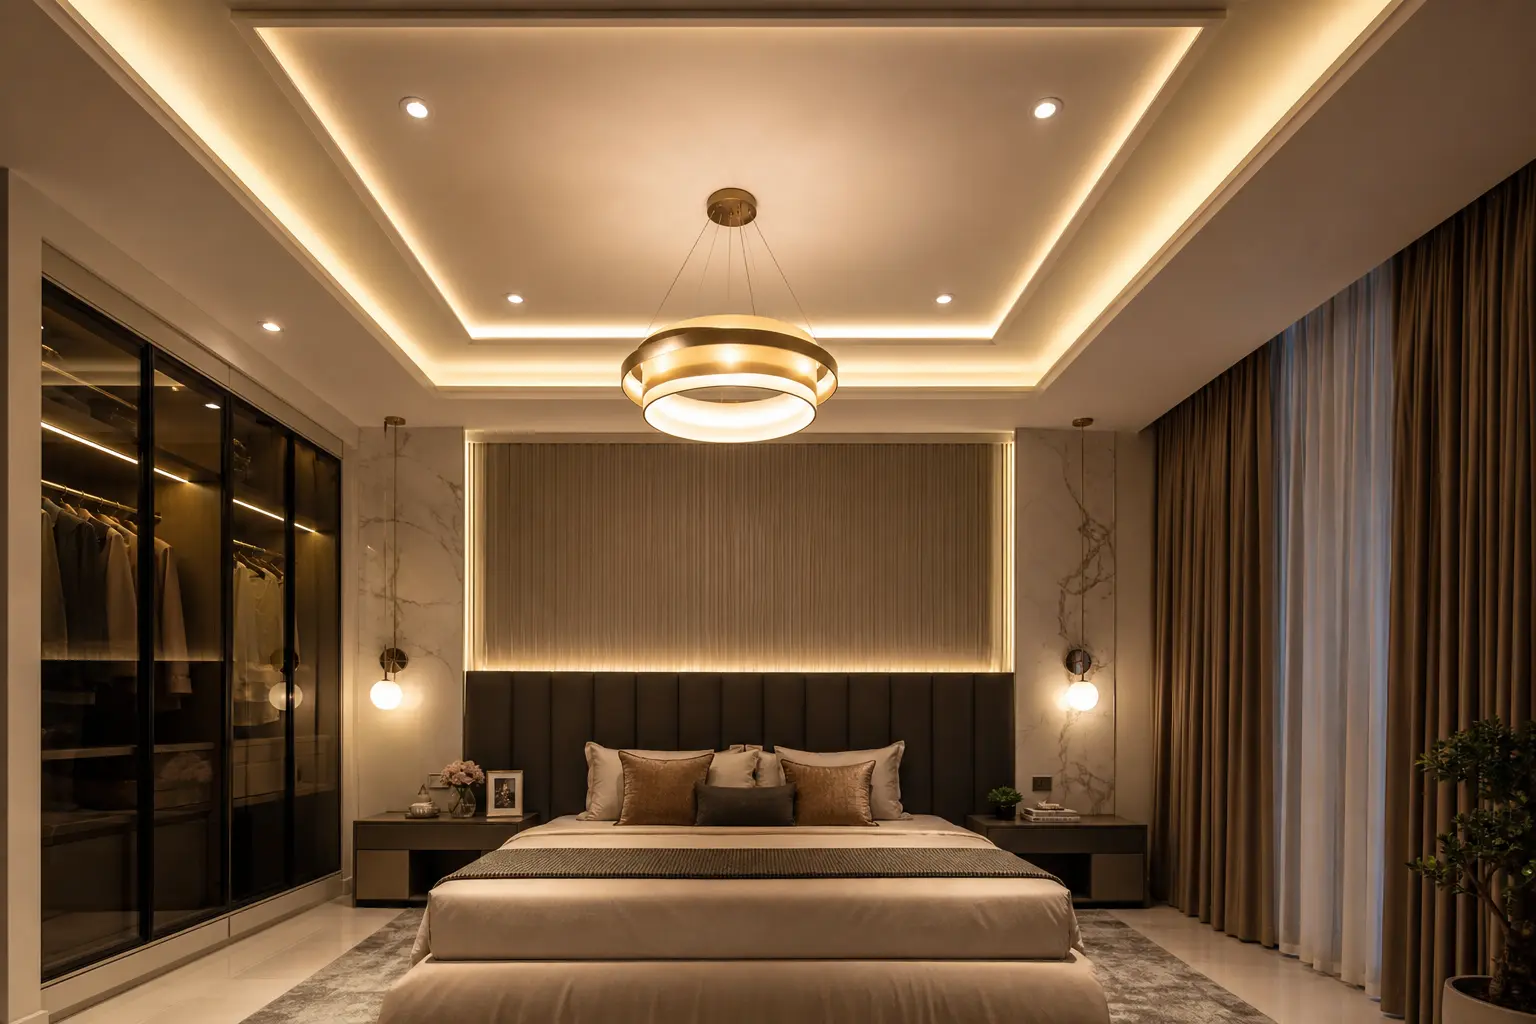
Cove lighting alone illuminates the room’s edges and ceiling surface, but the center of a false ceiling tray often benefits from an additional fixture to avoid feeling empty in the middle. A slim linear pendant, a cluster of small pendants, or a flush mount fixture with a soft diffused glow all work well as a central feature within the tray. This central fixture becomes the room’s main light source for brighter, everyday use, while the cove lighting handles the ambient, evening mood.
Keep the central fixture relatively simple if the cove lighting is already doing significant visual work around the tray’s edges. Two competing bold elements on one ceiling can cancel each other out rather than complementing one another. Choose one as the clear focal point and let the other play a supporting role.
6. Plan Tray Depth Based on Your Actual Ceiling Height
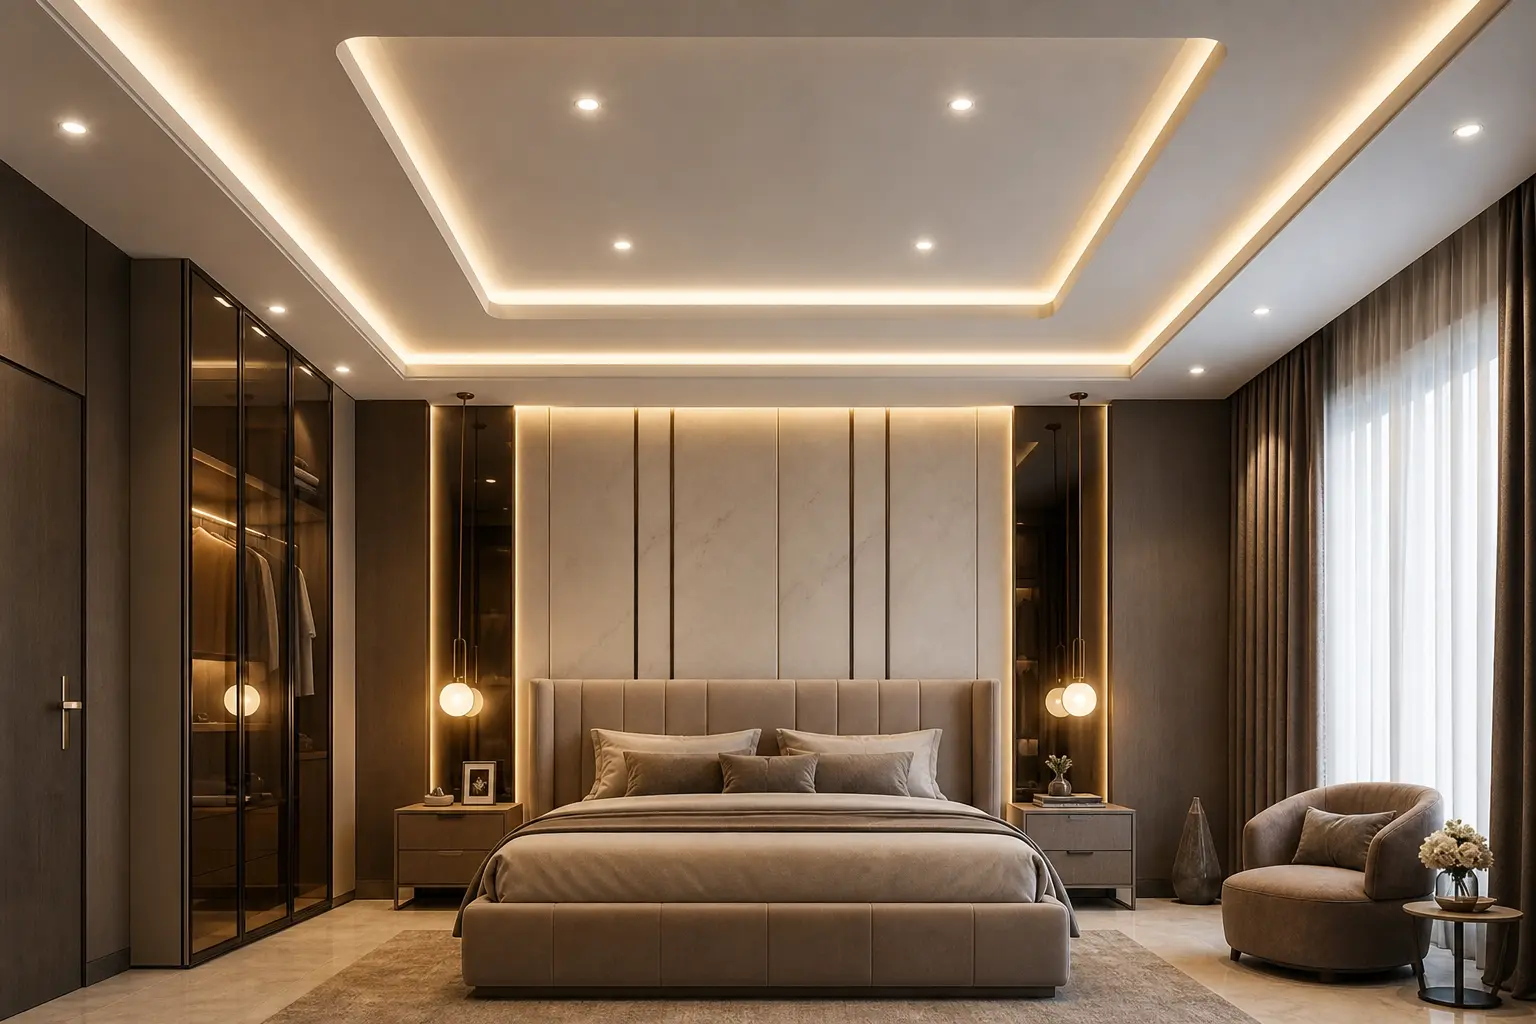
Tray depth for a false ceiling with cove lighting typically ranges from 4 to 8 inches, deep enough to fully hide the LED strip and its wiring while still leaving enough of the original ceiling height intact to avoid the room feeling low. A shallower drop, closer to 4 inches, suits a standard 8 foot ceiling, while a deeper 6 to 8 inch drop works better in a room with 9 feet or more of original height. Going deeper than necessary just to fit a larger LED strip channel isn’t usually worth the lost headroom in an already modest ceiling height.
Measure the specific LED strip and diffuser channel you plan to use before finalizing the tray depth, since some flatter, lower profile strip and channel combinations need less depth than a standard housing. This is a detail worth confirming with whoever’s doing the installation before construction begins. A slightly shallower, well planned tray often looks just as finished as an unnecessarily deep one.
7. Use Dimmers to Shift the Room From Bright to Restful
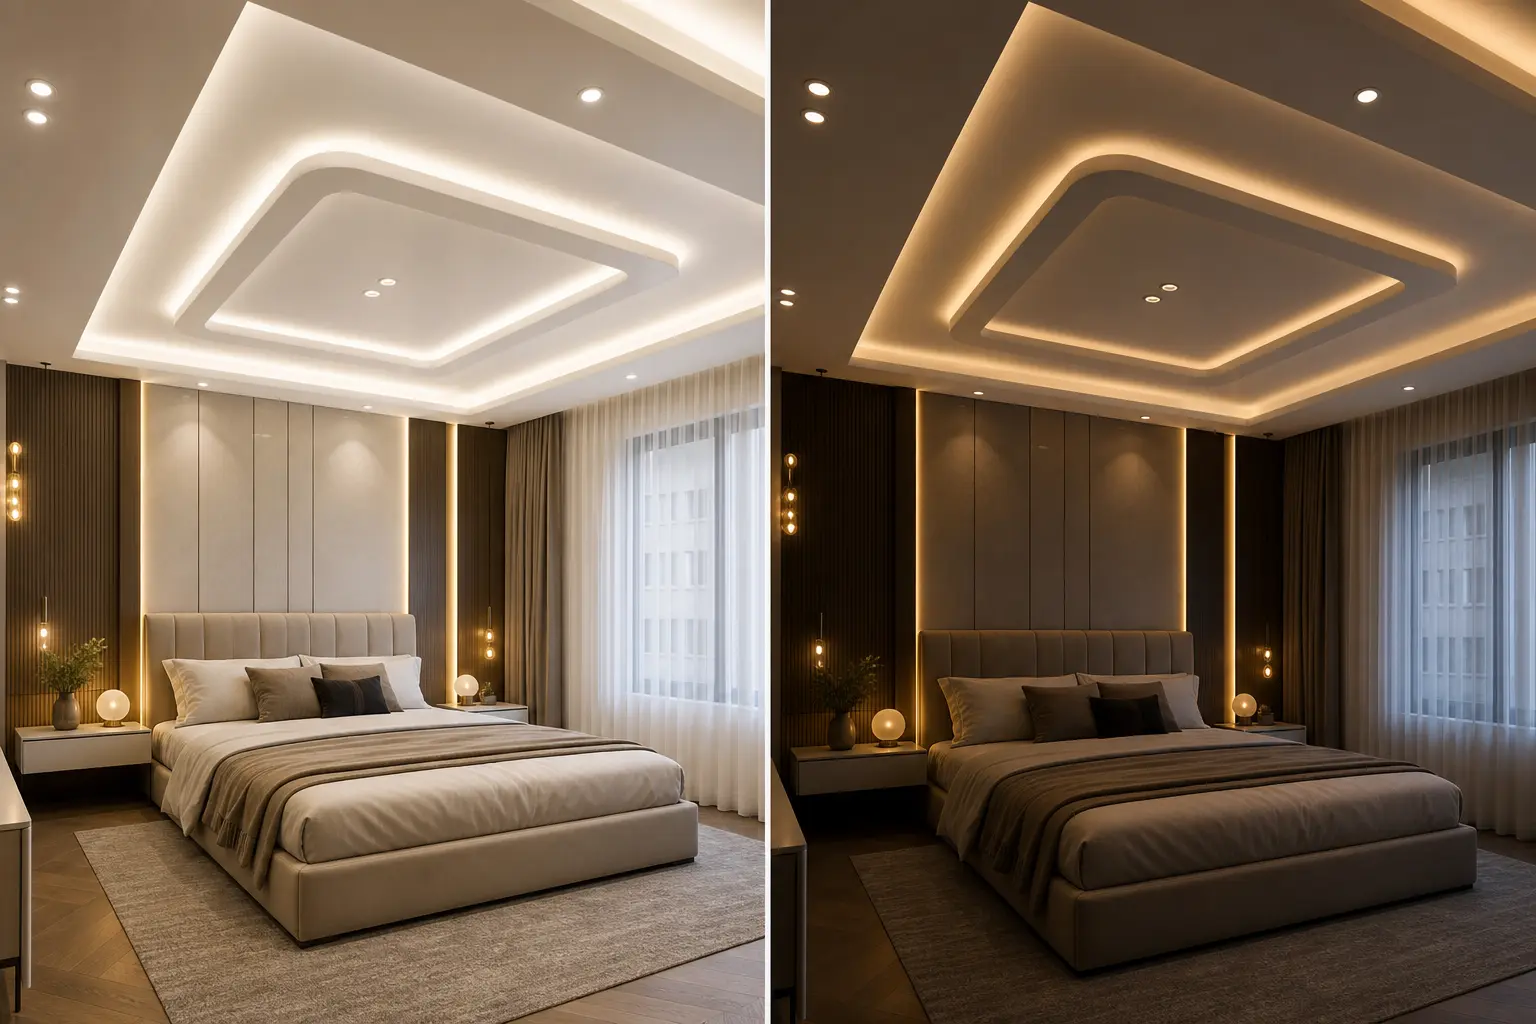
Every light zone in a false ceiling bedroom design, the cove lighting and any central fixture, benefits from its own dimmer rather than a simple on and off switch. A bright setting suits daytime activity and getting dressed, while a much lower, warmer setting suits reading in bed or winding down before sleep. Smart bulbs with app based dimming work as a retrofit option if adding new physical dimmer switches isn’t practical for the space.
Save a couple of lighting scenes if using smart controls, one for daytime brightness and one for a low, warm evening setting, so switching moods doesn’t require manually adjusting multiple dimmers each time. This small convenience often determines whether the layered lighting actually gets used as intended or defaults back to one flat brightness out of habit. A well planned dimming setup is part of what makes the ceiling feel genuinely luxury rather than just visually impressive.
8. Match the Ceiling Design to the Rest of the Bedroom
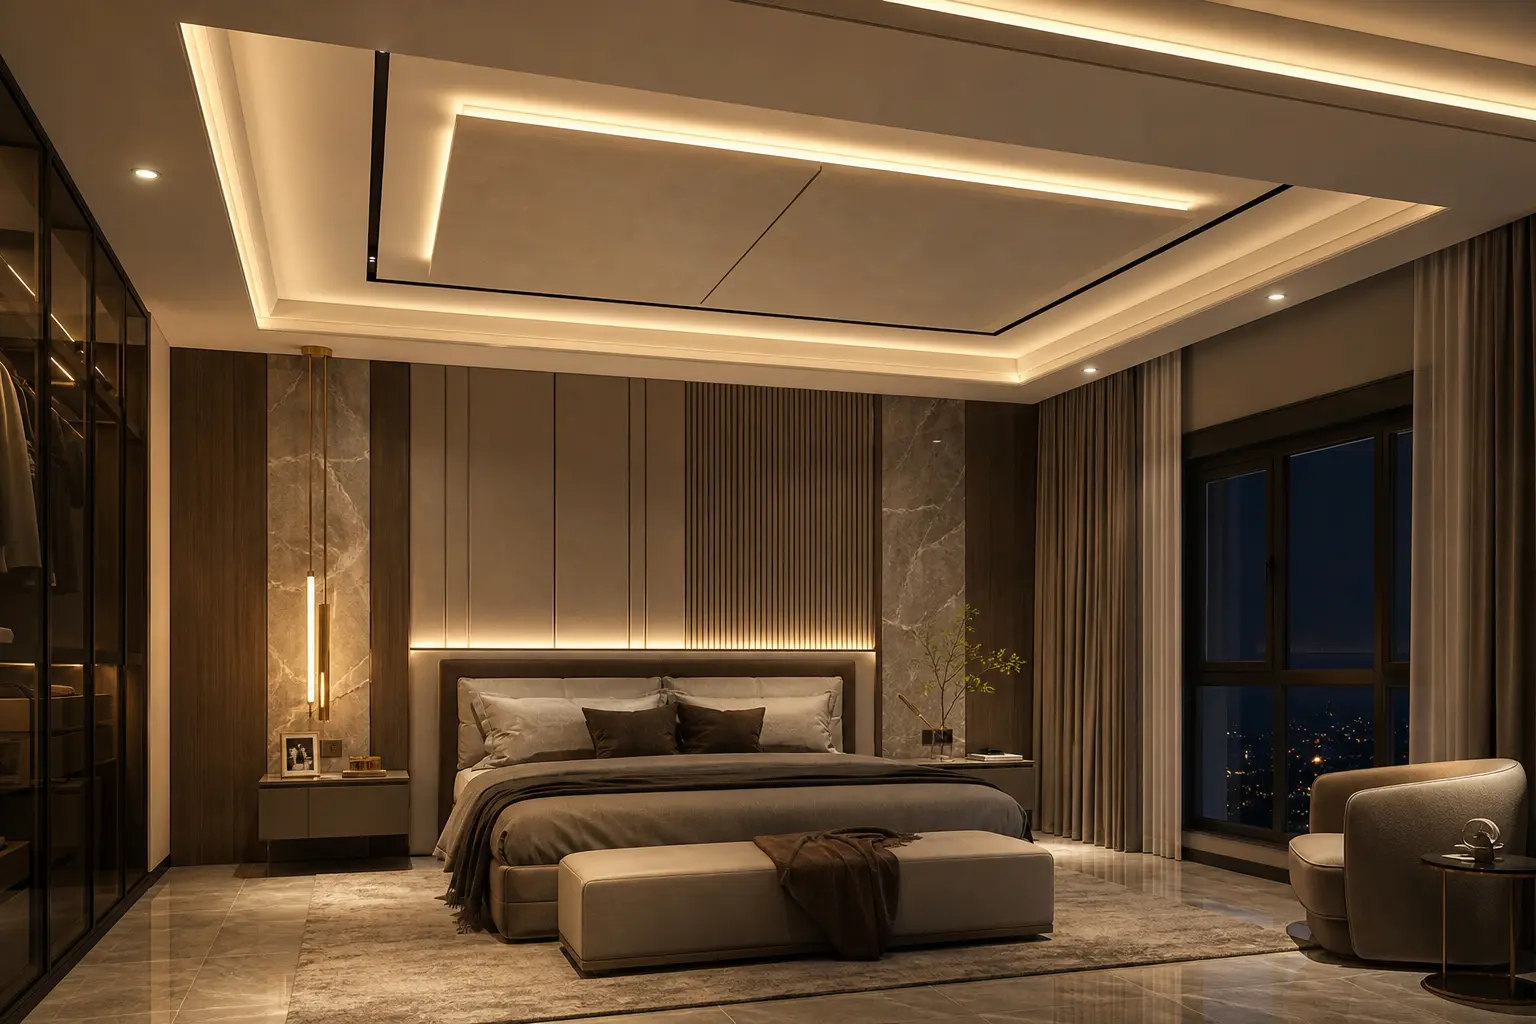
A heavily layered, brightly lit ceiling reads as intentional when the rest of the bedroom stays relatively calm and uncluttered. Keep wall colors and furniture simple so the false ceiling becomes the room’s clear architectural focal point rather than one busy element among several. A ceiling design this detailed above a room already full of bold patterns or competing accent pieces can end up feeling visually overwhelming rather than luxurious.
Repeat the cove lighting’s warm color temperature in at least one other light source in the room, like a bedside lamp, so the ceiling’s glow feels connected to the rest of the room’s lighting rather than an isolated feature. This small repetition ties the whole space together as one considered design rather than a ceiling project layered on top of an unrelated room.
9. Plan the Wiring and Access Before Construction Begins
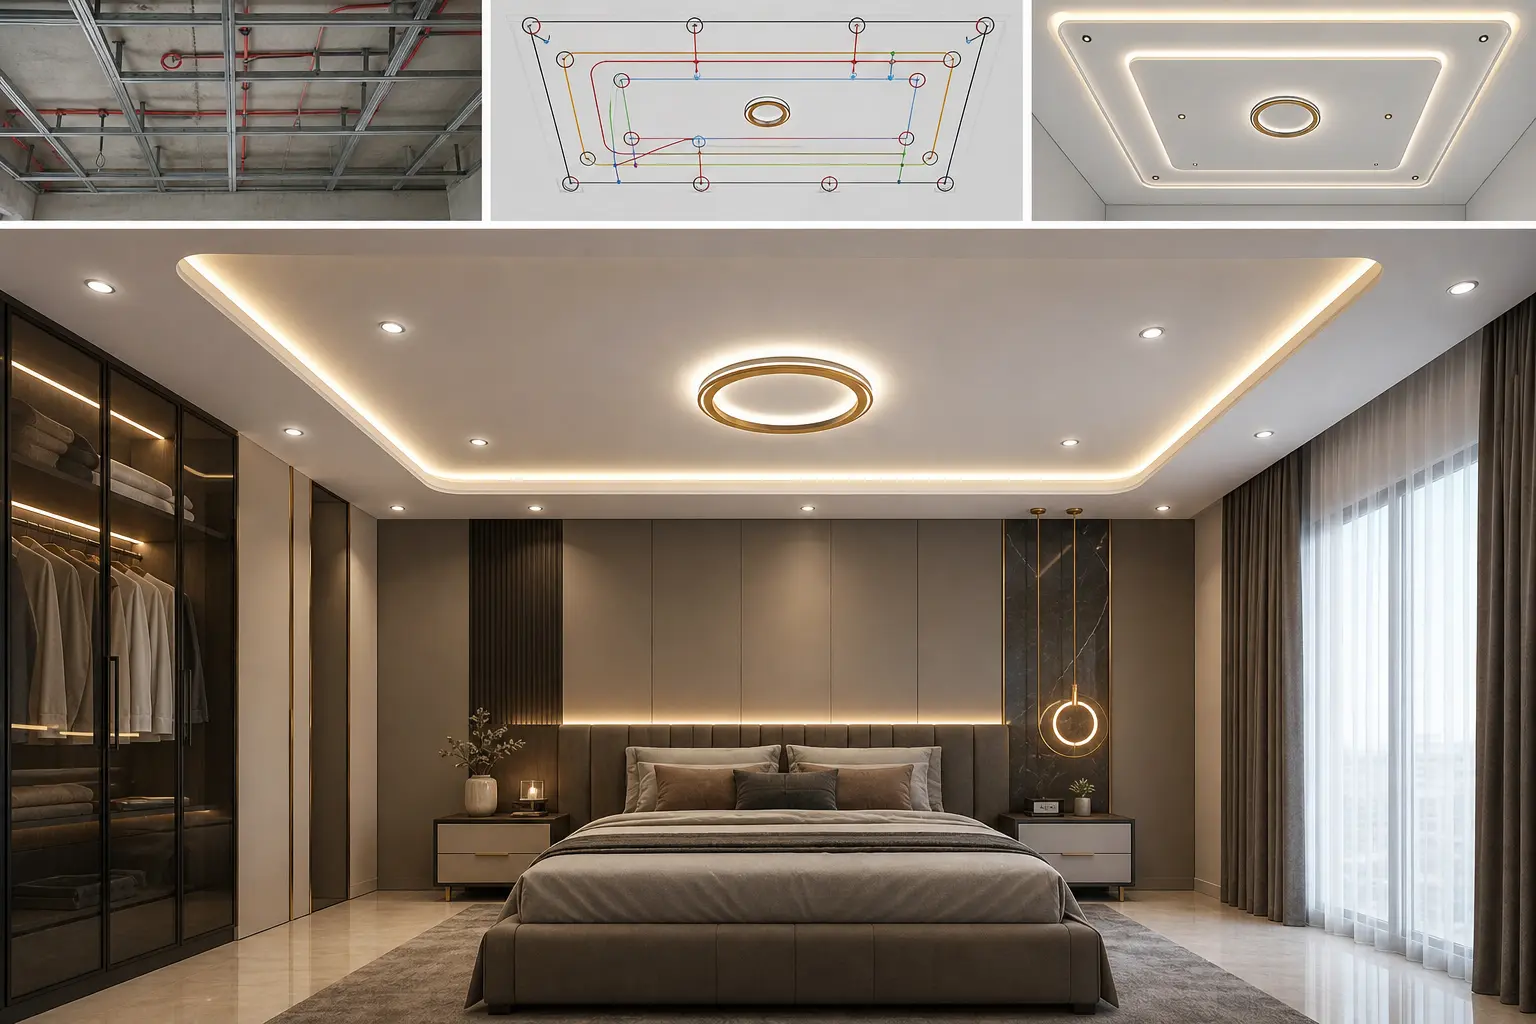
A false ceiling with LED cove lighting needs a low voltage transformer, and that transformer needs to sit somewhere accessible for future maintenance or replacement. Plan the transformer’s location, along with the switch wiring and any zoning for separate dimmers, before the false ceiling structure closes up. Retrofitting access into a finished tray is significantly more disruptive than planning for it during the initial build.
If you’re adding this to an existing bedroom without a full renovation, a surface mounted cove profile with a plug in LED strip can avoid the more invasive wiring process entirely. It won’t achieve quite the same fully recessed, seamless look as a hardwired system built into new construction, but it’s a realistic option for updating an existing room without opening up the ceiling structure. Weigh the visual trade off against the scope of work you’re willing to take on.
10. Avoid Overdesigning a Ceiling That Competes With the Room
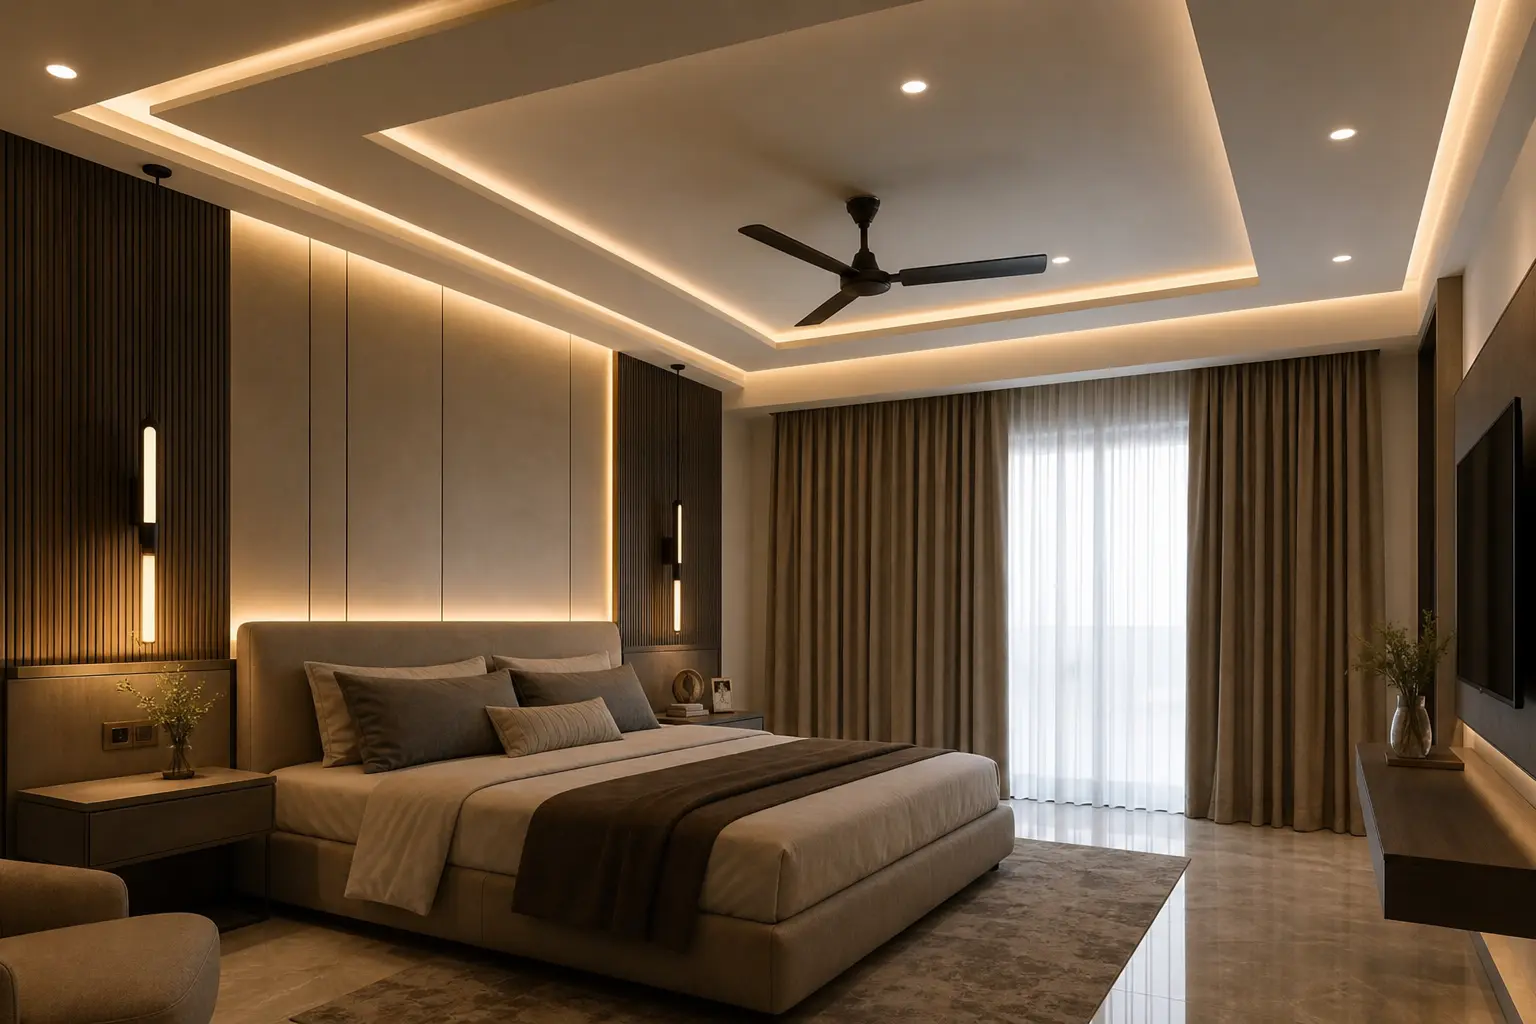
A false ceiling with cove lighting is already a substantial design statement, and adding too many additional layers, extra trays, multiple contrasting colors, or several competing fixture styles, can tip the design from luxurious into busy. Pick one clear structural idea, a single tray with a central fixture, and execute it well rather than combining several distinct ceiling treatments in one room. Restraint in the overall design is often what separates a ceiling that reads as considered from one that reads as trying too hard.
Keep the ceiling’s color palette simple as well, generally matching the tray and the flat ceiling in the same white or off white tone rather than introducing a bold contrasting paint color. A ceiling that stays visually calm in its base materials, letting the lighting itself provide the drama, tends to age better and suit more furniture and decor changes over time than one built around a trend specific color choice. This final restraint is what keeps an ambitious ceiling design feeling timeless rather than tied to a single passing style.
Mistakes to Avoid
- Choosing a full false ceiling drop in a room with only standard 8 foot ceiling height, making the room feel low
- Using cool white LED strips instead of a warm 2700K to 3000K temperature for the cove lighting
- Skipping the wiring and transformer access plan before the false ceiling structure closes up
- Relying on cove lighting alone with no central fixture, leaving the middle of the tray feeling empty
- Overdesigning the ceiling with a pattern too dense or bright for the size of the room
- Forgetting dimmers, which locks the room into one brightness level regardless of time of day
Frequently Asked Questions
Do I need a professional to install a false ceiling with cove lighting? Yes, a licensed contractor is generally needed for the structural tray work, and an electrician should handle the wiring and transformer for a hardwired cove lighting system.
What ceiling height do I need for a false ceiling design? A partial perimeter tray can work with a standard 8 foot ceiling, while a full false ceiling drop generally suits rooms with 9 feet or more of original height.
Is LED cove lighting expensive to run in a bedroom? LED strips use relatively little power, so ongoing electricity cost stays low even with the lighting on for several hours each evening.
Can I add cove lighting to an existing bedroom without major renovation? Yes, using a surface mounted cove profile with a plug in LED strip, though the look won’t be quite as fully recessed as a hardwired system built during new construction.
What color temperature works best for bedroom cove lighting? A warm 2700K to 3000K range generally suits a bedroom’s restful purpose better than a cooler, more clinical feeling light temperature.
Final Thoughts
A modern bedroom false ceiling with luxury LED lighting works because the layered tray and warm indirect glow give the room genuine architectural depth without overwhelming the space. Start with the tray depth and wiring plan first, since those construction decisions are far easier to adjust before the ceiling closes up than after. Add the central fixture and dimming zones once the cove lighting is in place, and keep the rest of the room simple enough that the ceiling gets to be the clear focal point.