10 Modern Wooden Slat Wall Ideas with Floating Plant Shelves for Living Rooms
You love the look of a wood slat wall, but a completely flat panel with nothing living on it still feels like it’s missing something. Adding floating plant shelves directly into the design solves that, giving the wall texture, greenery, and a sense of depth all at once. These wooden slat wall ideas walk through exactly how to combine slats and plant shelves in a living room without the two elements competing with each other.
1. Choose the Right Slat Spacing for a Living Room Wall
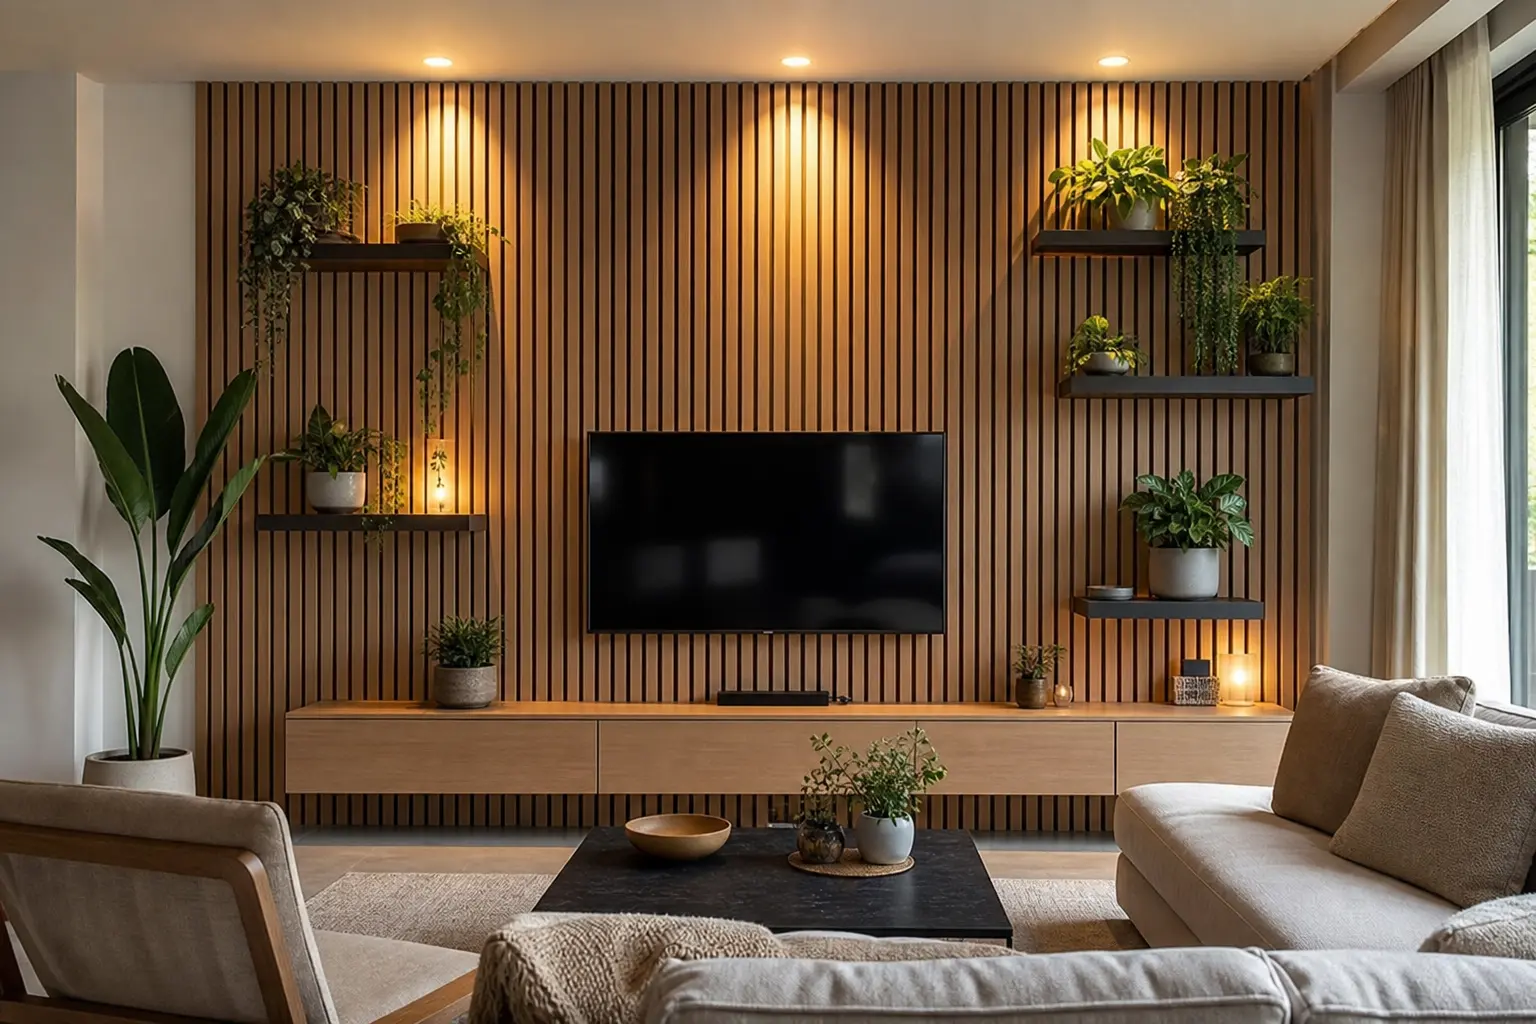
Slat spacing sets the overall rhythm of the wall before you even add shelves. Narrow spacing, around half an inch, creates a tighter, more formal pattern, while wider spacing, closer to an inch, feels more relaxed and shows more of the wall behind it.
If you’re planning to insert floating shelves within the slats, slightly wider spacing tends to make the transition between slat panel and shelf look more intentional, rather than like two separate elements awkwardly combined.
Testing Spacing Before Committing
Mock up a small section with scrap wood or painter’s tape at two or three spacing widths first. Viewing it from where you’d actually sit in the living room, not up close, gives a much clearer sense of how it will read in the finished space.
2. Pick a Wood Tone That Complements Your Living Room
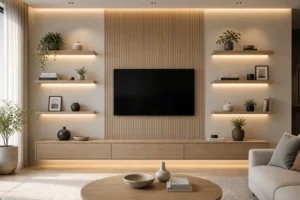
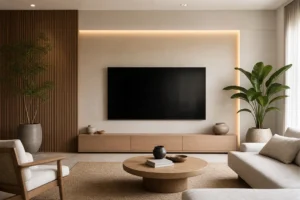
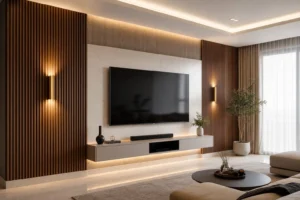
Warm tones like oak or walnut tend to feel grounded and traditional, while a lighter ash or whitewashed slat feels more modern and airy. Match the slat tone to your existing flooring or furniture where possible, since a strong mismatch in undertone can look accidental rather than intentional.
If your living room already leans heavily neutral, a mid tone wood slat wall adds warmth and contrast without introducing an entirely new color into the space.
3. Add Floating Plant Shelves Within the Slat Panel
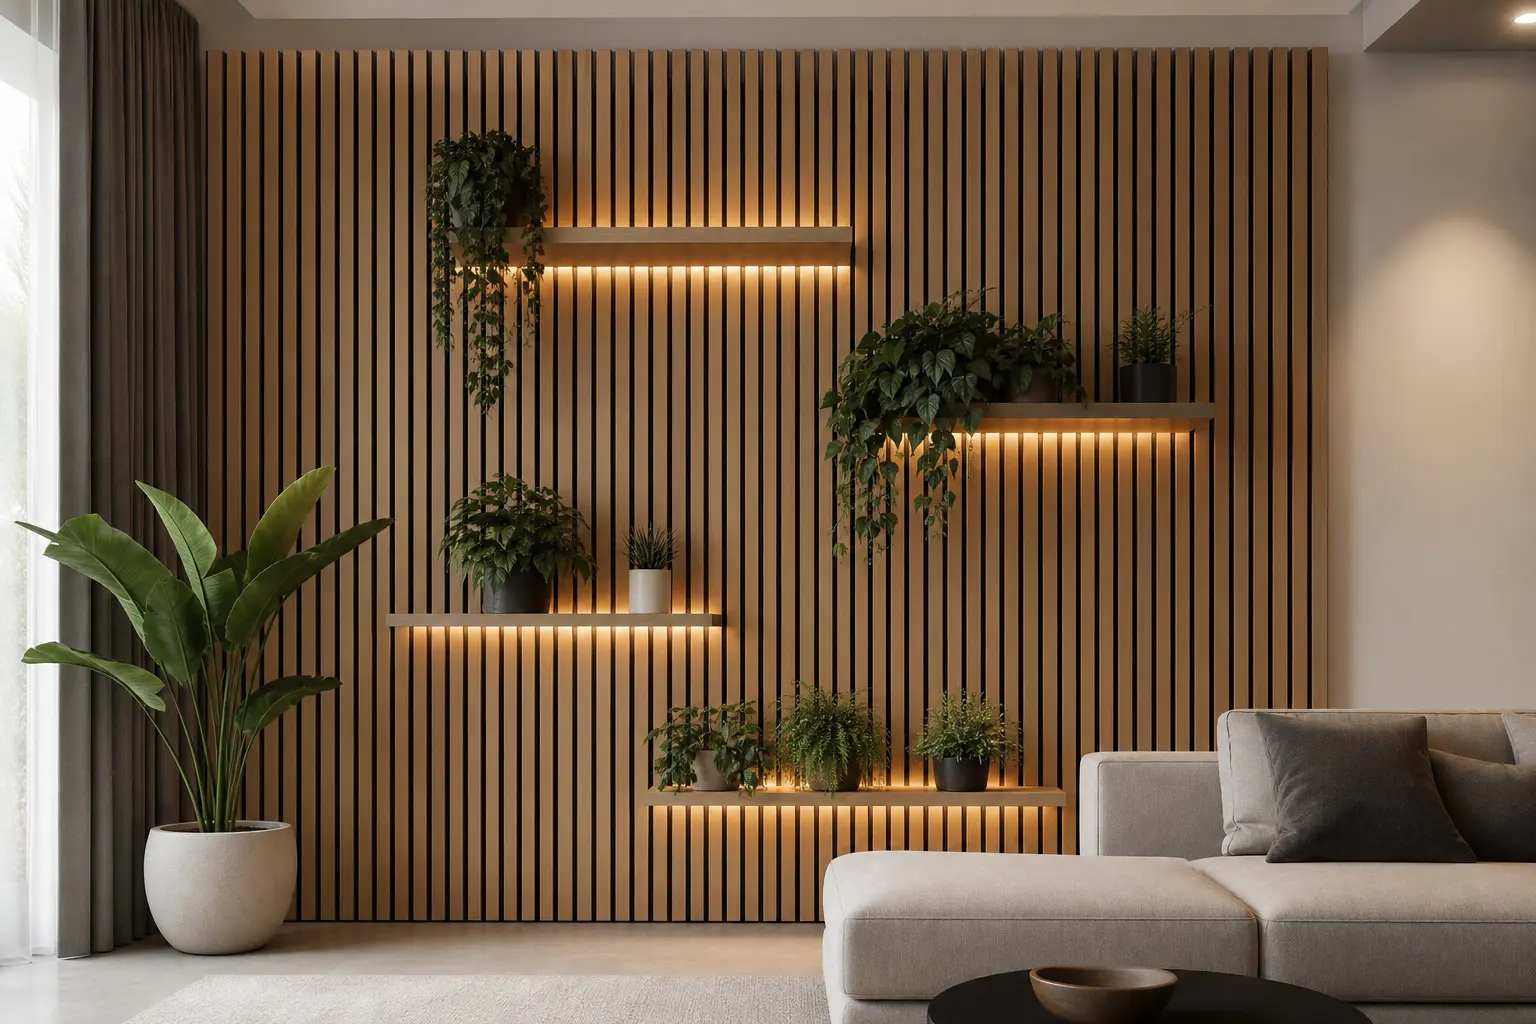
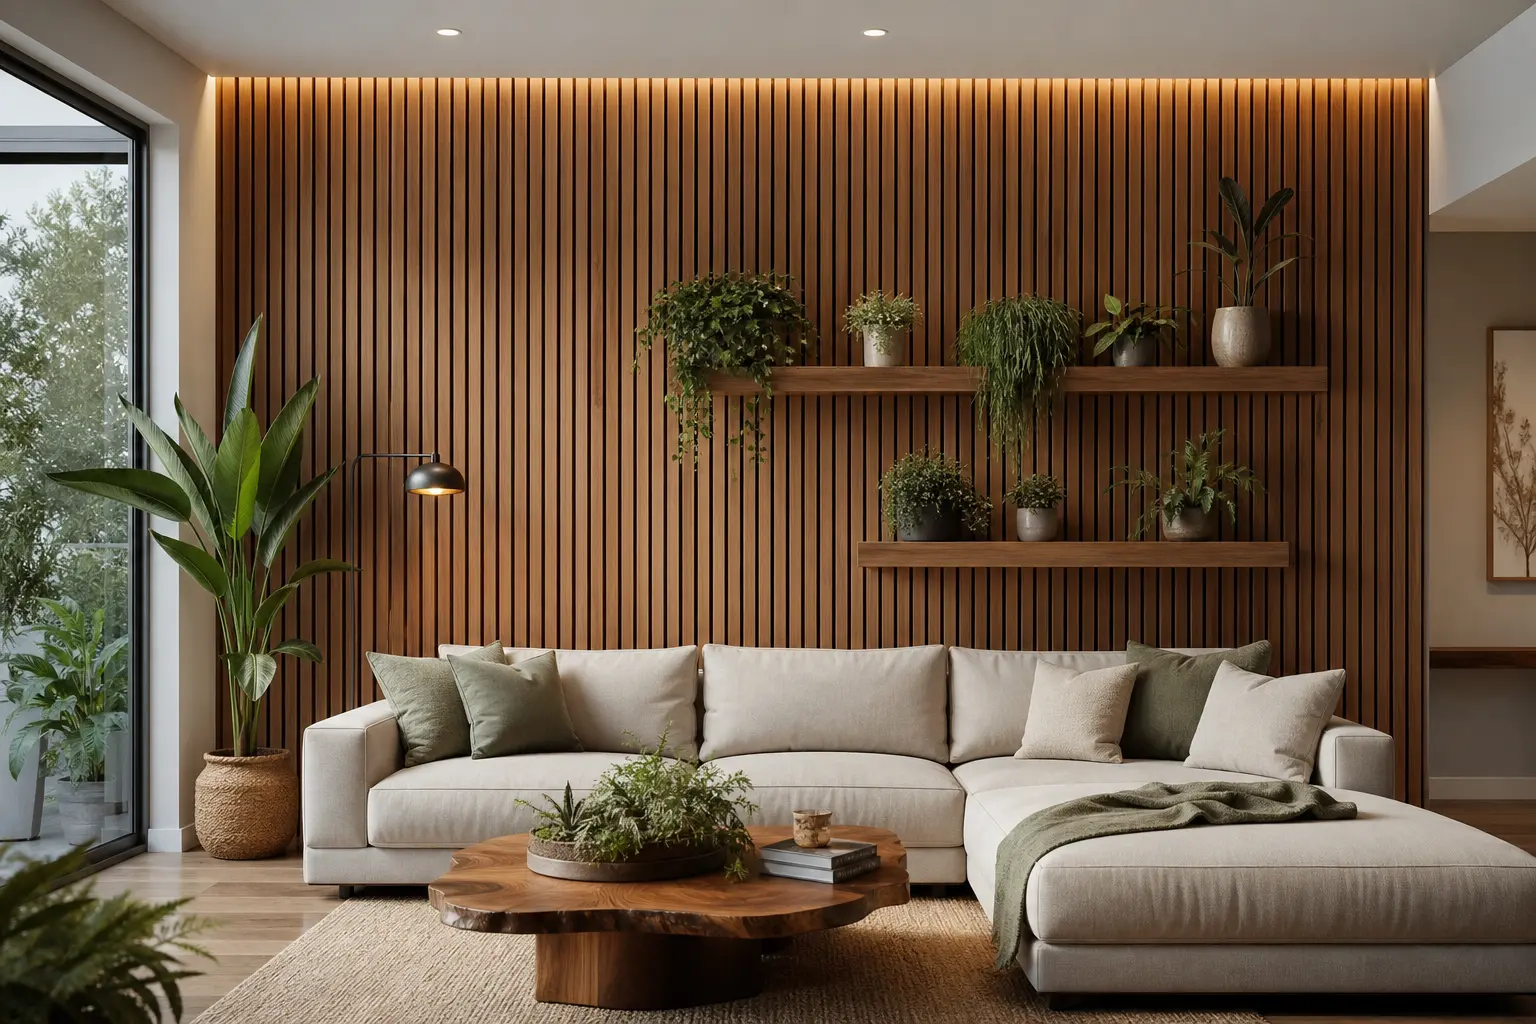
Rather than mounting shelves on top of the slats, recessing them slightly into the panel, or interrupting the slat pattern cleanly at shelf height, creates a more integrated, custom built look. This approach takes more planning during installation but results in a wall that feels designed as one cohesive feature.
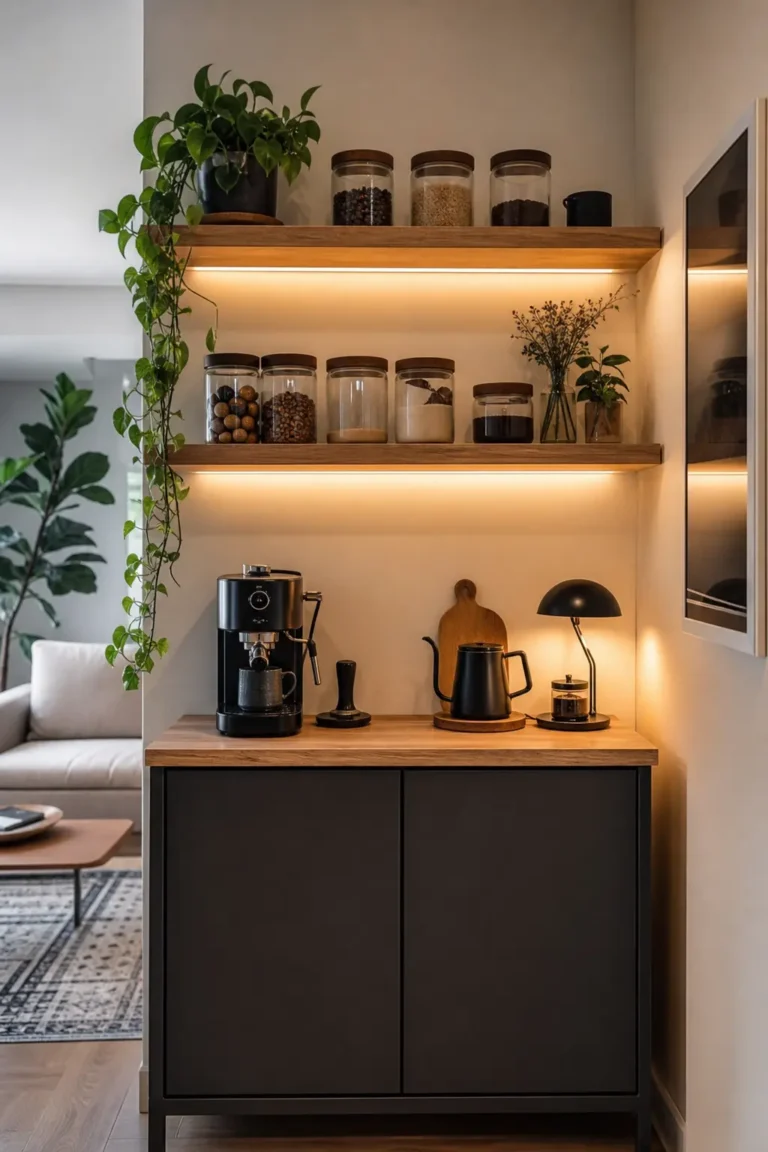
If a fully recessed shelf isn’t practical, a slim floating shelf mounted flush against the slats, in a matching or intentionally contrasting wood tone, is a simpler alternative that still works well.
4. Choose Plants That Suit Low or Indirect Light
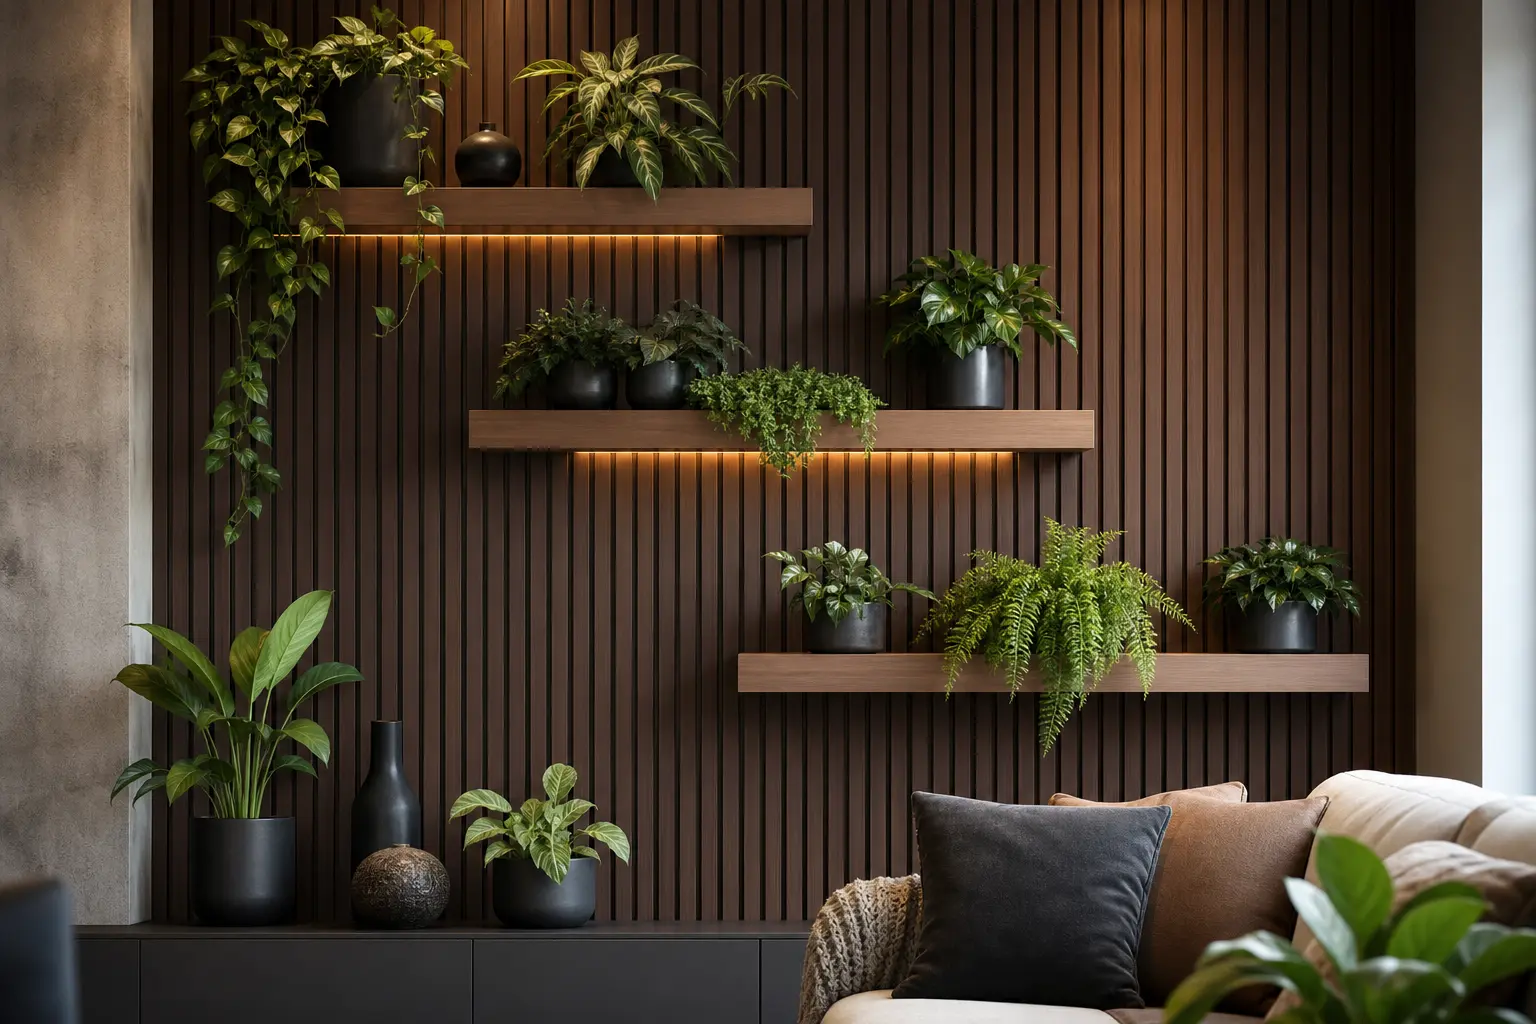
Many living rooms don’t get direct sun where a slat wall typically goes, so choosing plants suited to lower or indirect light matters more than picking based on appearance alone. Pothos, snake plants, and ZZ plants are common choices that tolerate less light while still looking full and healthy.
Check the specific light levels in your space before choosing, since a plant that needs bright, direct sun will struggle and eventually decline even on a well designed shelf.
5. Decide on Shelf Placement Within the Slat Pattern
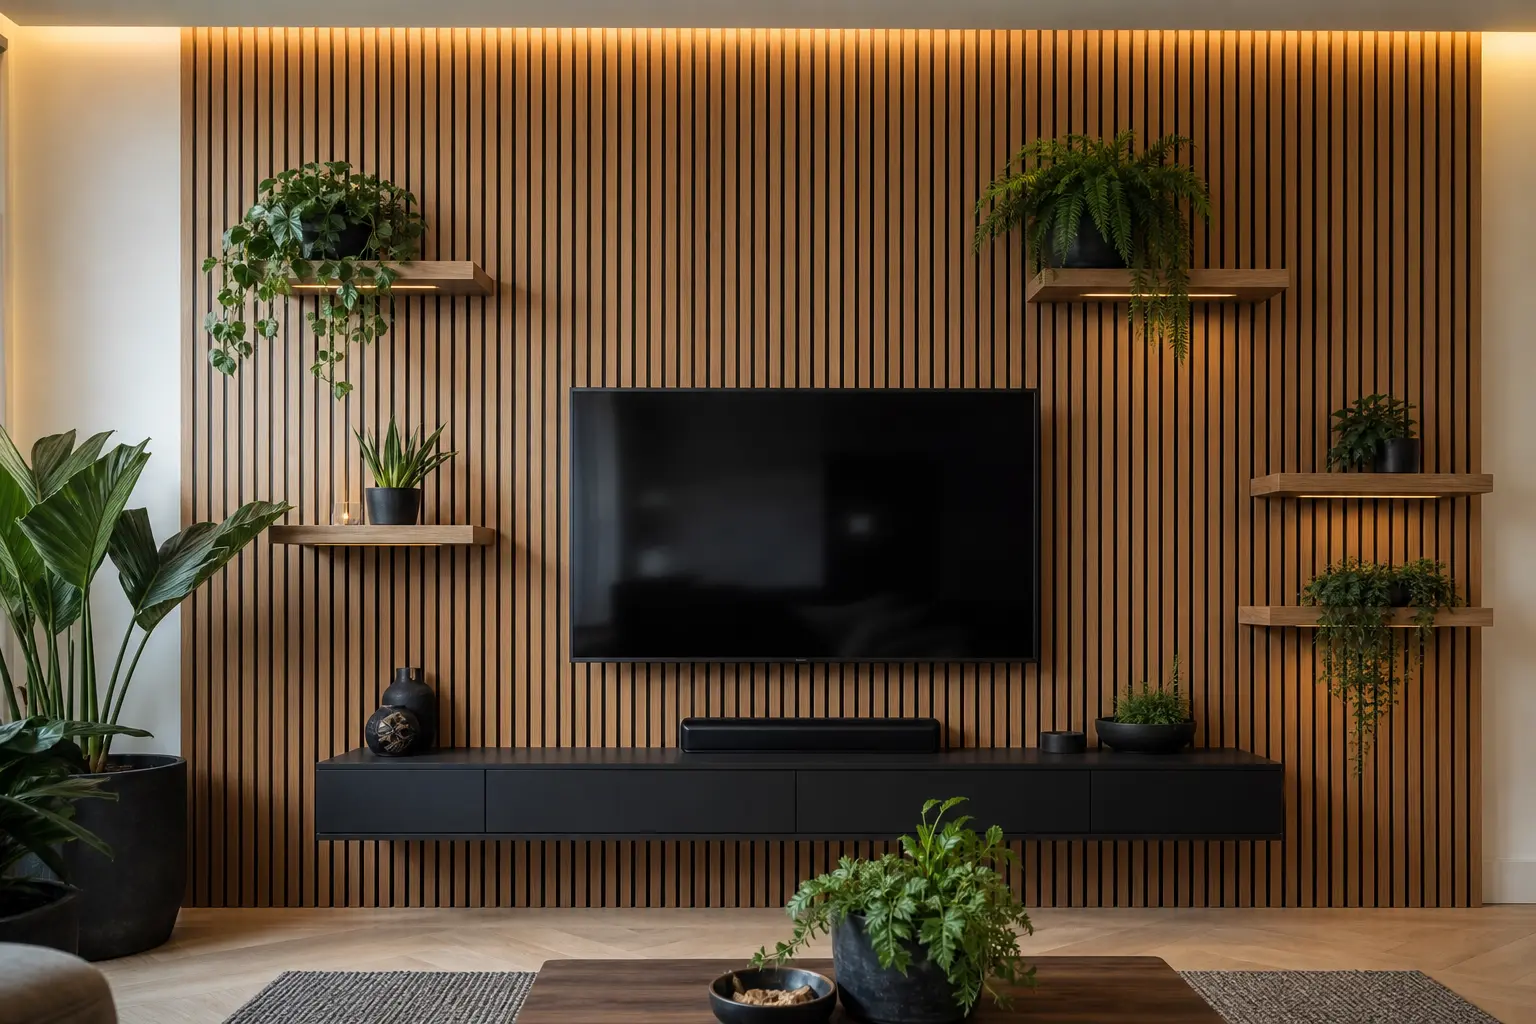
Placing shelves at staggered heights, rather than in a single straight row, adds visual movement to the wall and gives each plant its own distinct space. As a general guide, spacing shelves at least 12 to 16 inches apart vertically keeps plants from crowding each other as they grow.
Consider mature plant size when placing shelves too. A plant that trails or grows wide needs more clearance below it than a small, compact succulent.
6. Balance Greenery With Simple Surrounding Decor
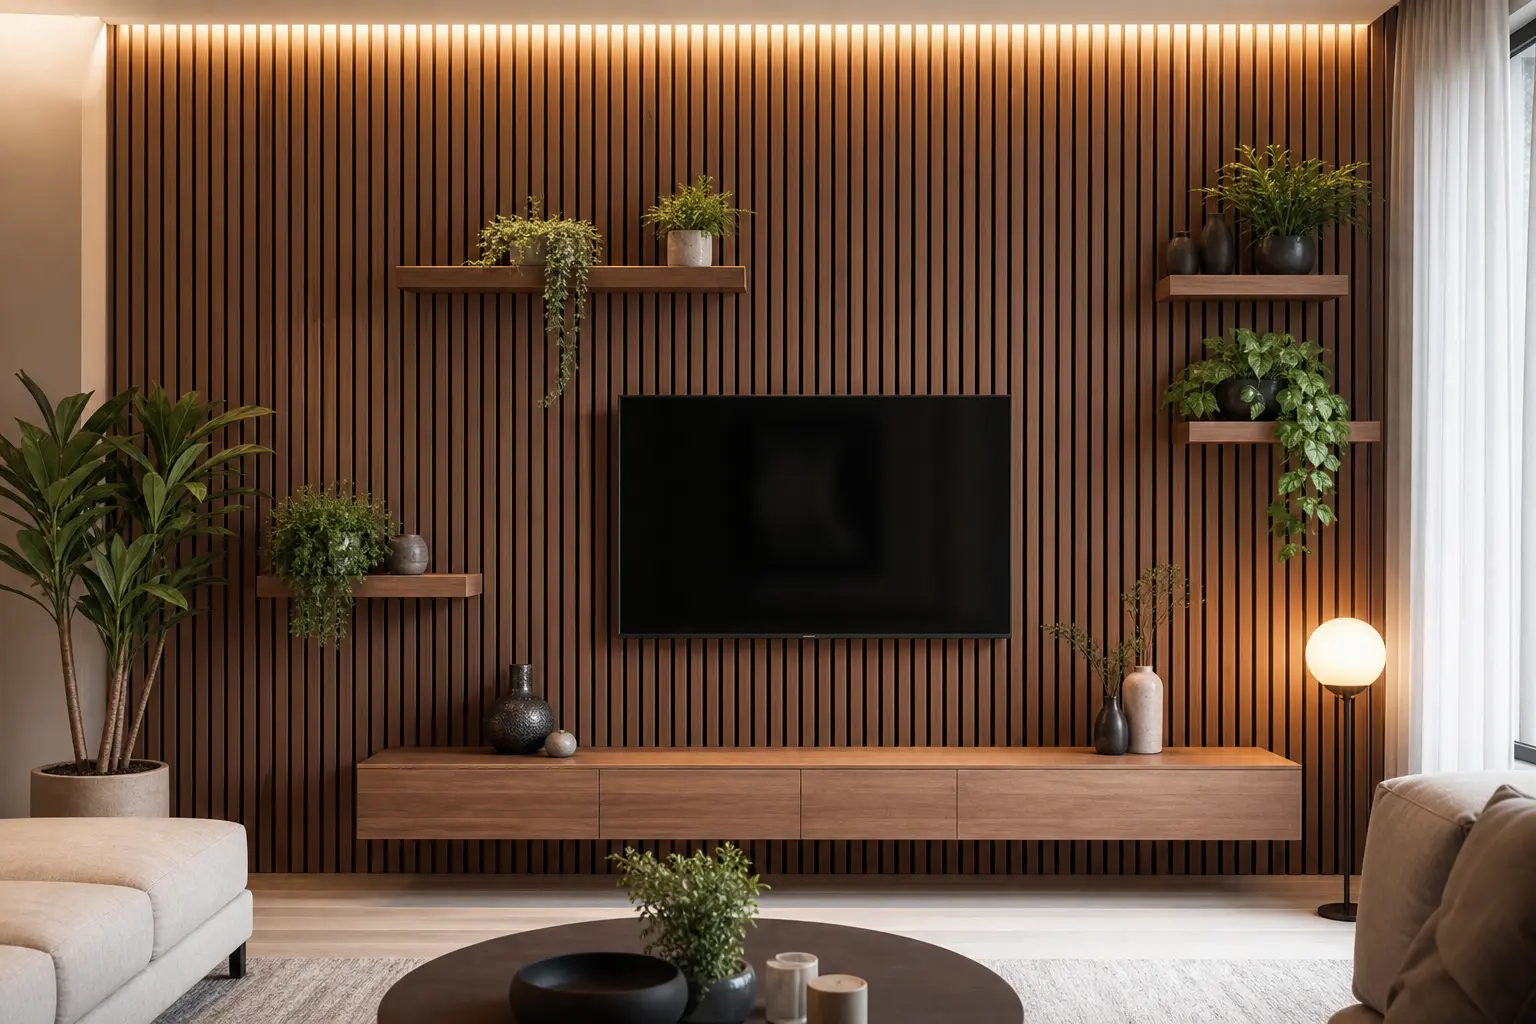
A slat wall with plant shelves is already a strong visual feature, so keeping nearby furniture and decor simple lets the wall remain the clear focal point. Avoid placing another heavily patterned or textured element, like a busy rug or patterned curtains, directly across from it.
A few solid colored pillows or a simple neutral throw nearby support the wall without pulling attention away from its texture and greenery.
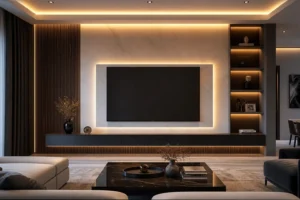
7. Add Warm Lighting to Highlight the Slats and Plants
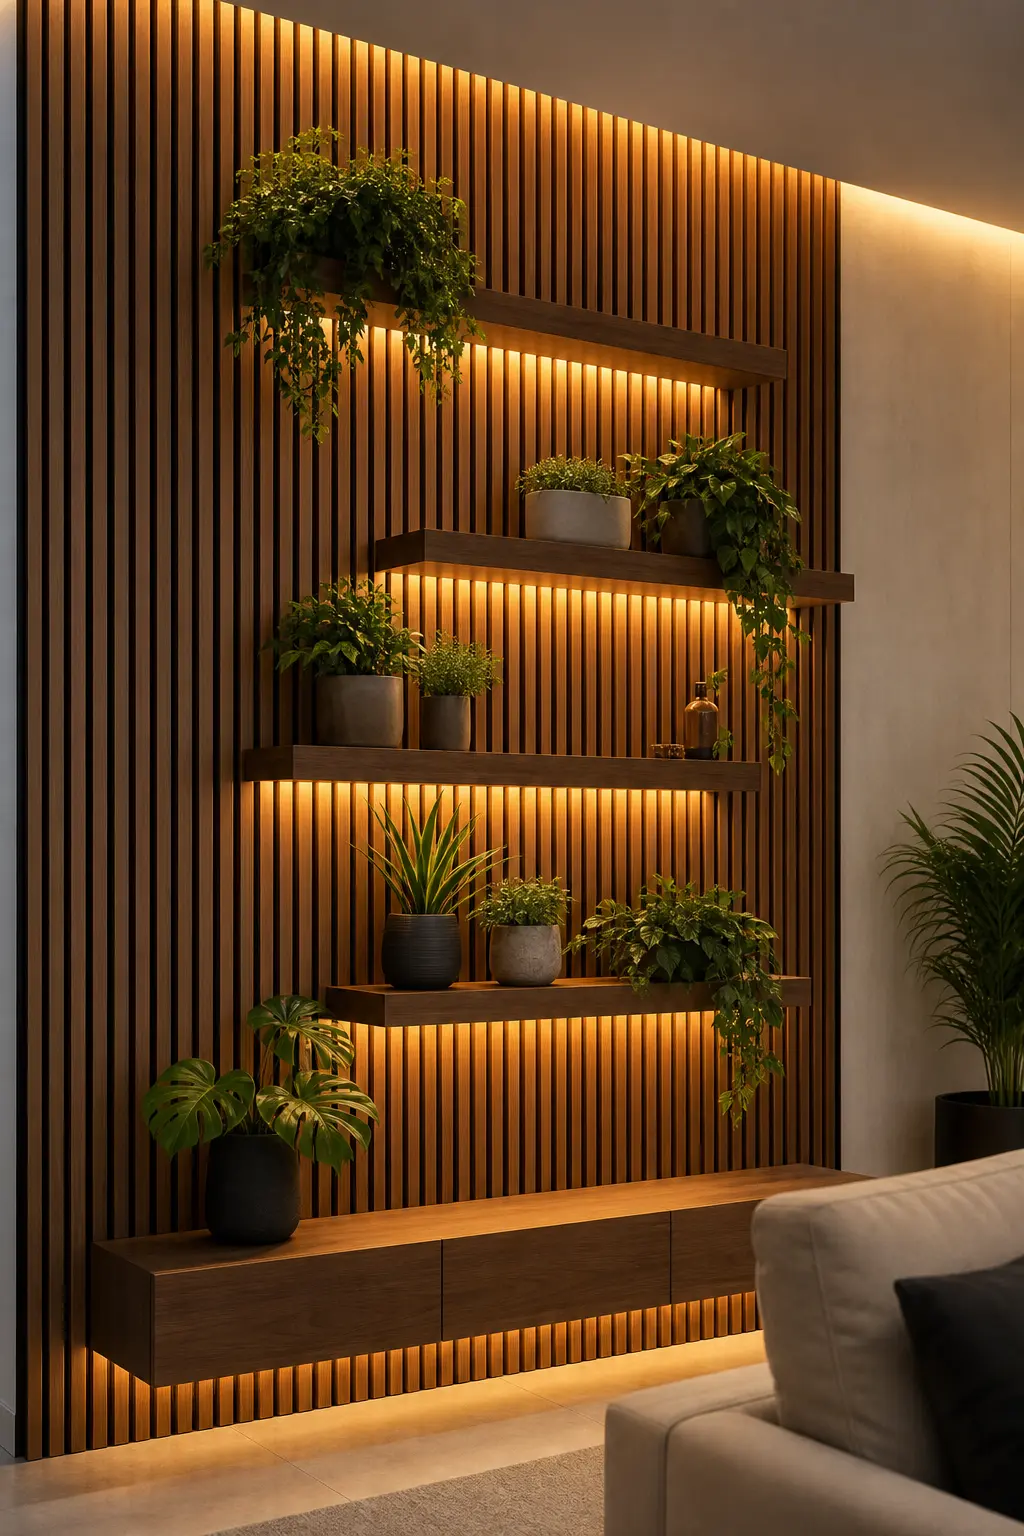
A warm LED strip placed behind the slats, or a small clip light aimed at a shelf, highlights both the wood texture and the plants in the evening, when natural light isn’t available. This kind of lighting also plays a small supporting role for plant health, though it shouldn’t replace a plant’s actual light requirements.
Keep any added lighting on the warmer end of the spectrum, generally 2700K to 3000K, so it complements the wood tone rather than making it look cool or washed out.
8. Choose Between Full Wall or Partial Slat Paneling
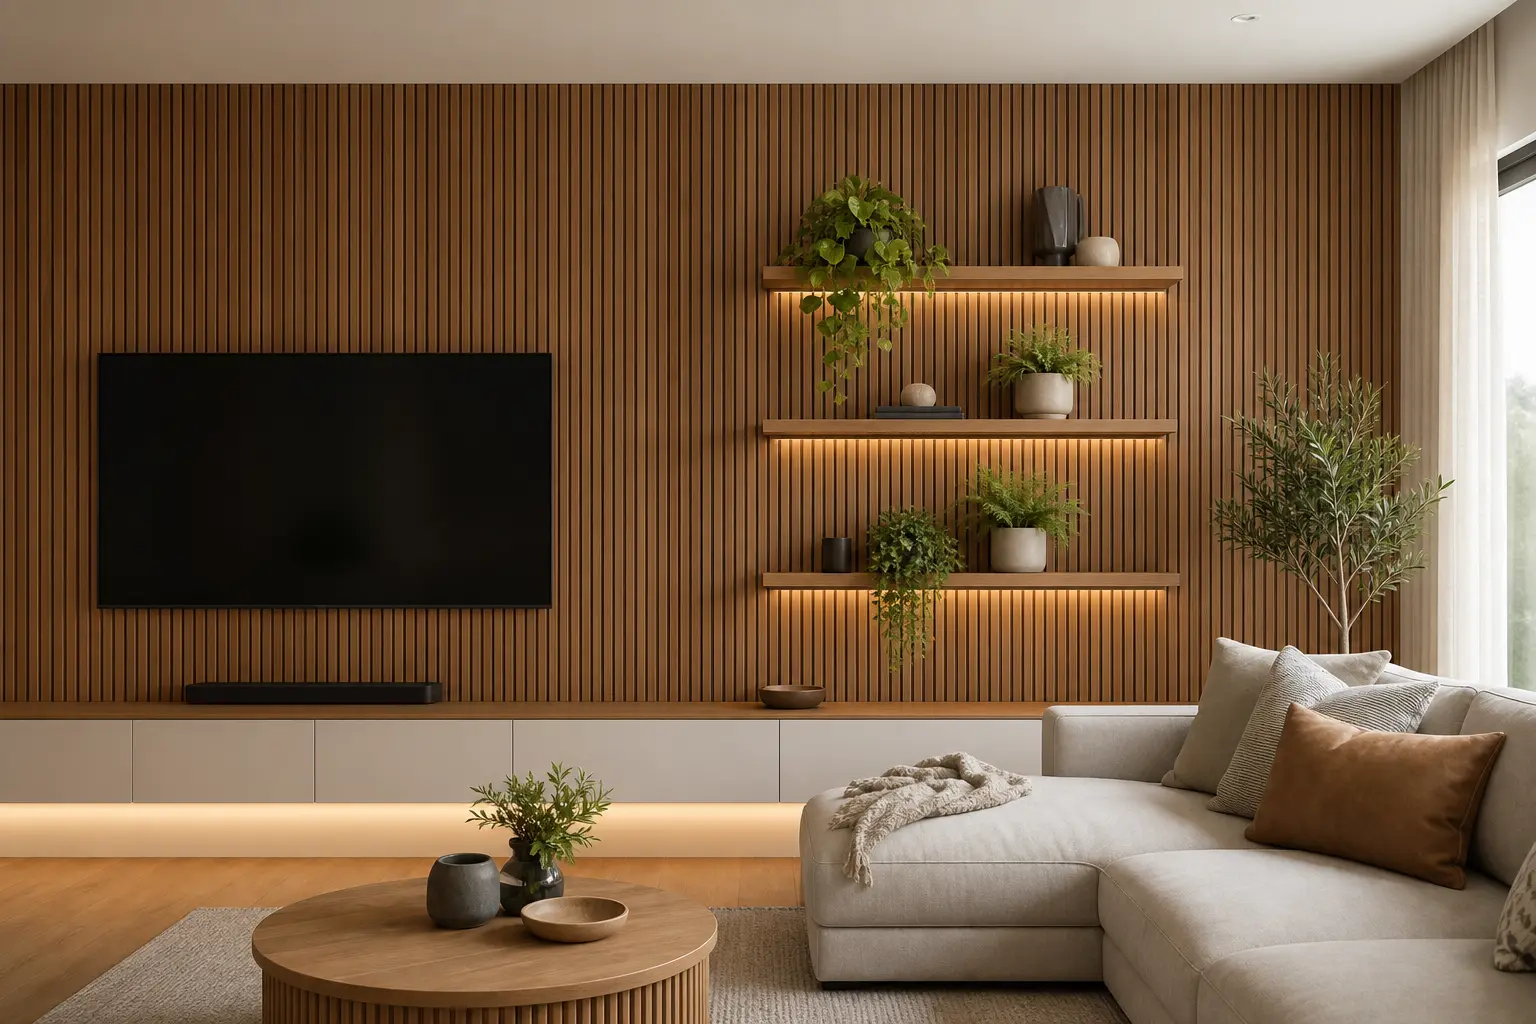
A full wall of slats with multiple integrated plant shelves makes a strong, dramatic statement but requires more material and a longer installation process. Partial paneling, covering a smaller focal section of the wall, offers much of the same textured, layered look at a lower cost and shorter timeline.
For a first attempt at this kind of feature wall, partial paneling with one or two plant shelves is often the more practical and lower risk starting point.
9. Add a Console or Bench Below the Slat Wall
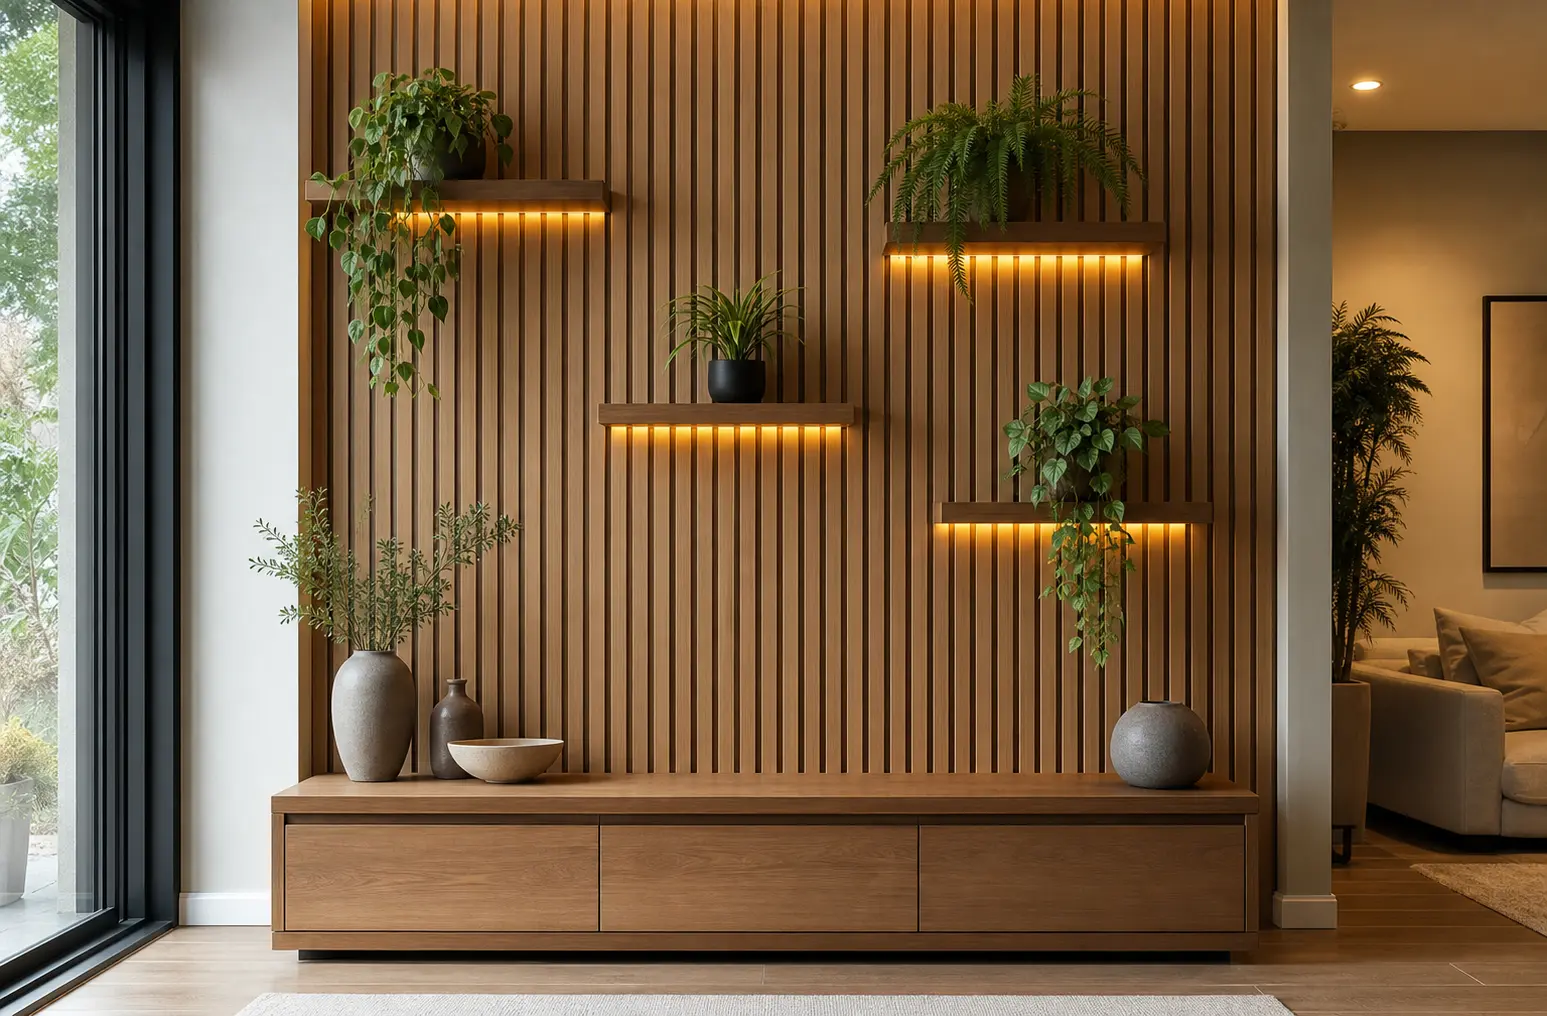
A simple console table or low bench beneath the slat wall continues the layered, considered feel of the space and gives you a spot for additional smaller plants or decor at a lower height. A floating console, mounted directly to the wall, also keeps the area beneath easier to clean.
Match the console’s wood tone to the slats, or intentionally contrast it with a matte black or white finish, whichever fits the rest of your living room’s existing palette.
10. Maintain Both the Slats and Plants Long Term
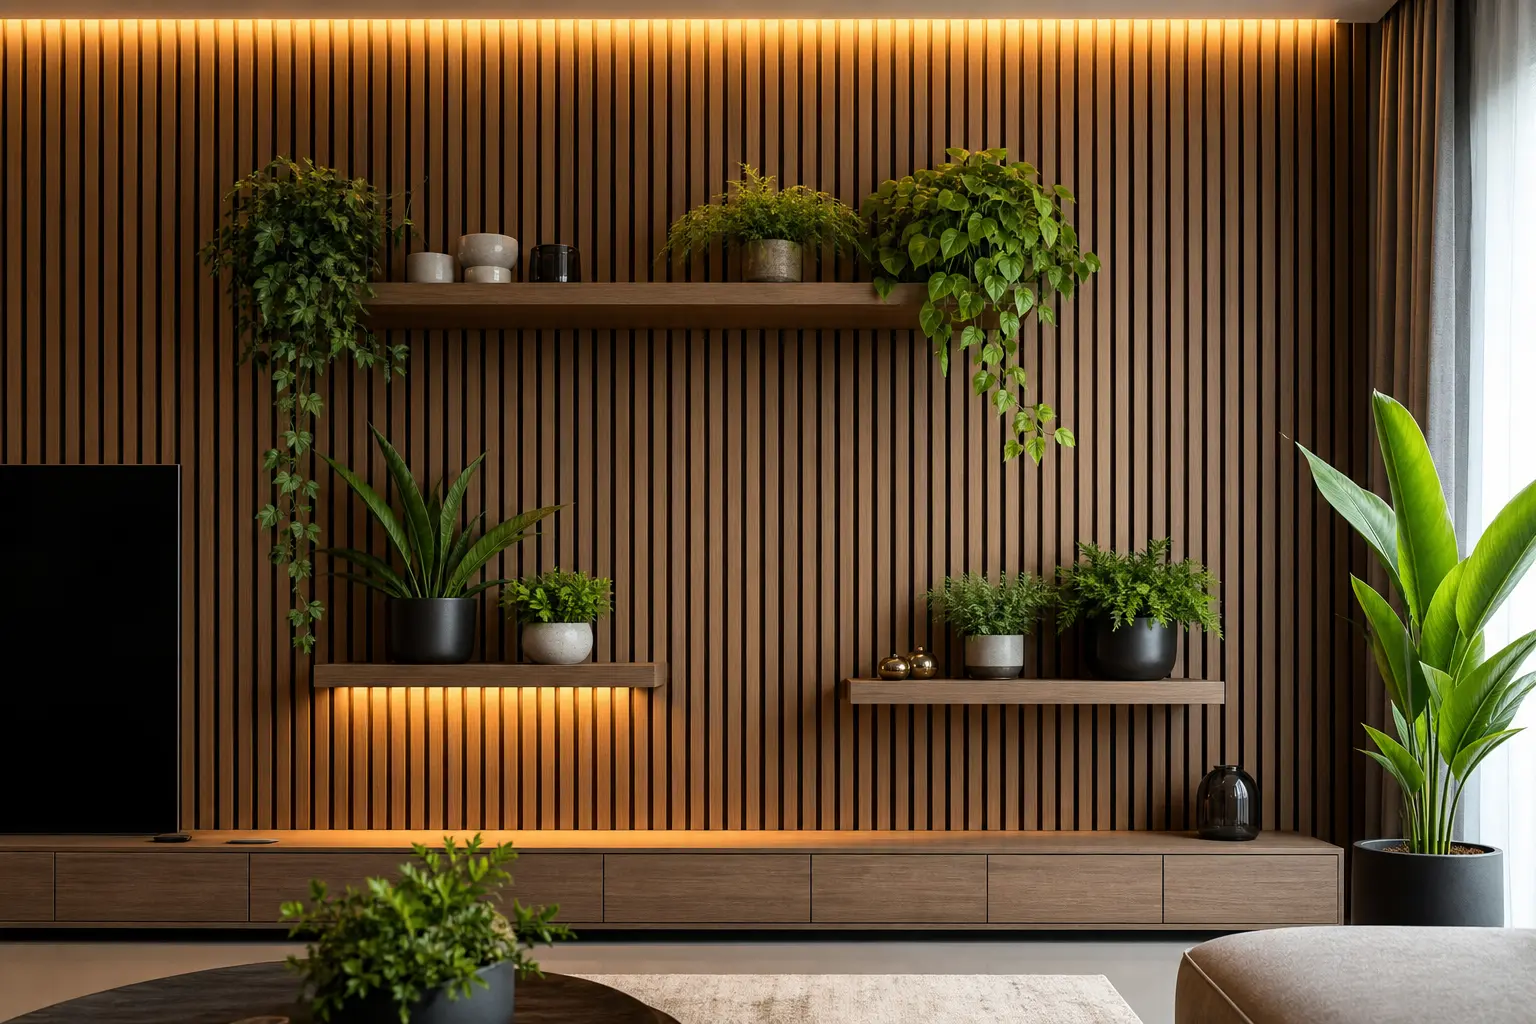
Real wood slats can shift slightly with humidity changes, so leaving small expansion gaps during installation helps prevent warping over time, especially near a shelf holding a watered plant. Wipe down any water rings from plant pots promptly to avoid staining the wood finish underneath.
Rotate plants occasionally so they grow evenly rather than leaning toward a single light source, and dust the slats periodically with a soft brush to keep the whole wall looking fresh.
Mistakes to Avoid
- Choosing plants that need bright direct sun for a wall that only gets indirect light
- Spacing plant shelves too close together, crowding plants as they grow
- Skipping expansion gaps near shelves, which risks warping from moisture over time
- Adding busy, patterned decor nearby that competes with the slat and plant feature
- Placing heavy pots on shelves not rated to support that much weight
Frequently Asked Questions
What plants work best on shelves within a wood slat wall? Pothos, snake plants, and ZZ plants are common choices, since they tolerate lower or indirect light and don’t require frequent watering, which suits a wall shelf setup well.
How far apart should floating plant shelves be spaced? A general guide is 12 to 16 inches vertically, though this should adjust based on how large the specific plants are expected to grow over time.
Can I add plant shelves to an existing slat wall, or does it need to be planned from the start? It’s easier to plan shelf placement before installation, but shelves can be added afterward as a surface mounted addition, even if a fully recessed look requires more planning upfront.
Does water from plants damage wood slat walls? It can over time if spills or rings aren’t wiped up. Using a saucer under each pot and wiping any moisture promptly helps protect the wood finish.
Is a full wall of slats necessary to include plant shelves? No. Partial paneling with one or two integrated shelves gives much of the same textured, living wall effect at a lower material and installation cost.
Conclusion
A wood slat wall with floating plant shelves brings texture and life to a living room in a way a flat accent wall alone can’t. Start with a small, partial panel and one or two low light plants, test your spacing first, and expand the feature as you get a feel for how it fits your space.